In a Greek home where we serve Greek dishes most of the week, we often crave what I call my American comfort dishes, a Tuna Noodle Casserole. Just the smell of the cheese and noodles melting with the creamy tuna from my kitchen window will remind me of those chilly nights the kids are out playing in the park across the street, and this casserole is in the oven baking, and I’m waiting for everyone to come in for the night. I like to use a thick flat Pennsylvania egg noodle that can easily found at your supermarket. Today, this dish might be called fattening or maybe it needs a little help in the substitution category, but my family calls it perfect!
Try this cheesy -tuna casserole for your family tonight! In my easy and quick recipe box!
Course
Casserole
Cuisine
California
Keyword
casserole, cheese, tuna
Servings6
AuthorMary Papoulias-Platis
Ingredients
1package long-wide noodles
1can drained tuna in water
1/2cupmayonnaise
1cupsliced celery
1/3cupchopped onion
1/4cupchopped pimento -optional
1/2teaspoonsalt
1 10oz.can cream of celery soup
1cupgrated cheddar cheese
1/2cuptoasted slivered almonds
Instructions
Pre-heat oven to 425 degrees.
Bring a large pot of water to a boil and cook one package (3 cups) noodles using the package directions, drain.
Combine cooked noodles with one can tuna drained, 1/2 cup mayonnaise, 1 cups sliced celery, 1/3 cup chopped onion,1/4 cup chopped canned pimiento (optional) and 1/2 teaspoon salt. (Can be prepared and placed in a large bowl while the noodles are cooking.)
Blend one 10 1/2 oz. can celery soup and 1/2 cup milk in a medium saucepan and heat until smooth. Add 1 cup shredded American cheese and stir until it melts.
Add to noodle mixture. (I use the same pan that I boiled the noodles in)
Place in a greased two quart casserole.
If desired, top with 1/2 cup toasted slivered almonds.
Bake uncovered for 20 minutes.
Recipe Notes
* I like to use the Pennsylvania Dutch noodles * I often double this for company
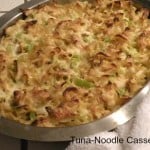
Uncooked Tune and Noodle Casserole ready for the oven.
Cooked and resting my Tuna Noodle Casserole.
The original recipe of this Tuna Noodle Casserole came from my old 1975 copy of Better homes and Gardens – now an antique!
My copy is tattered and the pages are falling out. This is one of my favorite cookbooks when I was just learning how to cook. My favorite and first cookbook when I was in college – And I still use it today!
Chef Mary Platis’ Herb Class at the RSF Garden Club. Cooking classes at my school are all hands-on and interactive! I wanted you to visualize what it would be like if you attended one of my culinary classes. It’s a shame we don’t have a scratch and sniff button on this computer. Hopefully, by the end of this stream of colorful pictures, you will want to jump right in, and sign up for a Fall class! This class was an Herb class that I had taught earlier in the summer. Visit my blog for my new class list, or go to RSF Garden Club for more information.
I can’t believe my mom talked me into coming!
Is this a fashion show or a cooking class?
I do ALLOW licking!
She took my idea! Do I say something?
We come here just for the team facials!
Don’t tell anybody but we just made a big mistake. They’ll never know.
What did they just add to that recipe? They look too happy!
Are we on Food Network yet?
That was a loud slurp! I should sign her up for our next cotillion class.
Oops- I thought I gave her a copy of the recipe?
With those wrinkles, I definitely need the name of a doctor.
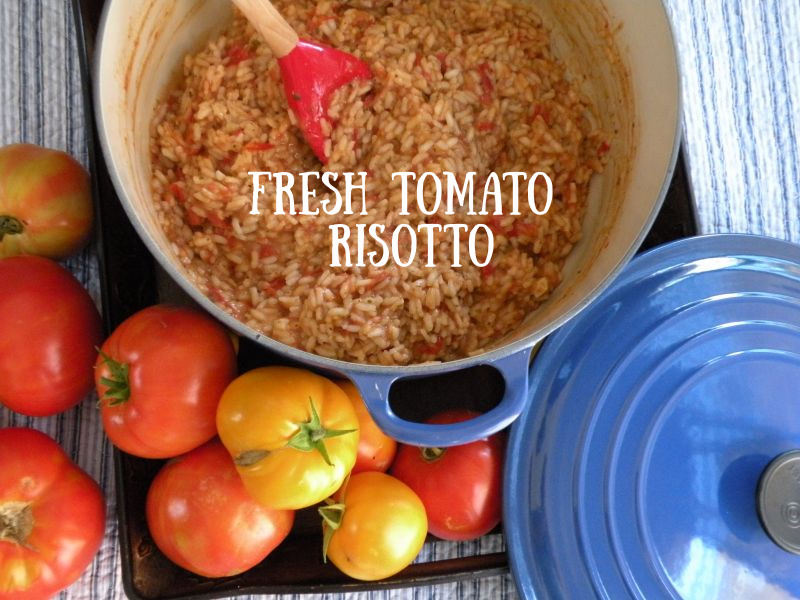
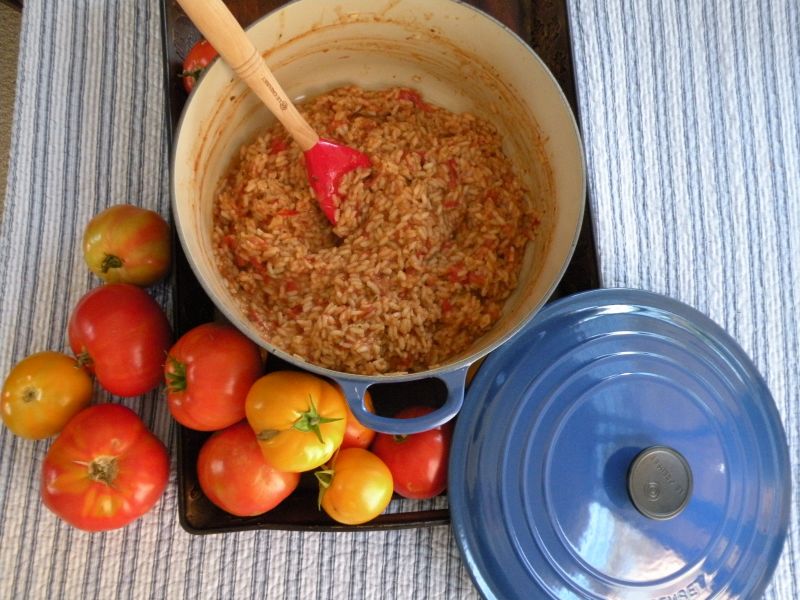
Here is a wonderful way to use up all those summer tomatoes from your garden or if your at the farmer’s market stand and you spot these lovely tomatoes, take home a bag for this incredible recipe. First of all, I attended the Western Food Show on Sunday in San Diego, and I sat in as Mark Peel from the Tar Pit, and Campanile Restaurant in L.A. demonstrated how to make risotto without a recipe. Now, I got it. Once, you’re shown how to do this, it finally makes sense. He covered the why and why-nots, and explained the chemistry behind the making of this dish. So, here are a few tips to remember:
Make sure you have a heavy bottom pot to make this recipe. I have a Le Creuset pot, which I love.
Do not plan making this unless you have time to stir, stir, and stir. Around 45 minutes total.
Prepare all your ingredients ahead of time.
Relax, enjoy the process, and cook with your senses!
Prep all your ingredients before you begin cooking.
Bring the stock to a simmer in a medium pot. Leave on the burner on low.
In a small pot add the tomatoes, and basil and cook on low until warm. Leave the burner on simmer. (remove basil)
In a large dutch oven or deep 4 qrt. skillet over medium heat, add the olive oil.
When the olive oil is sizzling, add the garlic and stir for a minute or two, (do not brown) ,add the rice and one teaspoon of oregano saute for about 2-3 minutes.
Begin adding the tomatoes slowly, one cup at a time. Cook until all liquid has been absorbed and continue stirring. Add the rest of the tomato sauce , one cup at a time, until all the sauce has been used. Add the salt and pepper.
Then, begin using the stock, again one cup at a time. It's perfectly cooked when the rice is tender to the bite. If you need more than 4 cups of stock, add more or use less. This process should take about 45 minutes.
Taste again and adjust the seasonings.
When done, stir in the butter.
Add the parmesan cheese and stir.
Taste and adjust before serving.
Prep all your ingredients before you begin cooking.
Bring the stock to a simmer in a medium pot. Leave on the burner on low.
In a small pot add the tomatoes, and basil and cook on low until warm. Leave the burner on simmer. (remove basil)
In a large dutch oven or deep 4 qrt. skillet over medium heat, add the olive oil.
When the olive oil is sizzling, add the garlic and stir for a minute or two, (do not brown) ,add the rice and one teaspoon of oregano saute for about 2-3 minutes.
Begin adding the tomatoes slowly, one cup at a time. Cook until all liquid has been absorbed and continue stirring. Add the rest of the tomato sauce , one cup at a time, until all the sauce has been used. Add the salt and pepper.
Then, begin using the stock, again one cup at a time. It’s perfectly cooked when the rice is tender to the bite. If you need more than 4 cups of stock, add more or use less. This process should take about 45 minutes.
Taste again and adjust the seasonings. When done, stir in the butter.
Add the parmesan cheese and stir.
Taste and adjust before serving.
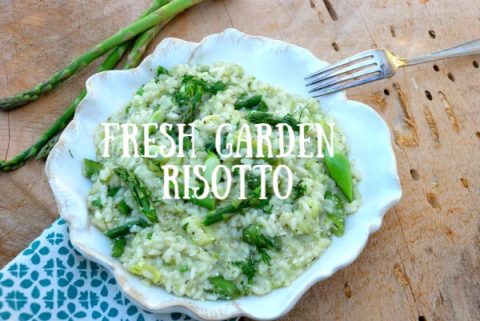
Enjoy as a side dish, or a main dish with accompanied with a salad.
Just recently, I had the honor of sitting down with a group of lovely administrators from the Bragg Live Foods to explore the world of health and nutrition. They are located on rolling acres in the Santa Barbara area. As we arrived we spotted the entrance sign and couldn’t believe that they have been in business for over 99 years! I took a moment to try and reflect back to how this California property might have looked back then, peaceful, quiet, untouched, clean water…
We took an inspiring tour of the property and this building was a gardener’s dream with Adam in Marketing. The lush ivy embraced the architecture of this wood- sided county building.
Of course, I always look for the flowers on properties and look what I came across! In full bloom, rows and rows of these pink ladies!
Dr. Patricia Bragg loves her rose garden, and I definitely can see why. Roses arbors, trails, and meandering paths embrace you in sweet smells, perfuming the air.
More roses…
And more roses… breathtaking!
Dr. John Westerhall, explained to us that this rose collection is so loved by the community, that they invite garden groups here every year for annual tours of the property.
At last, here we are around her serene fountain for a photo opportunity.
We had a wonderful day exploring their organic farm in which they produce organic apples, a variety of vegetables, and rows and rows of greens and lettuces for the local children in the nearby school districts. (I wish I had a picture). Along with all this, they have recently developed and planted an extensive fruit orchard with exotic plants as well as local California fruit.
Thank-you to the Bragg employees, we had a delightful day. Mary
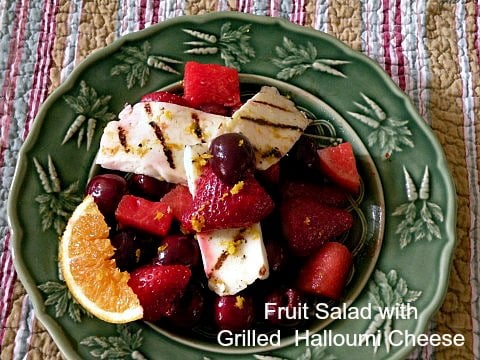
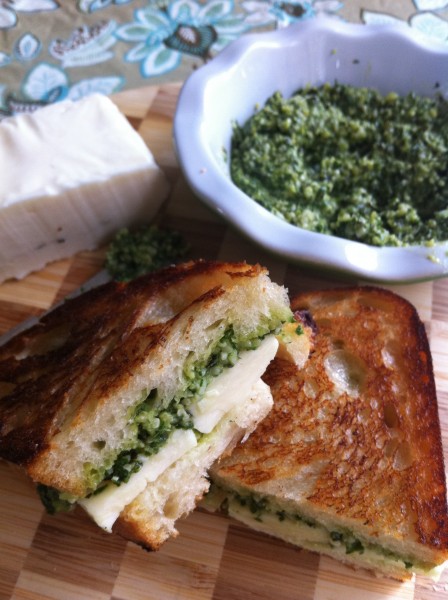
Halloumi is a cheese from Cyprus, made from goat’s milk. In Greece, it’s fried and lit on fire as an appetizer. This cheese can be BBQ, or fried. It’s quite delicious. I wanted a healthier version so I grilled the halloumi, and topped it with seasonal fresh fruit. Roasting the fruit brings out a rich flavor and savory taste. I cut the strawberries and cherries in half, and the watermelon in small chunks for a more chunky style. This also makes a great appetizer, just grill the cheese slices and place in a platter and sprinkle the fruit all around. Serve with a crusty bread. I served it as a salad after the meal. Halloumi has a tough starchy texture that holds up for grilling, so do not try and substitute another cheese.
Facts About Halloumi
Halloumi has a high-melting point and retains it’s shape when cooking.
It’s stored in a brine, keeping it’s salty and tangy flavor.
Traditionally, it’s made from sheep’s and goat’s milk.
Greeks like to serve it with lemon juice and ground pepper and grilled vegetables.
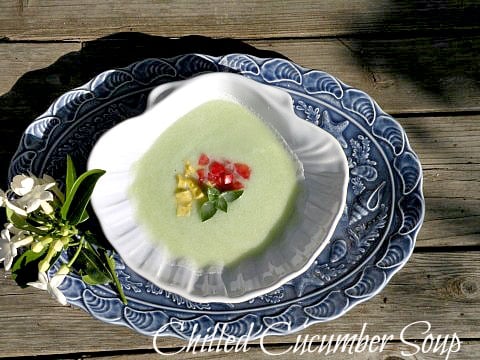
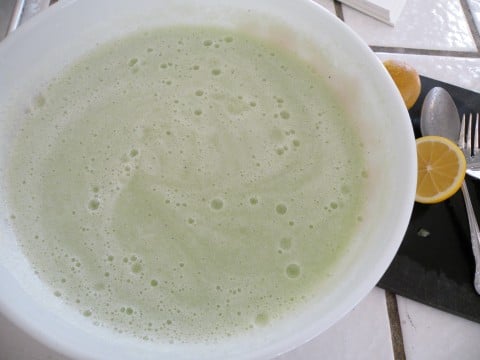
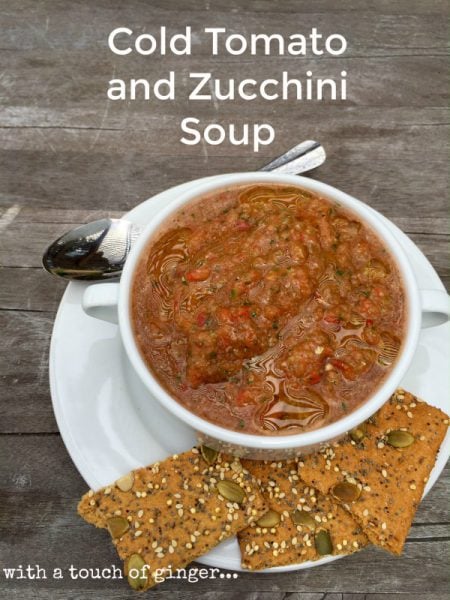
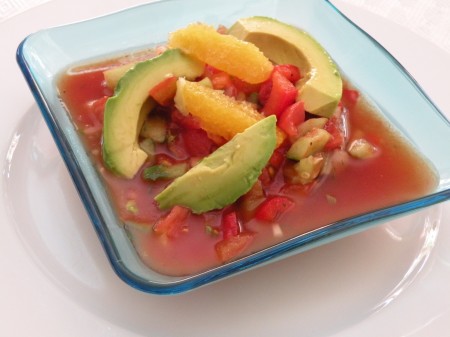
Everyday as I wander through my garden, and I’m actually scared to look at my cucumber vines! Why? Well, among the twisted mangled leaves lay a newly crop of ready to pick ripe cucumbers . Now, what? Instead of your typical cucumber salad, I played around with a cold soup for these haunting hot days we have been having. A no- cook, no BBQ recipe. Fast and easy. I love topping my soups with something delicious and fast so I chose fresh tomatoes and my “fav” an avocado and a dollop of Greek yogurt in the center, which makes me happy after a long day in the garden. Use any combinations you want for topping, but keep it light and fresh. And you can omit the yogurt or sub in sour cream. Don’t forget the Greek basil, parsley, or dill on top. You can serve this soup at an outdoor party but keep the yogurt chilled on the side.
Let’s Begin
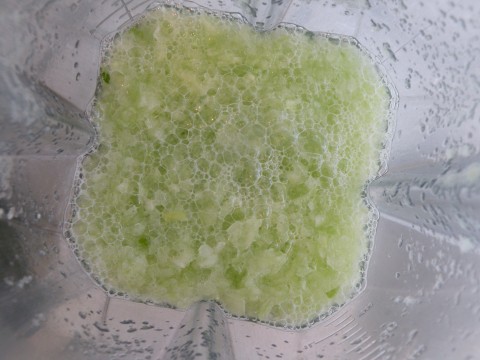
Gather all your ingredients before starting, this is called “mise en place”, everything in place.
Use a blender or food processor and combine until smooth. Make sure you taste it with a clean spoon before going on to the next step.
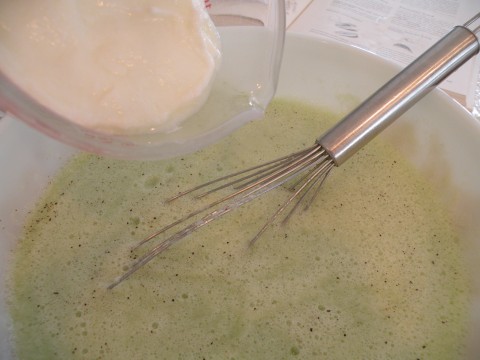
Add the yogurt and whisk until blended. Add the seasonings.
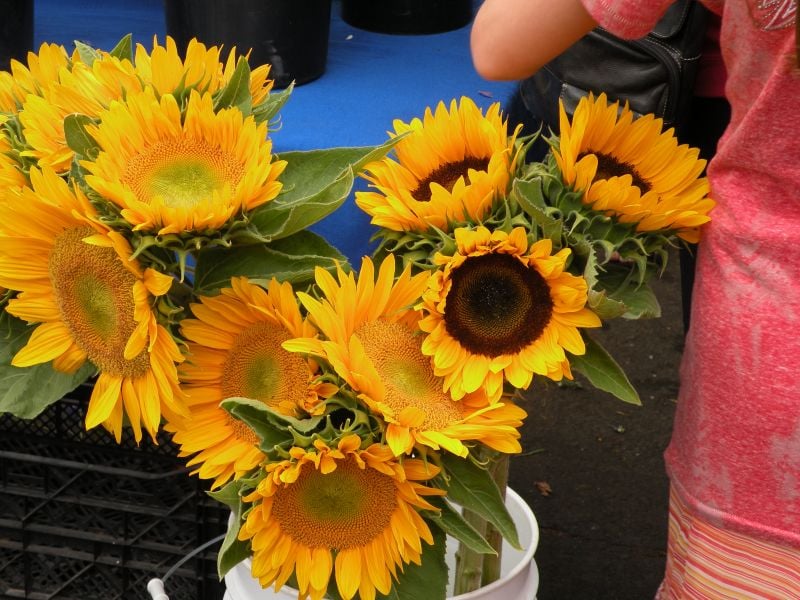
Recently, as I traveled to Santa Barbara, I had a free Saturday to wonder around and explore the city. I decided to treat myself to the local farmers market here in town. This market was bustling by the time I arrived and as I glanced down the rows of the various farmers and vendors I became overwhelmed, as well as excited to dive right in. There were flowers, olive and walnut oils, fresh jams, orange-blossom honey, beautiful ripe melons, mushrooms, berries, savory herbs, fresh picked eggs, and a bountiful selection of vegetables, I could hardly stand it! If you’re passing through or stopping in for a visit to this quaint town, this farmers market is worth the visit! This one is on Saturday morning, in the downtown area, on the corner of Santa Barbara and Cota -8:30-1:00p.m. And don’t forget to pick up a recent copy of Santa Barbara Edible.
Enjoy the pictures, they can stand alone, they are so beautiful!
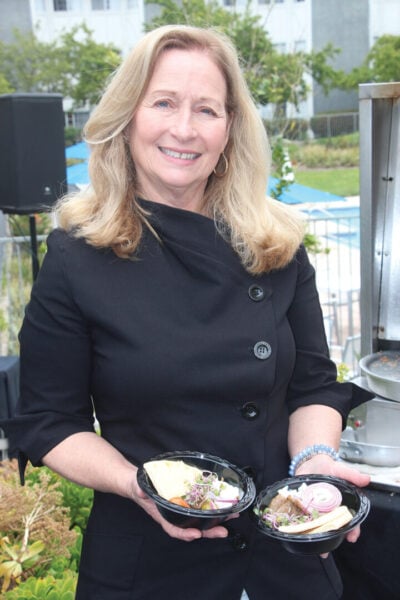
Hello from California Greek Girl. I’m the owner of Ethos Culinary located in the beautiful city of Carlsbad. Join me as we explore California’s bounty of foods, farmlands, and culinary experts. I’m looking forward to bringing you Greek, Mediterranean and Plant-Forward Cuisines. OPA!


 Hello from California Greek Girl. I’m the owner of Ethos Culinary located in the beautiful city of Carlsbad. Join me as we explore California’s bounty of foods, farmlands, and culinary experts. I’m looking forward to bringing you Greek, Mediterranean and Plant-Forward Cuisines. OPA!