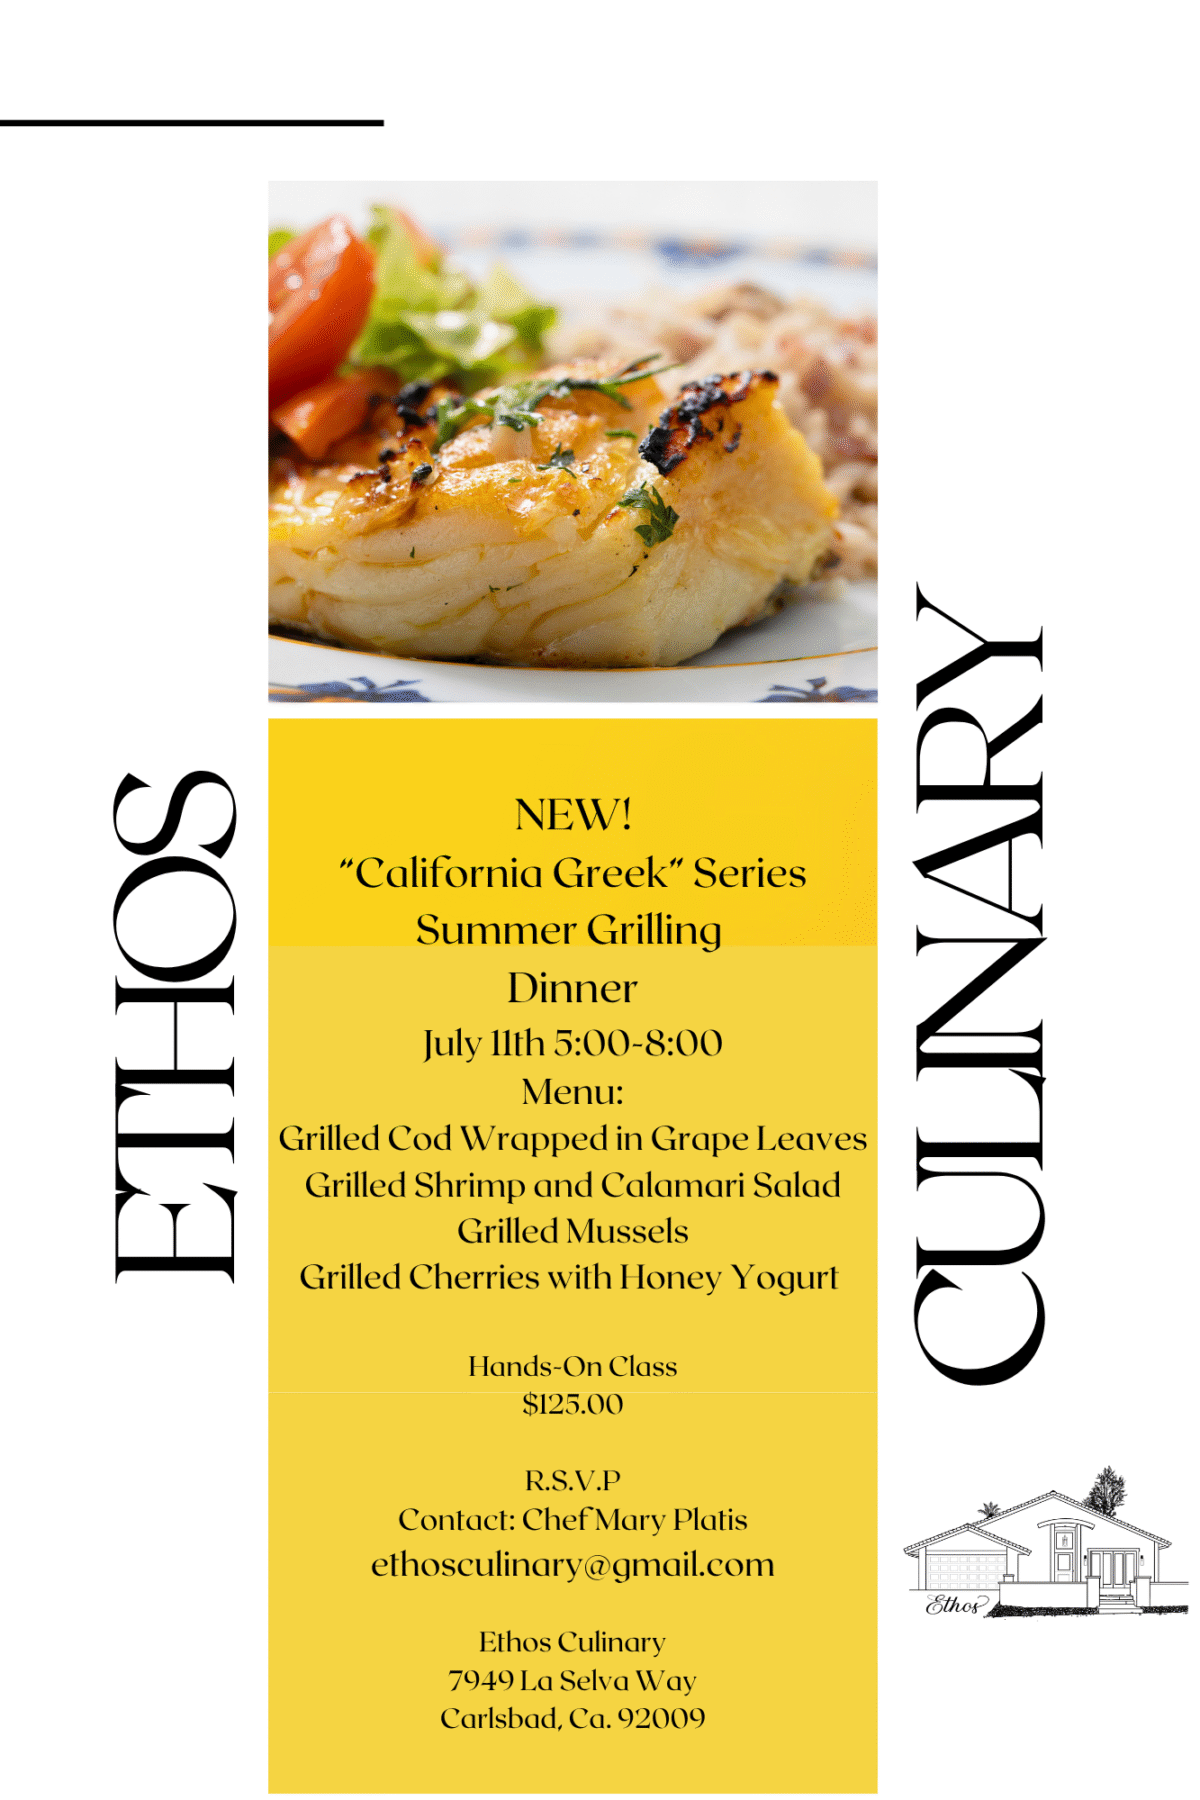
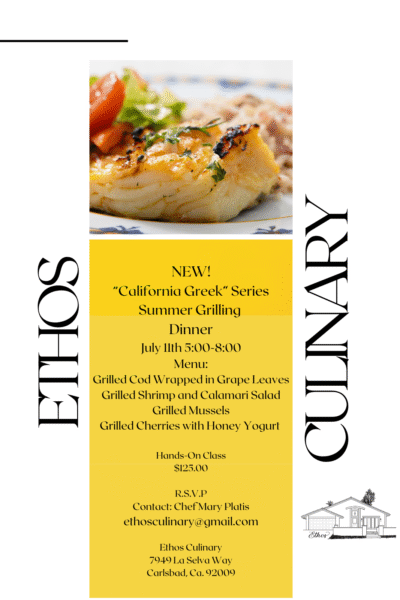
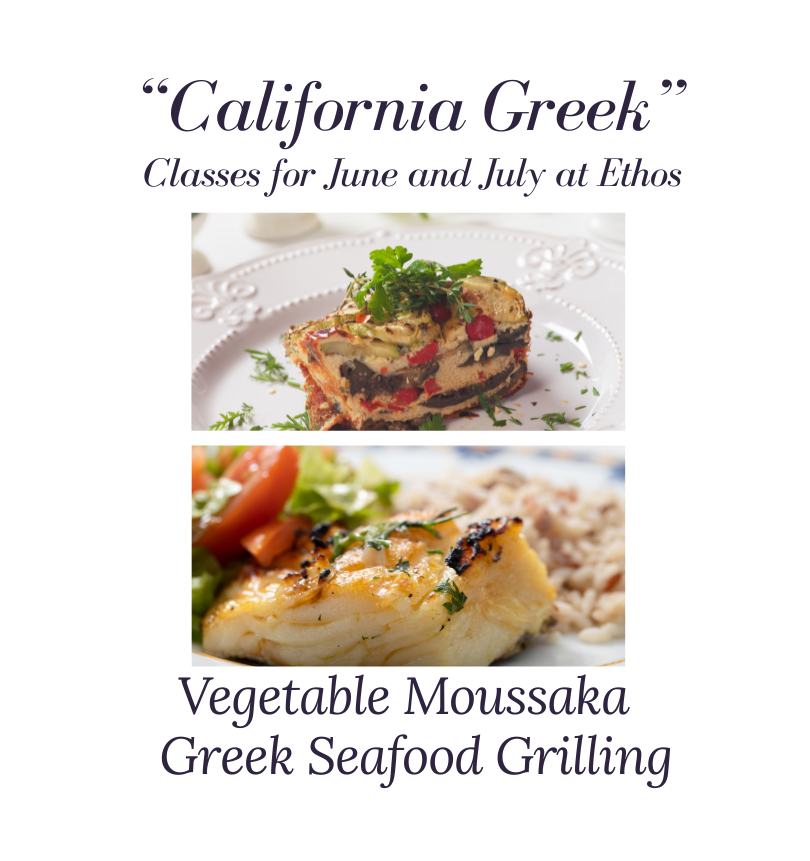
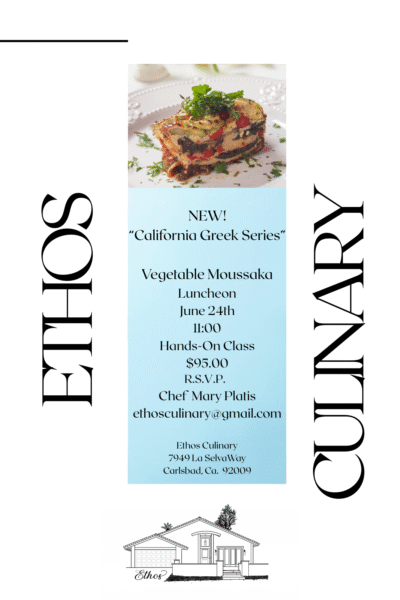
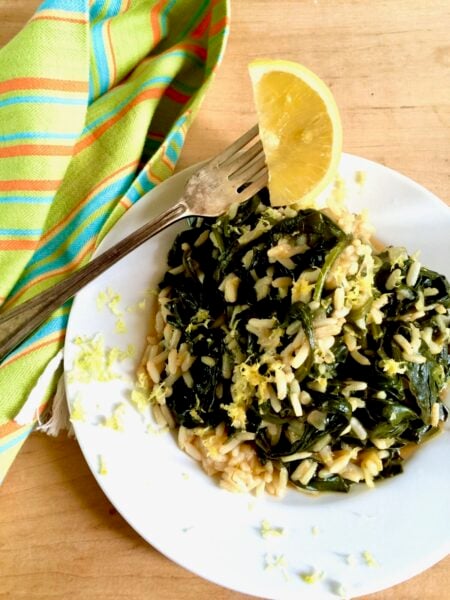
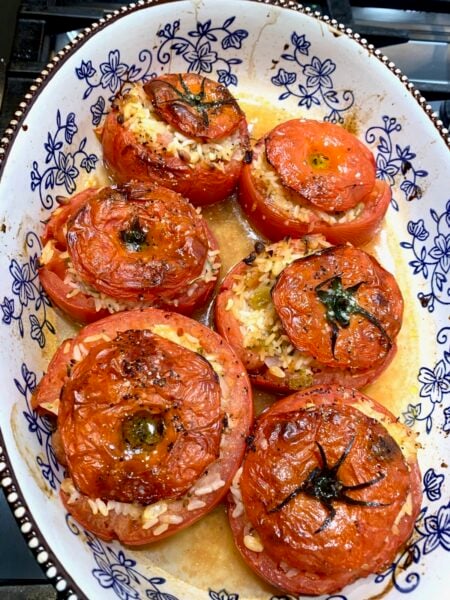
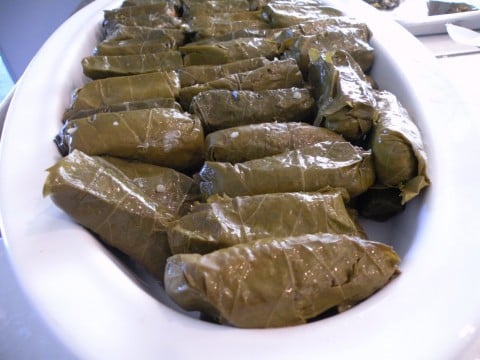
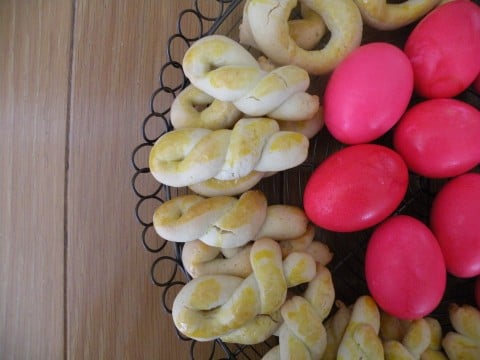
It’s Grilling Season and a perfect time for my “California Greek Series” of culinary classes at Ethos Culinary, located in beautiful coastal town of Carlsbad, in San Diego!
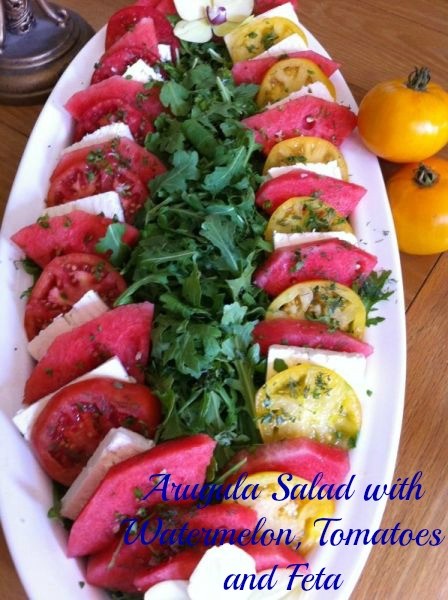
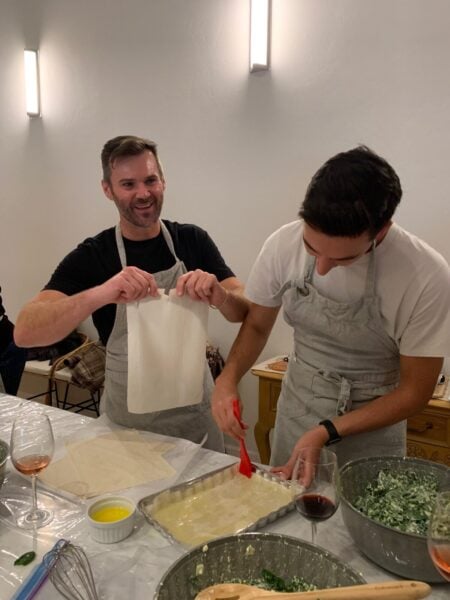
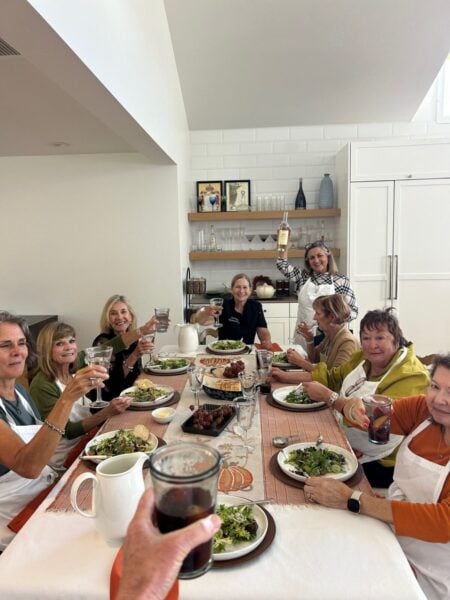
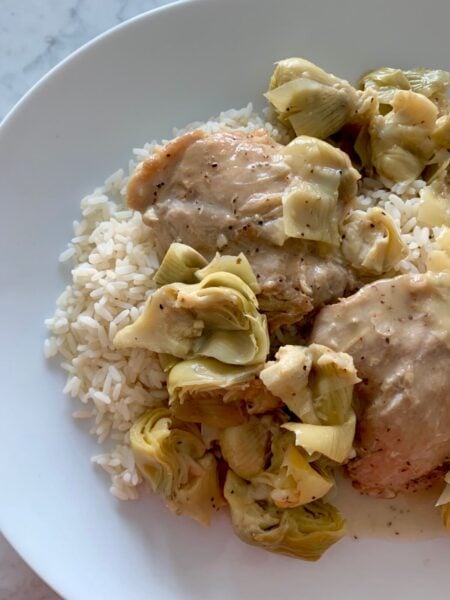
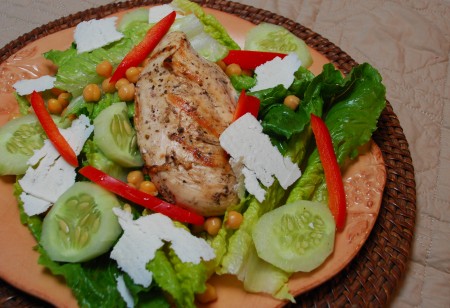
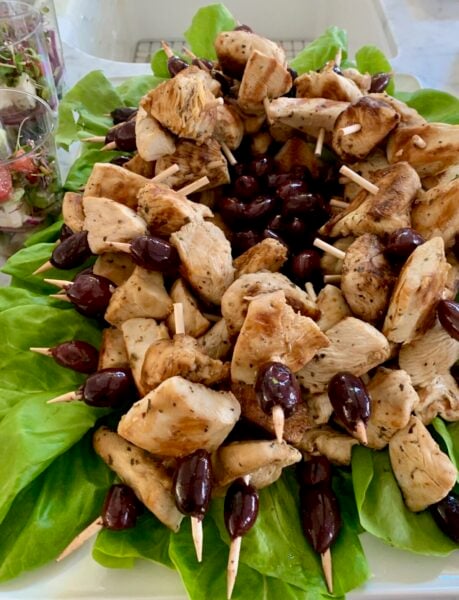
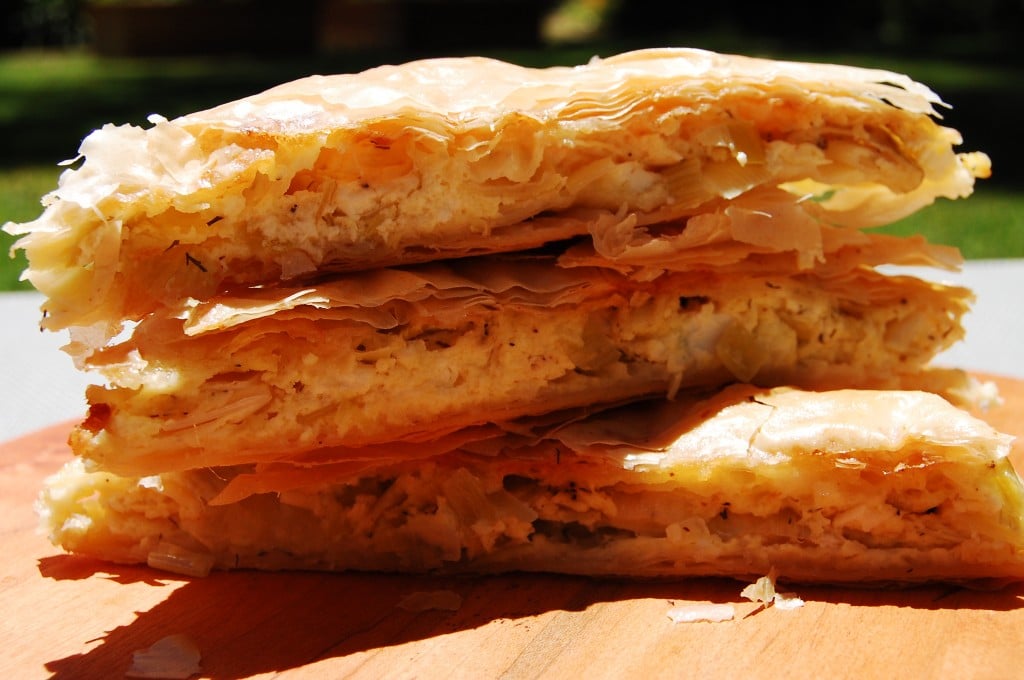
It’s all about being outdoors on these beautiful summer nights and enjoying the smell of grilled smokey flavors from the many methods of grilling. A few posts back, I wrote about grilling at home with some great tips and entertaining ideas for your outdoor experience. You can find that post here, Grilling Outdoors 101. This month I launched a new set of recipes from my “California Greek Series” as a Dinner Event on June 11th. This will be a hands-on dinner, and we will step outside to grill and have dinner in our garden.
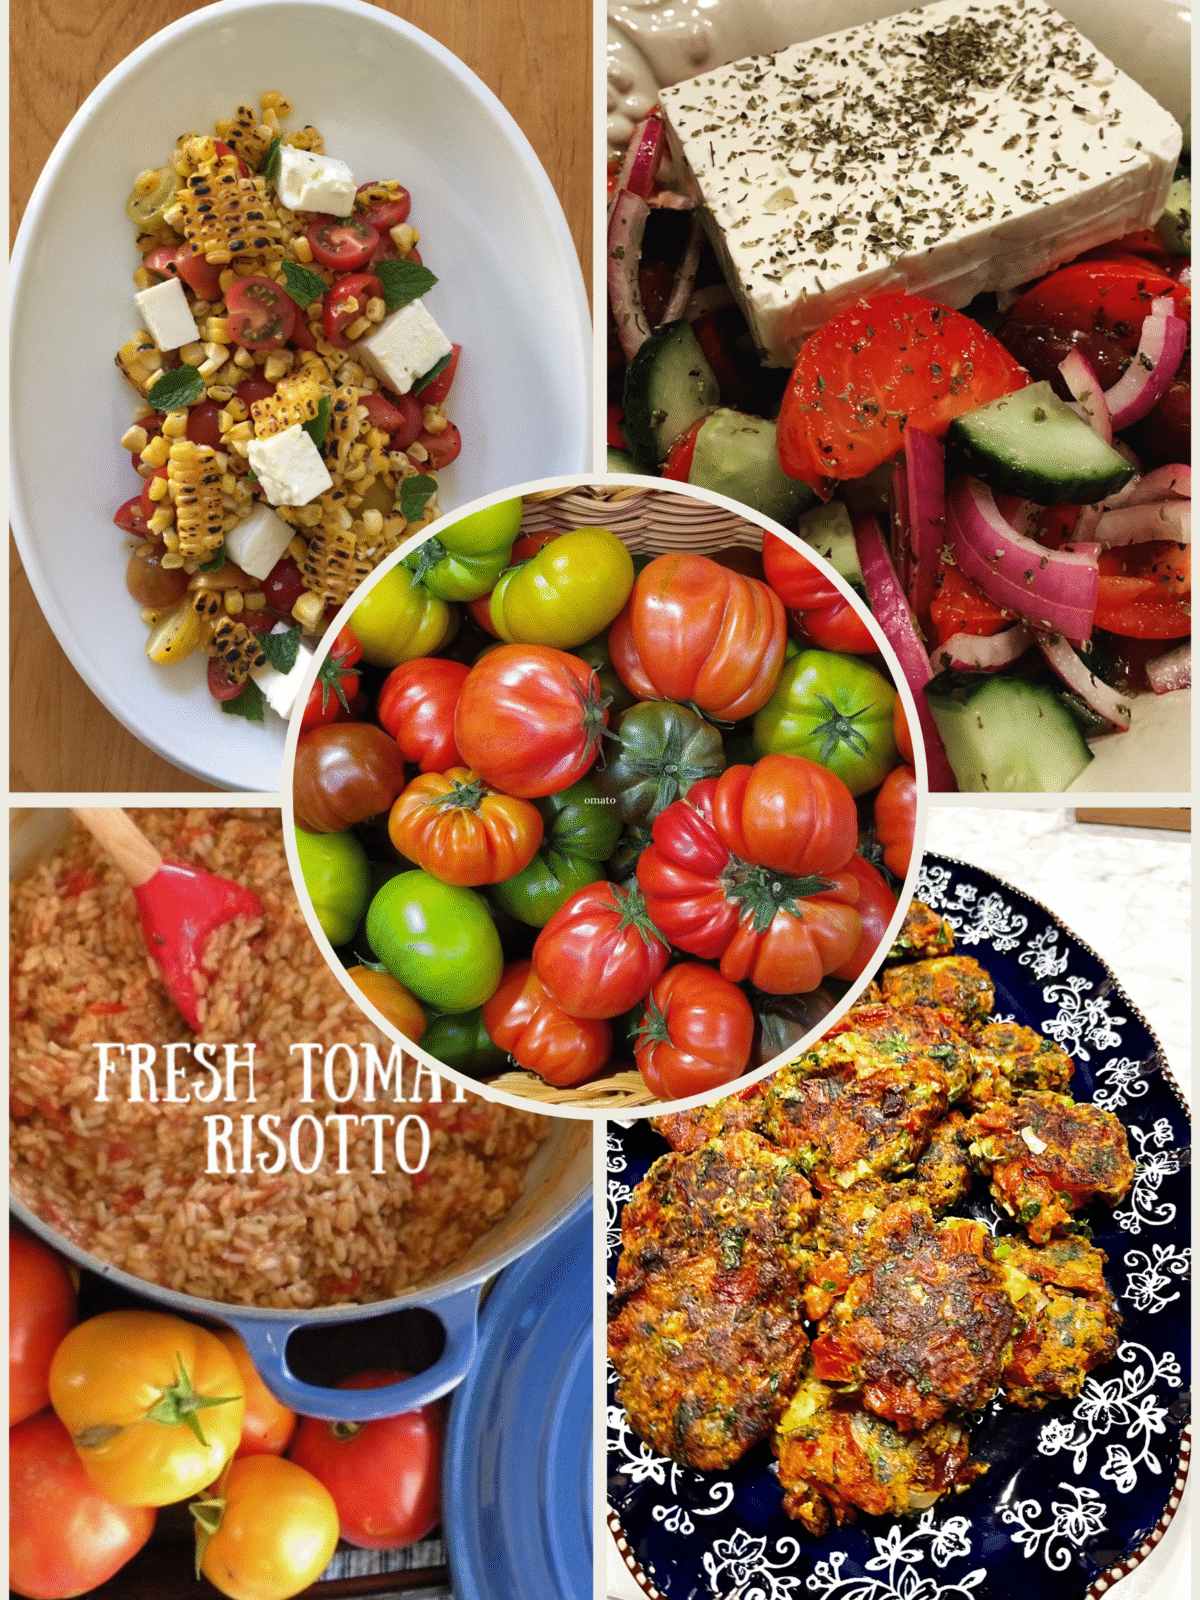
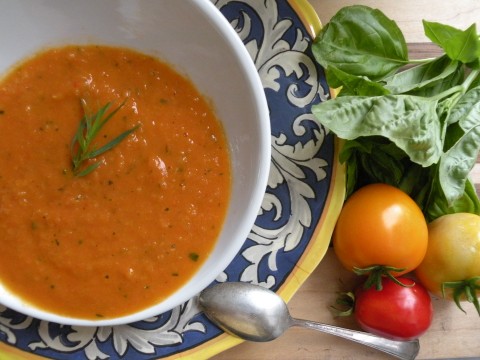
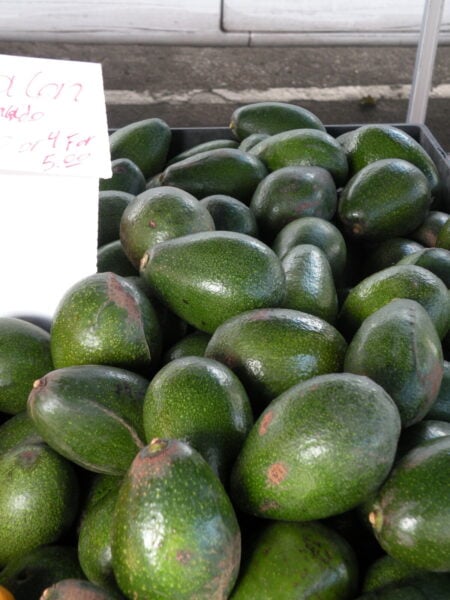
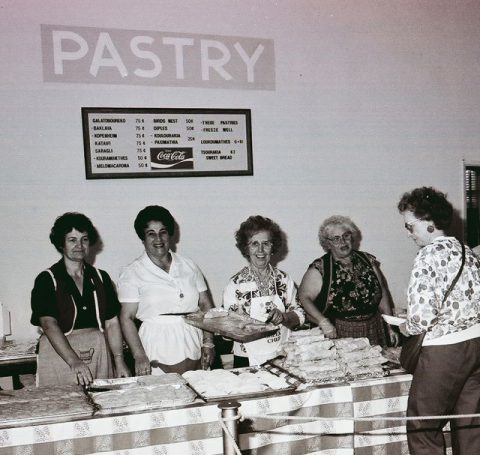
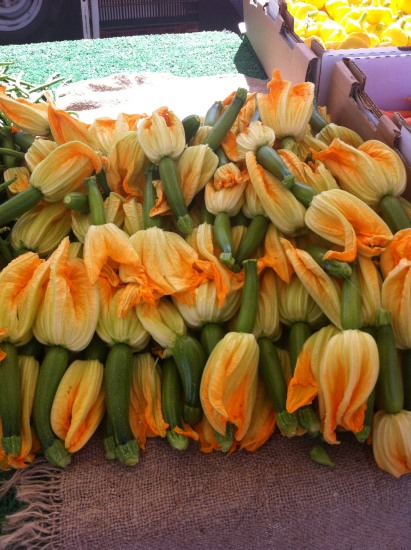
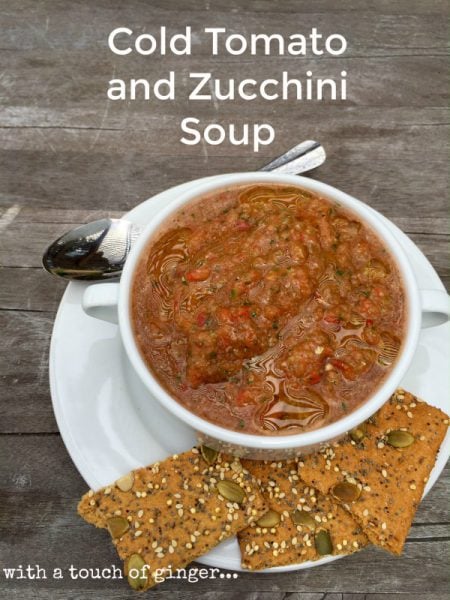
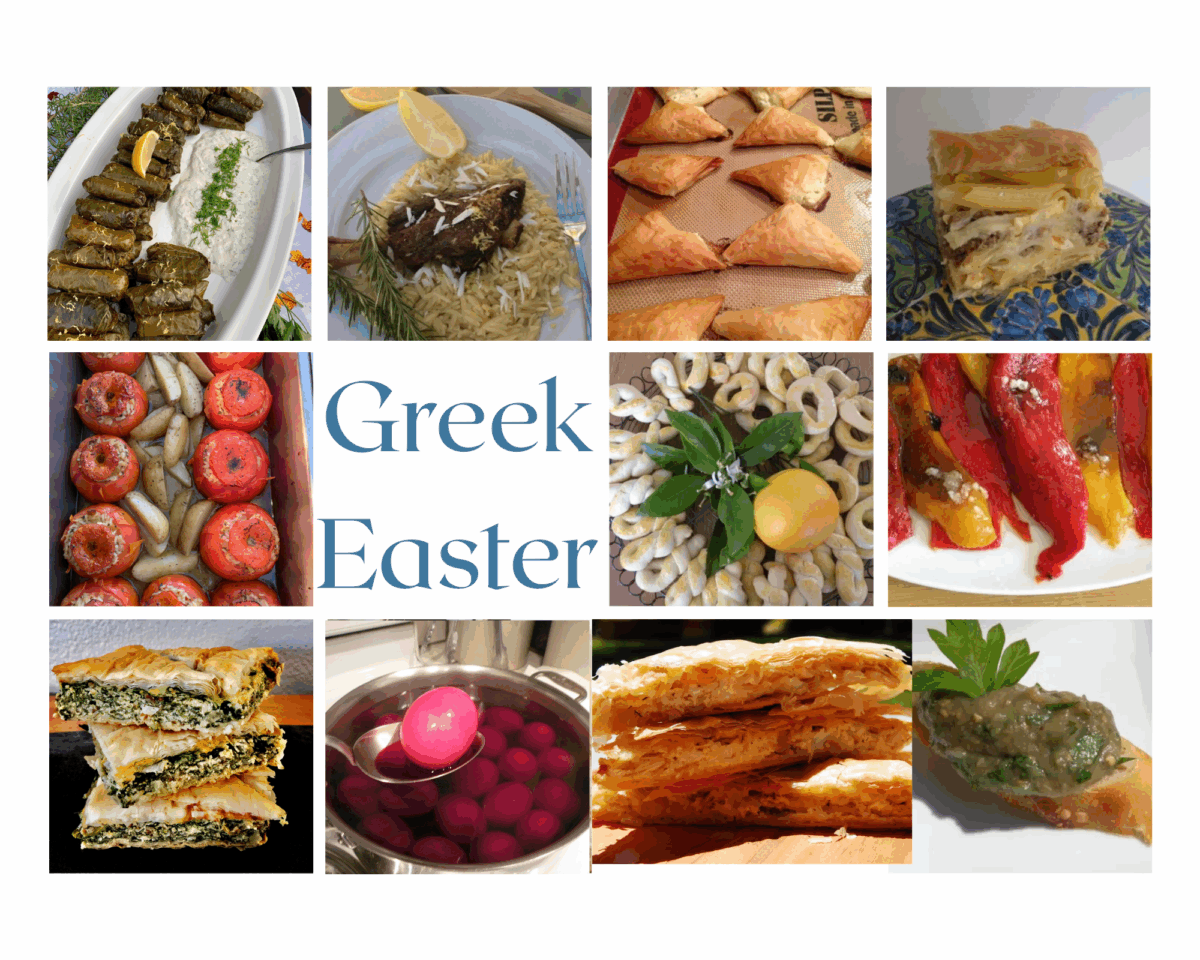
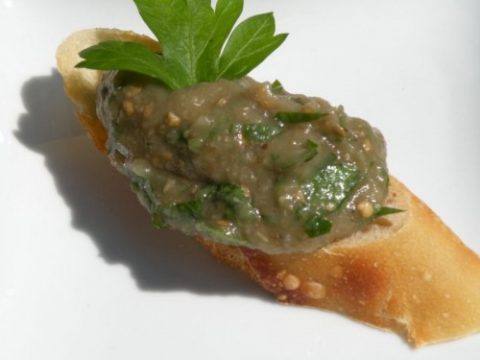
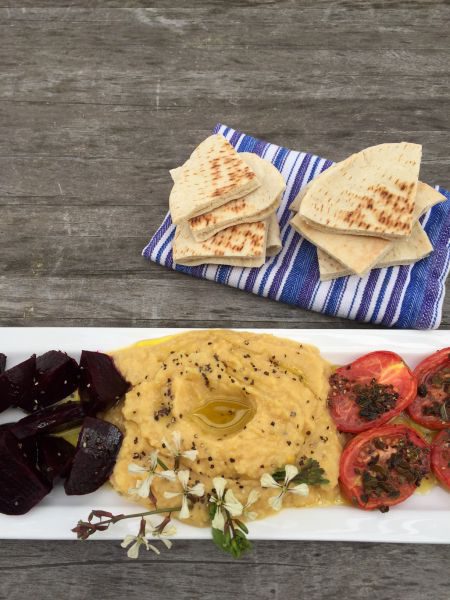
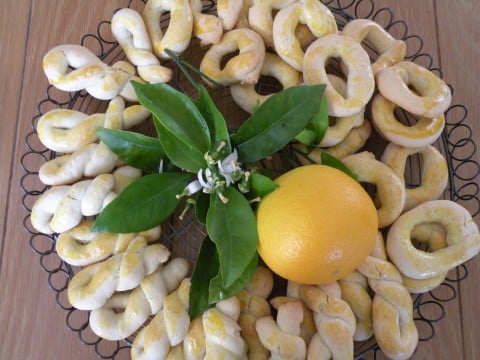
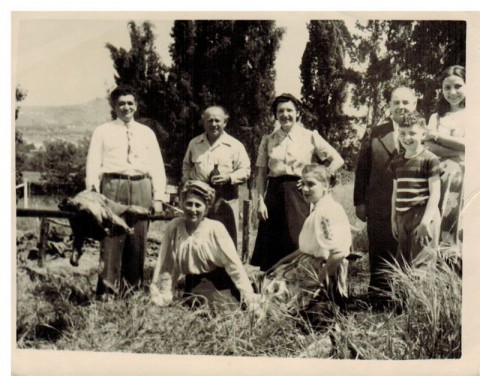
As in Greece, in the summertime, everyone steps outside for meals including breakfast, lunch and late dinners. There is nothing like it, as you enjoy the long hours of dining and meeting new friends and relatives in your nearby cities. Many of my dining experiences in Greece included having dinner with our family at a local Farmer’s home (actual in his driveway) and enjoying the BEST pork chop I have ever devoured in minutes. Another time was a visit my cousin’s village in Corinth and eating the best and freshest seafood buffet of calamari, shrimp and clams! What a feast!
After experiencing this in real time in Greece, I’m bringing my experience to you, for this special series of dinners and classes. Let’s meet and spend the summer together.
Please join-us! For tickets; email me at ehtosculinary@gmail.com for information to reserve your spot. It is limited seating, and if necessary, I can repeat this class in August.
See you soon,

{ 0 comments }


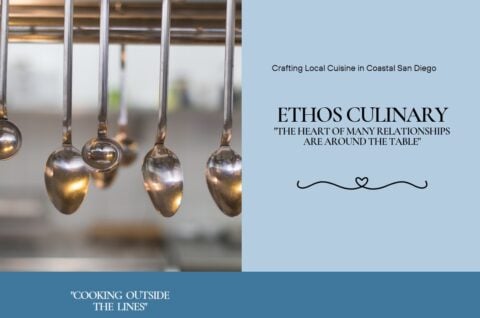

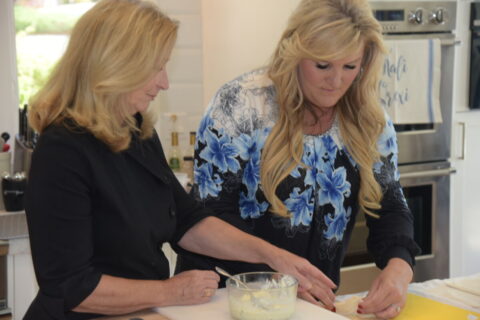
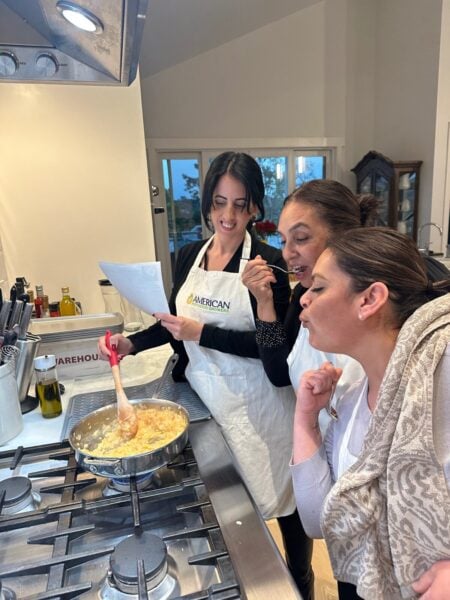


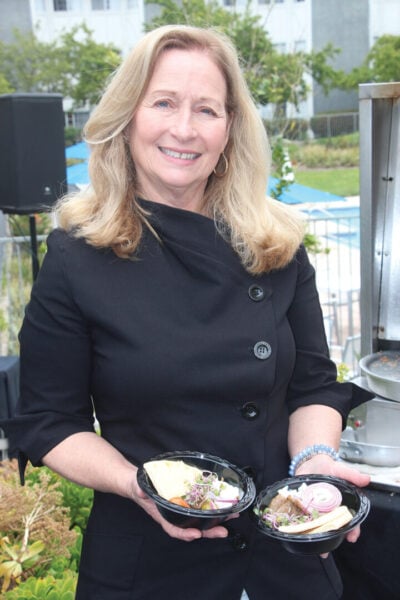 Hello from California Greek Girl. I’m the owner of Ethos Culinary located in the beautiful city of Carlsbad. Join me as we explore California’s bounty of foods, farmlands, and culinary experts. I’m looking forward to bringing you Greek, Mediterranean and Plant-Forward Cuisines. OPA!

