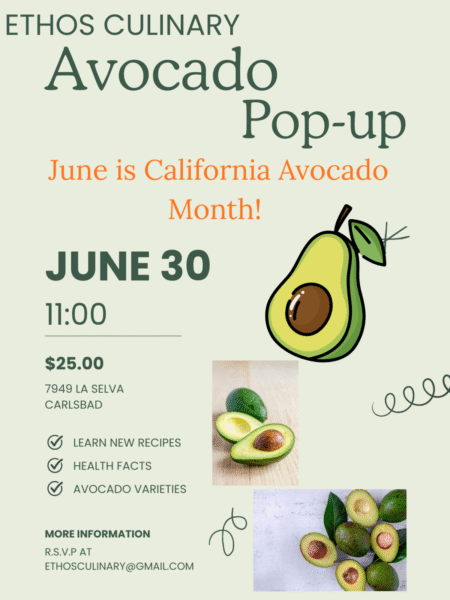
This month happens to be “California Avocado Month”. And I decided to add to the celebration by having an event on cooking with avocados, a simple drop by pop-up, on the beautiful fruit we all admire. Here, in San Diego we have many farms that specialize on growing avocados. In fact, I grew up in my Uncle Mike’s avocado ranch out in Spring Valley area. We not only ate many avocados during that time, but I also actually saw my mother and aunts using it as a face cream!
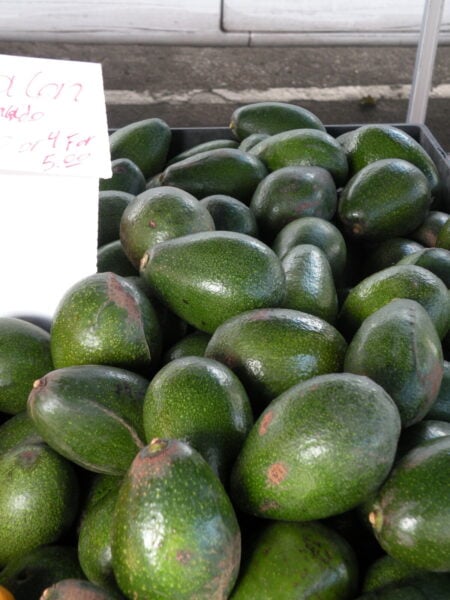
Once you attend a farmer’s market and see a box of avocados, you can’t pass them up
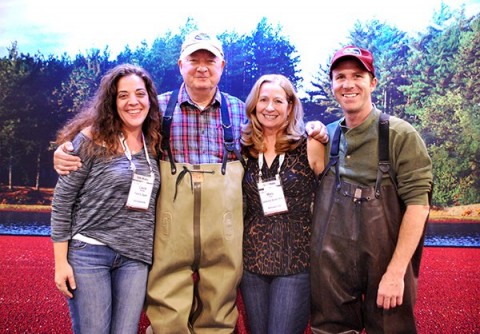
This grove I visited with a group of food bloggers many years ago and will never forget how beautiful these trees are. The canopy is breathtaking as the sun shines down into the wooded pathways.
To register for the Pop-Up, email me at ethosculinary@gmail.com for tickets.
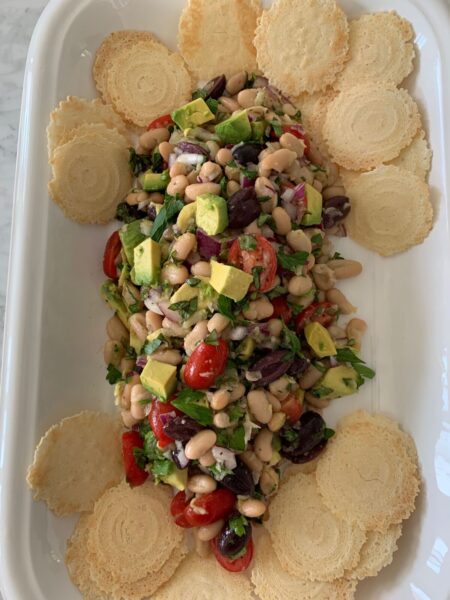
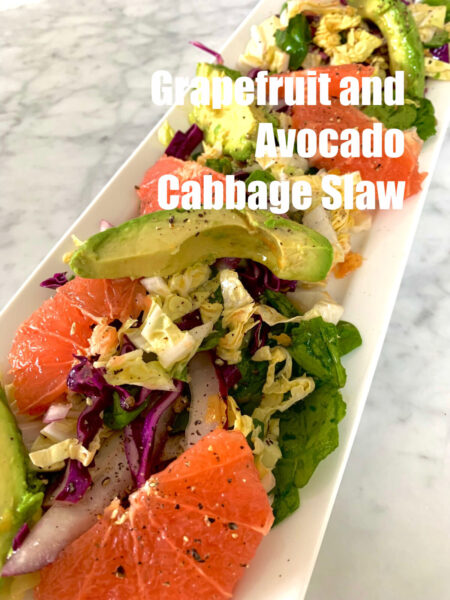
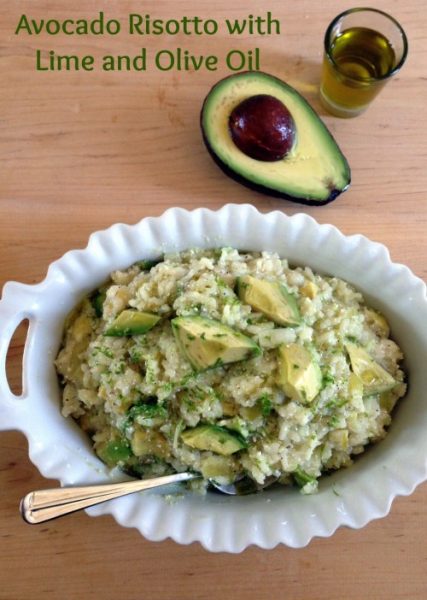
You may want to visit my many California avocado dishes!
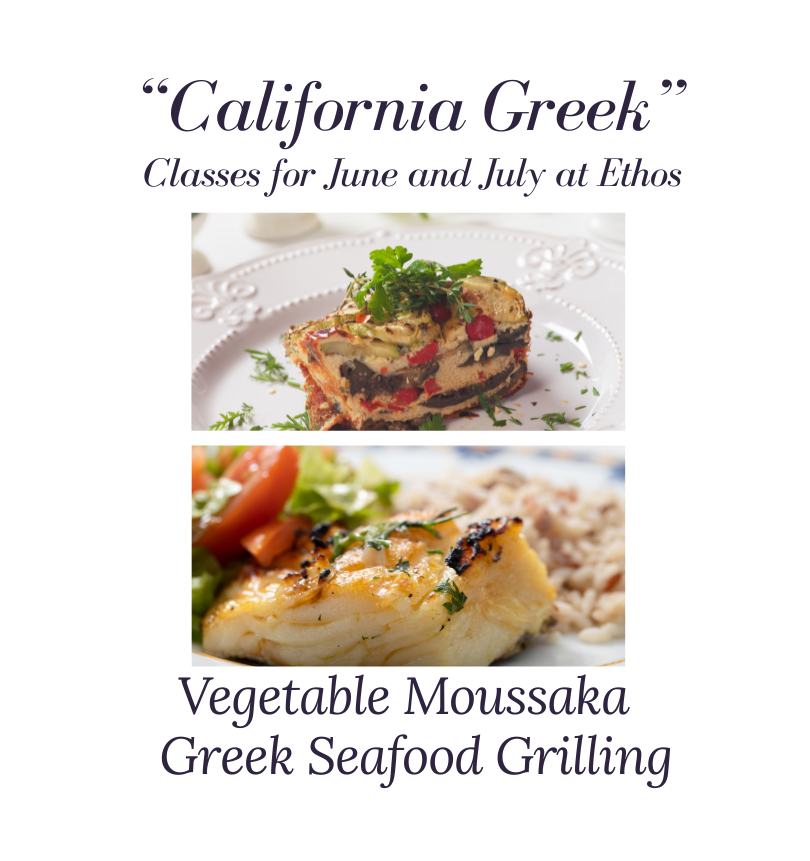
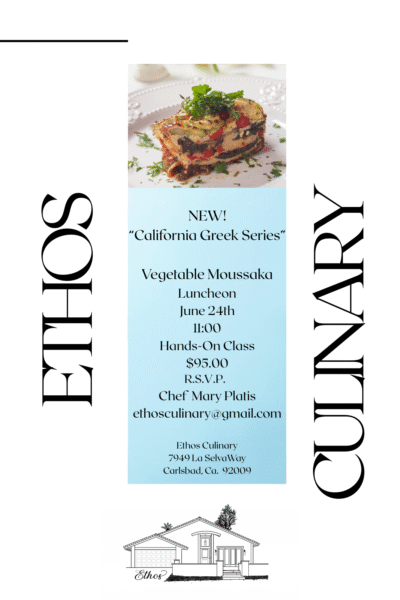
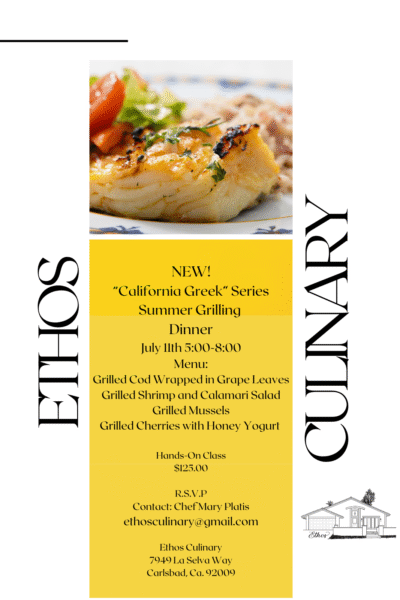
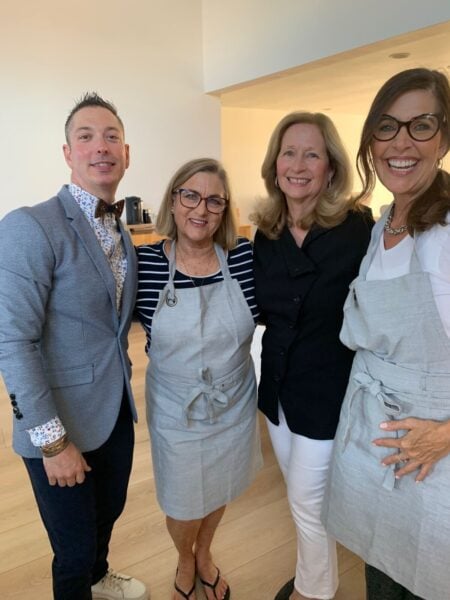
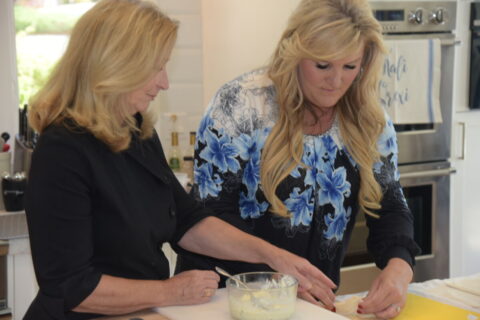
Our two new ” California Greek ” classes are underway here at Ethos Culinary during our beautiful summer months here in San Diego. We encourage you to join us for a hands-on experience for both classes. We have found that these events are the most requested. You can select your choice of classes through our Private Team-Building events. I can say these events have been the most fun, meeting local companies and their employees while cooking together!
Our classes are listed below, so please email me at ethosculinary@gmail.com to register for a class. I will send you a confirmation and payment method once I receive your email. See you soon, Chef Mary
If you would like a private class for a birthday or celebration, please contact me at ethosculinary@gmail.com. Ideas for a private event may include book signings, birthdays, guest chefs, wine tastings, olive oil classes, and social events.
A private book signing at Ethos with great friends.
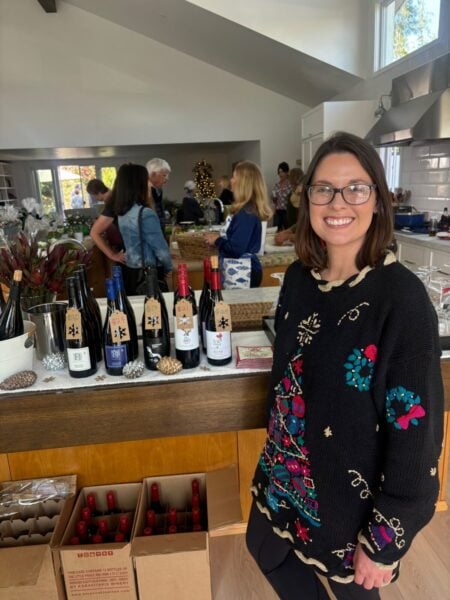
Greek Wine Tasting with our Local Rep.
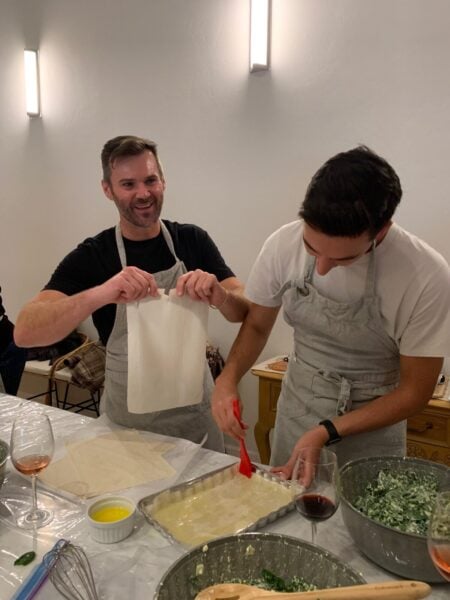
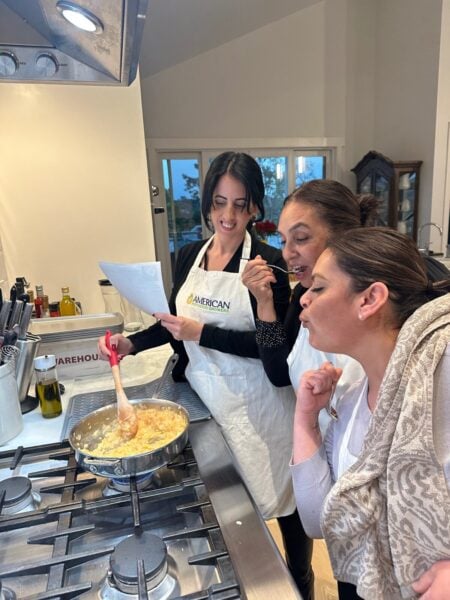
Hands- On Team Building
Dinner with Farmer’s Dinner Series
How to Sign Up for Classes
Please email me for any questions or sign-up for a class, at ethosculinary@gmail.com.
Don’t’ forget to sign up to receive our free newsletter for more upcoming classes and events above.
For more details about our business, please visit our website at ethosculinary.com.
This month I have launched a new series of classes for Ethos Culinary called “California Greek”. Over the 20+ years of blogging, I have always been inspired to cook healthy dishes with a coastal flair from the many years of living in sunny San Diego. And secondly and most importantly, adding several recipes new and old from my Greek cultural background. My general goal is keeping my family traditions alive. This blog space has been my personal collections of stories to share with you and my thoughts on how we try and live a simple lifestyle. And lastly, I take great pride in my family traditions including my Greek Orthodox religion, and Hellenic Culture.
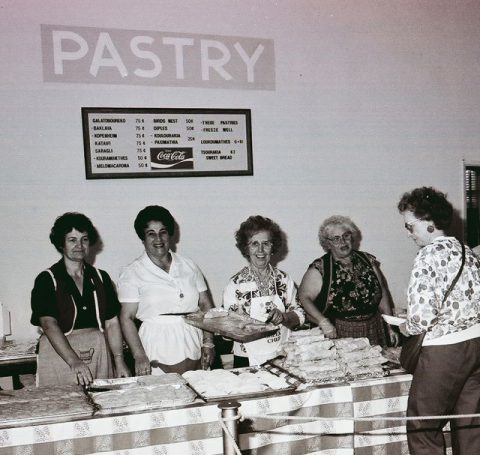
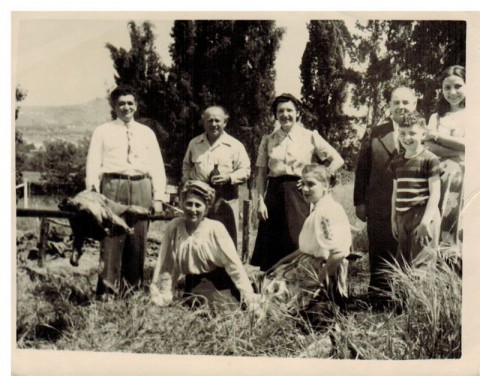
My love for baking started with these Greek ladies cooking every year for the Greek festivals, in San Diego. All my aunts and both mothers baked and participated in these activities leading up to these endless Greek celebrations.
The Greek ladies from our parish at St. Spyridon Greek Orthodox church, baking away.
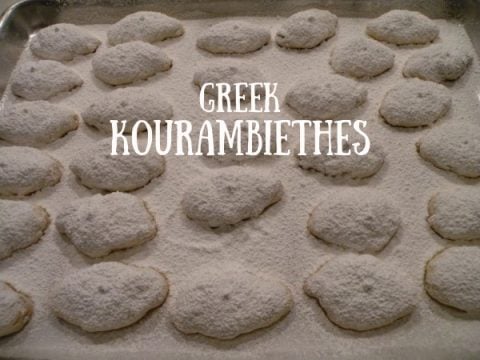
My mother Voula’s recipe for her Christmas cookies, Kourambiethes are included in my blog for all of you to enjoy!
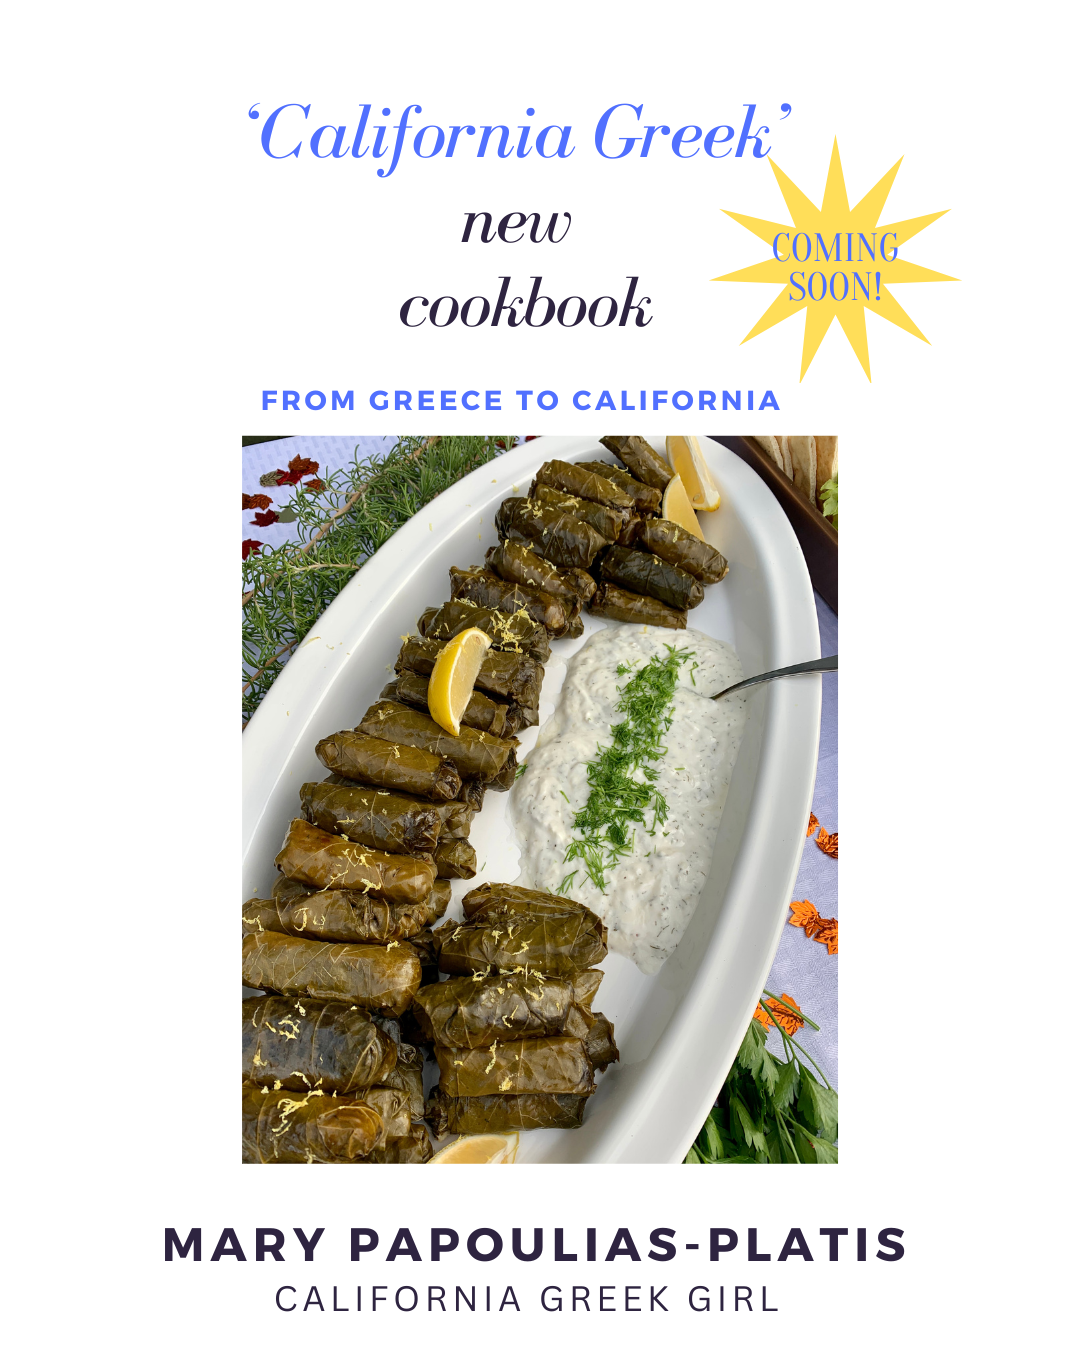
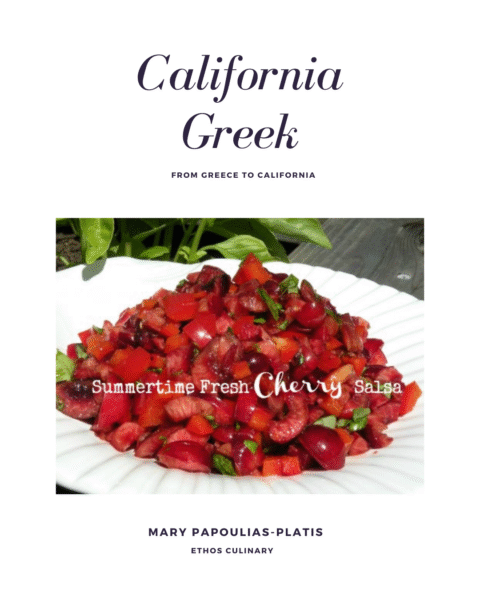
“California Greek” was my first inspiration for a future Greek Cookbook, from my blogging years and my professional culinary history. I will be spending this upcoming year writing my long-awaited cookbook. My California Greek Girl Blog has been my focus for several years connecting myself to all my followers. I’ve shared my family stories, travels and events as well as my participation in local events from working the farmer’s markets, attending Greek festivals, and expanding professional career with my Olive Oil Cookbook, working as a brand ambassador with Bragg Live Foods and teaching cooking classes throughout the state!
My Favorite Years
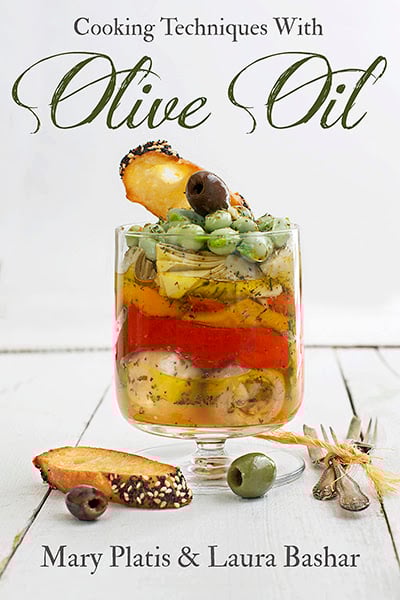
My first cookbook with photographer Laura Bashar, and eBook winner for Best Cookbook.
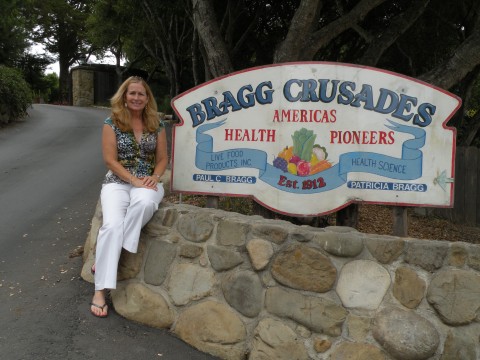
Attending my first meeting with Patricia Bragg.
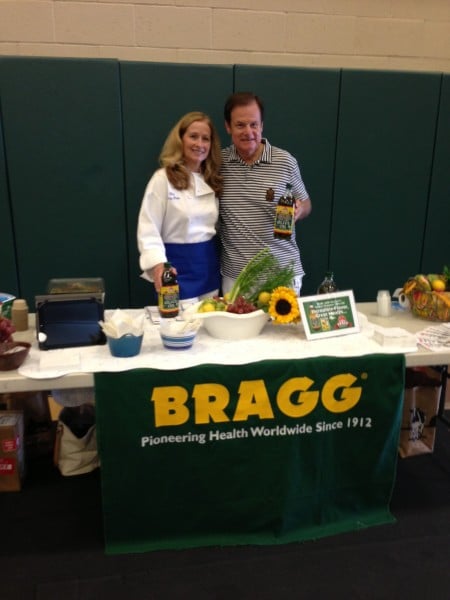
One of many events educating the public on Bragg’s Greek organic extra virgin olive oil with Dr. Westerdahl.
Along the way, came many food shows and product development for brands. And several of my fond many memories with producers at local shows. This is Expo-West.
Never missed the Bob’s Red Mill exhibit!
Meeting two of my favorite authors Karen Page and Andrew Dornenburg.
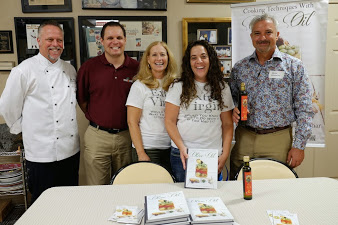
Our presentation at Melissa’s Produce with our Olive Oil cookbook.
We couldn’t refuse this picture…
Welcome to Ethos!
And we can fast forward to my latest profession as the owner of Ethos Cooking School, where I currently teach and love every moment!
A trip to Greece started my entire career into food blogging and the rest is history…
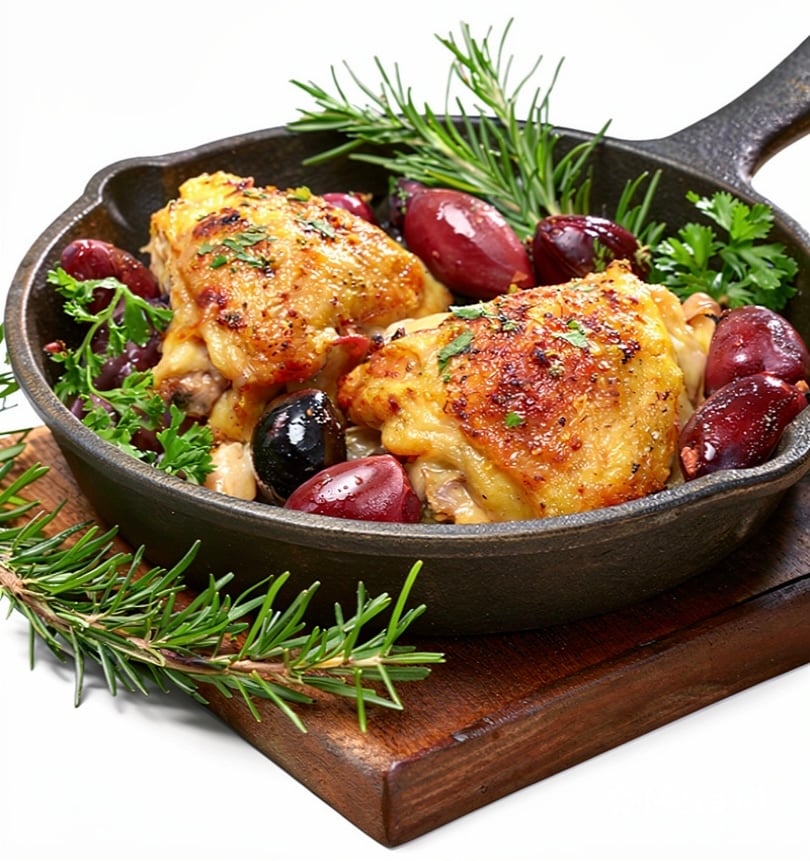
I live for one-pan dinners, especially after raising my family, and all the dinners I prepared on our busy school days. Having collected many recipes this is still one of my favorites. Simple ingredients, such as olives and rosemary, (bushes outside), which I keep on hand, and always having chicken thighs on my shopping list makes life so much easier. You can always substitute rosemary for parsley, basil, or oregano. In addition, you can always sprinkle feta on top before serving, if you wish.
Tuscan Blue is what I grow in my garden. Low water, no maintenance and they give you year around baby blue blossoms. They are also great for garden pots.
Make this for a weeknight dinner and make it Greek by adding olives and rosemary, with a sprinkle of feta at the end before serving. Tip: I always keep chicken thighs on my shopping list weekly. You can always freeze them and cook this up for a quick dinner later in the week.
Course
Lunch or Dinner
Cuisine
California Greek
Keyword
chicken, dinner, Greek, weeknight
Servings3
AuthorMary Papoulias-Platis
Ingredients
2tablespoonsunsalted butter
2ozs.pancetta, or hickory smoked bacon, diced. (about 1/4 cup)
8skin-on, bone in chicken thighs
Kosher salt and pepper
2-3 whole peeled garlic cloves
1/2 cupblack kalamata olives
4thin slices of lemons
23-inch rosemary sprigs
1/2cup dry white wine
1/2cupcrumbled Greek Feta - optional for topping
Instructions
Position rack in the center of the oven and heat the oven to 400 degrees.
Melt the butter in an oven-safe large skillet, over medium heat. Add the pancetta or hickory -smoked bacon, stirring until crisp about 4-5 minutes. Transfer to a small bowl.
Pat the chicken dry and season with salt and pepper. Add the chicken to the skillet in batches if needed, skin-side down and cook until well browned. If too much fat appears, remove all but 1 tablespoon.
Turn the chicken over, add the garlic cloves, the pancetta or bacon and olives around the skillet. Add the lemon slices and rosemary lifting the thighs slightly and placing under the thighs.
Pour the wine over everything and sprinkle with pepper. Transfer the skillet to the oven and roast until cooked through. (165 degrees), about 15-20 minutes. Remove from the oven and serve with a salad or rice.
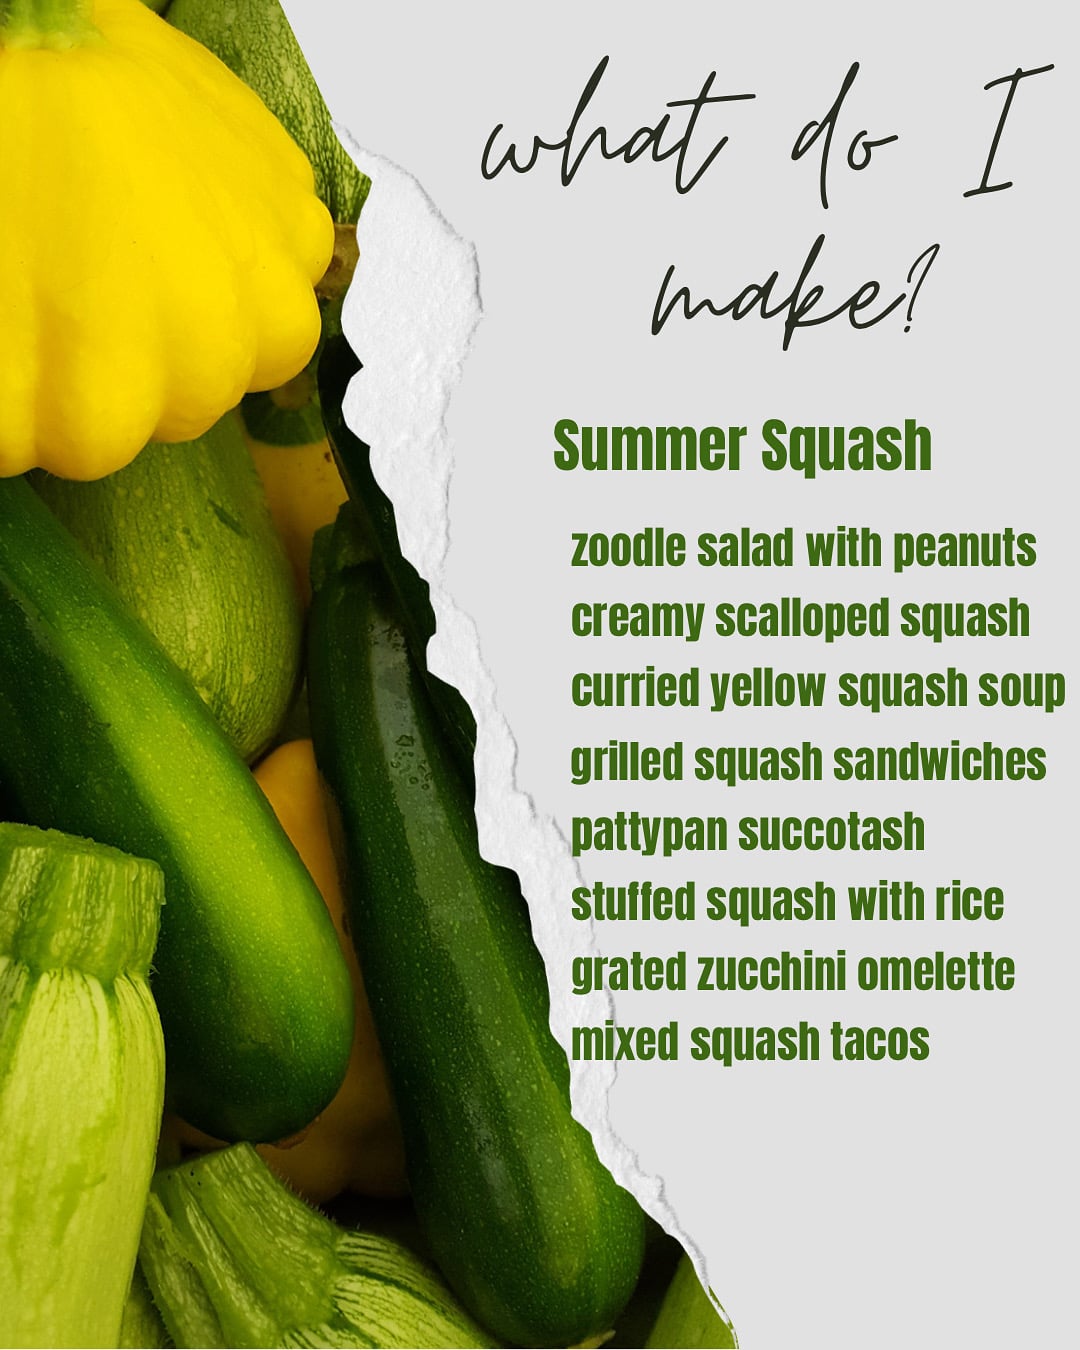
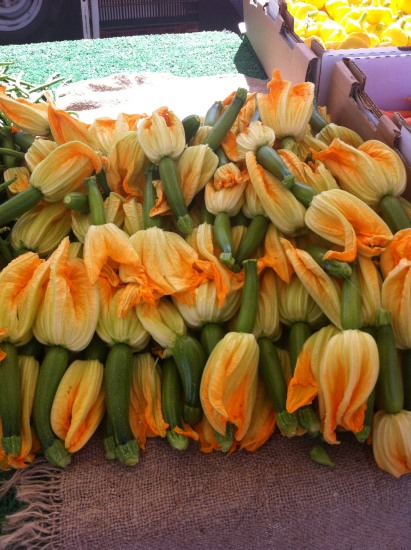
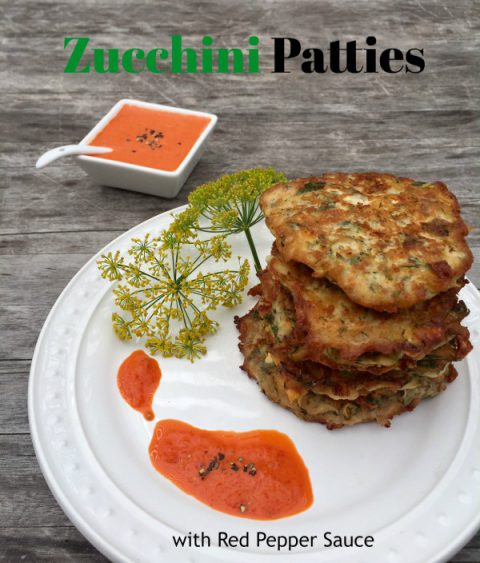
Oh, the lonely zucchini! I plant them every year in my garden and end up passing them out to all my neighbors. Even though you get an abundance, I never get tired of cooking them up for dinner. My mother would fry them up and we just gobbled them down, one of my favorite memories of being in the kitchen at home. One part of the zucchini very few cooks use is the billowy yellow flower from this plant. I learned to stuff these with cheese or any mixture you prefer. (See my post below) If you want to try this recipe head out to your local farmer’s market, they often showcase the flowers in early summer.
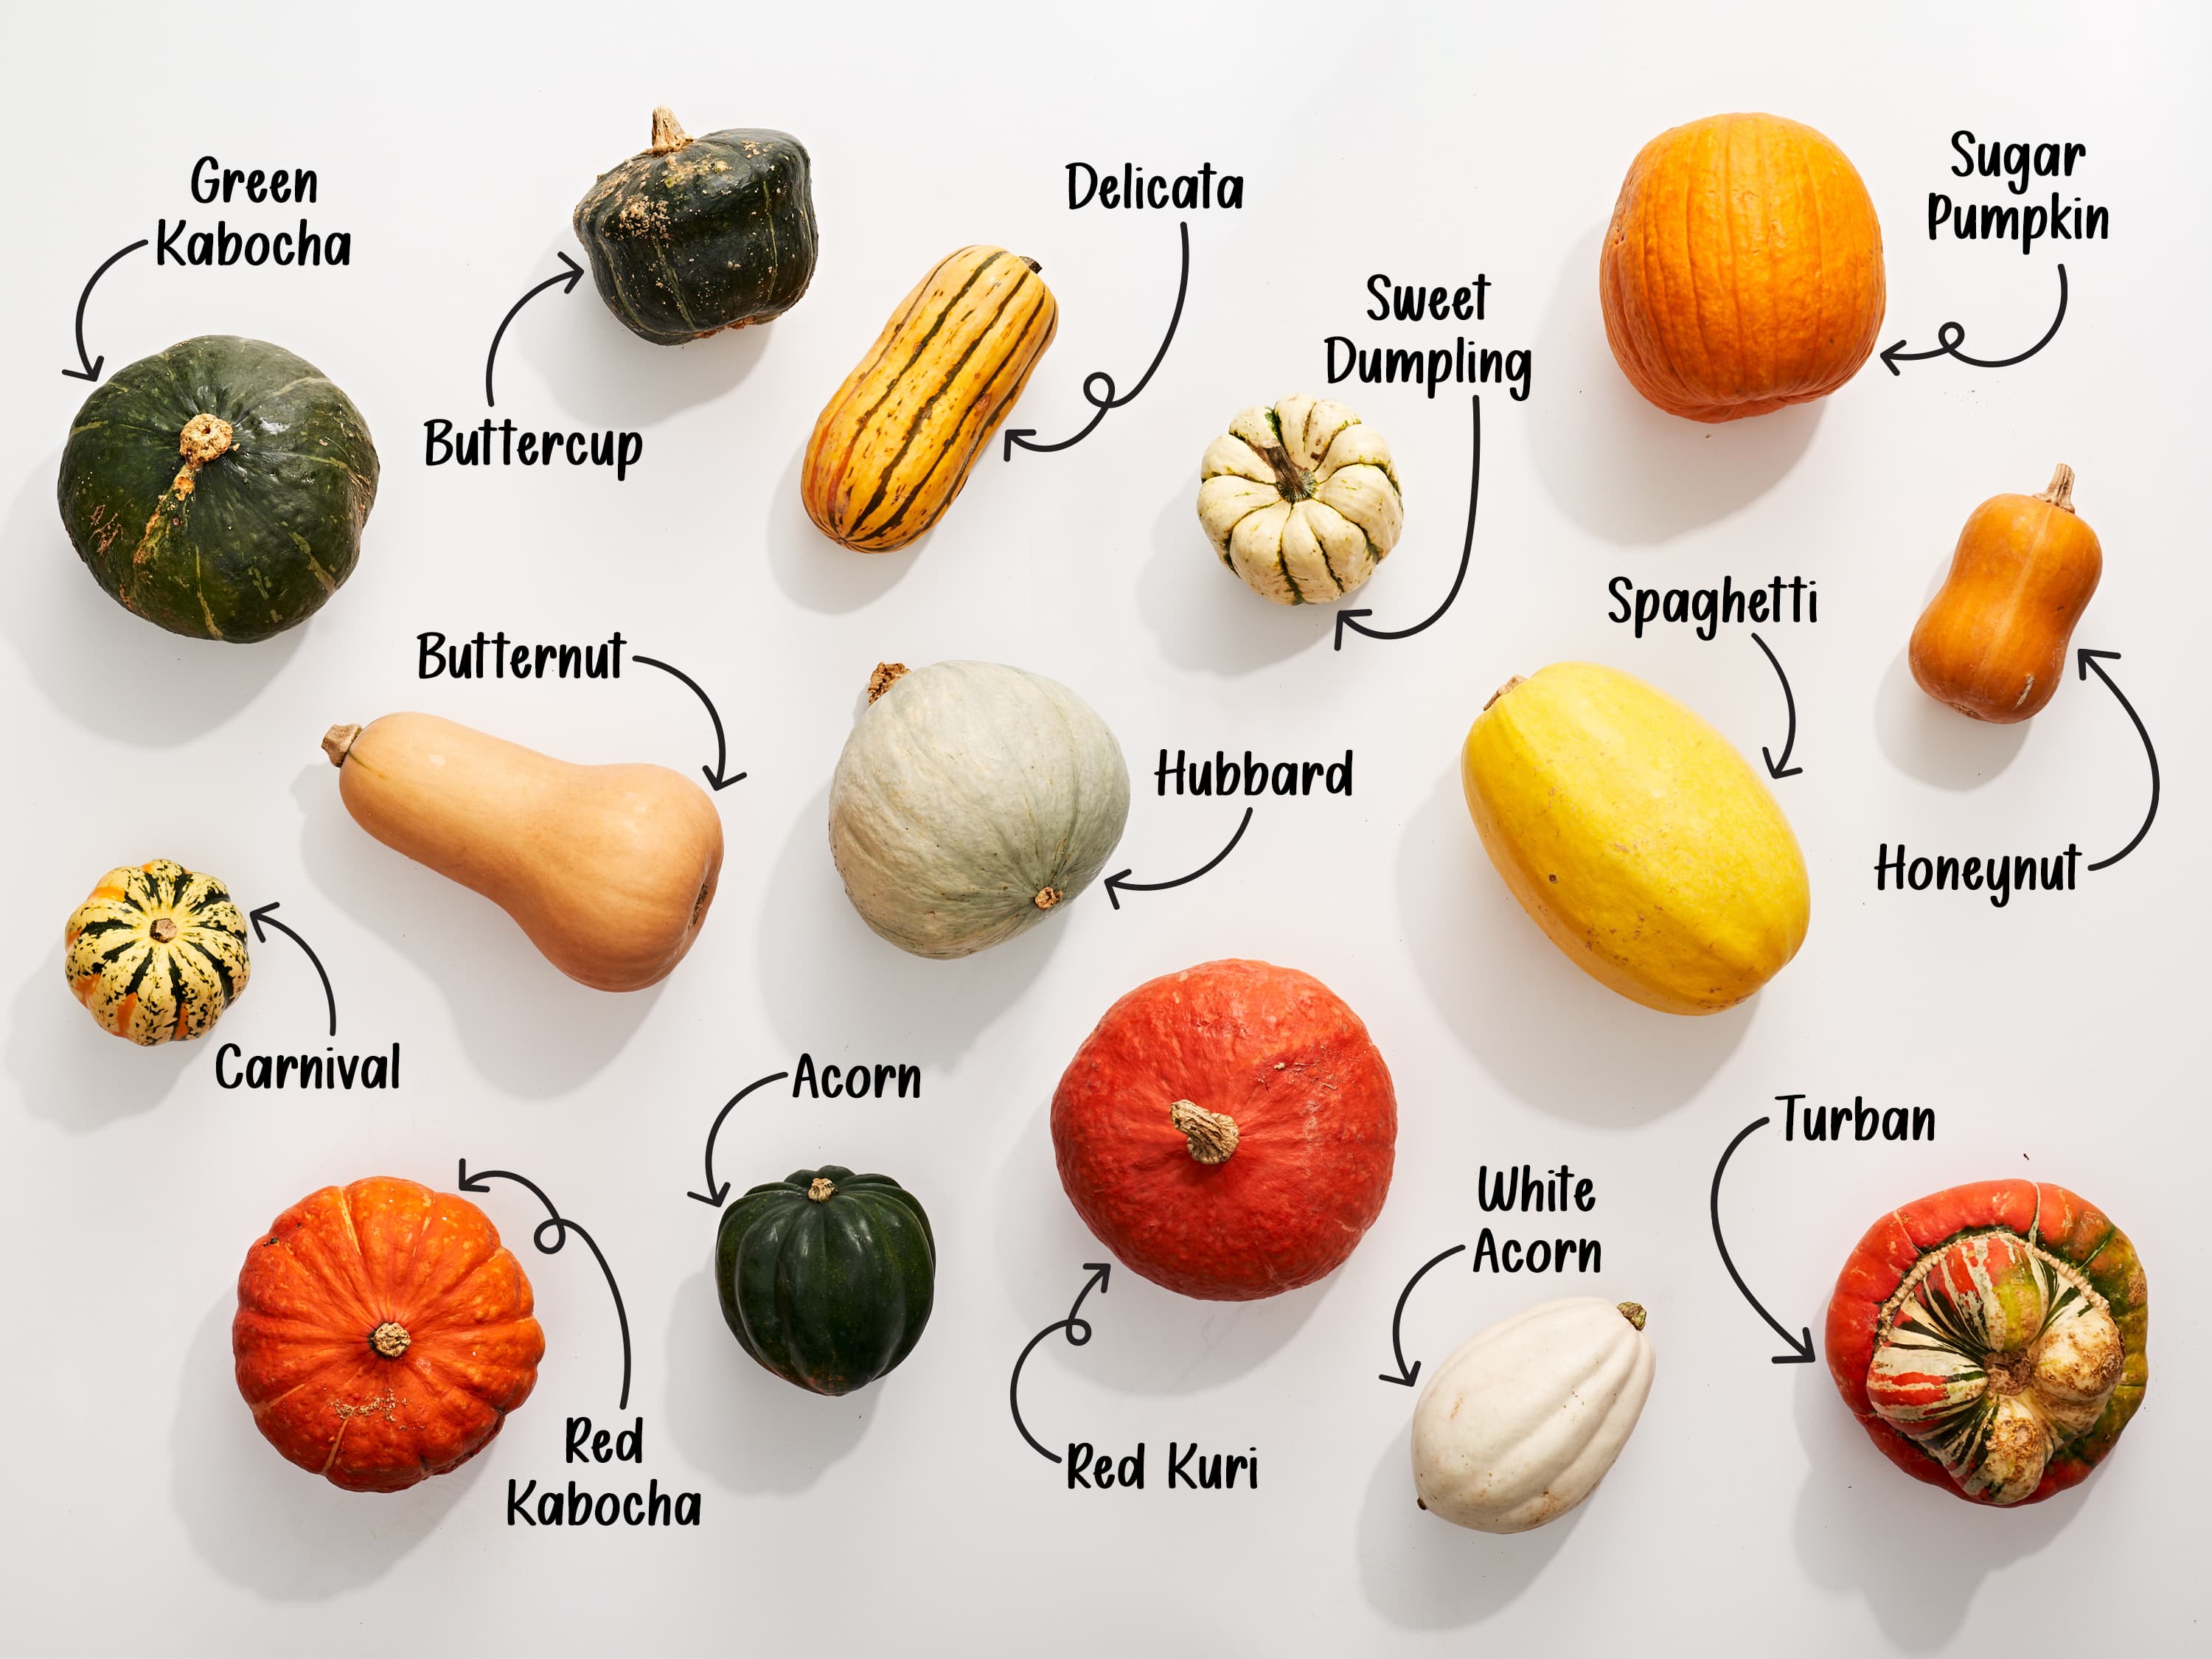
There are many other types of squash you will find at the markets. Here are a few you might recognize.
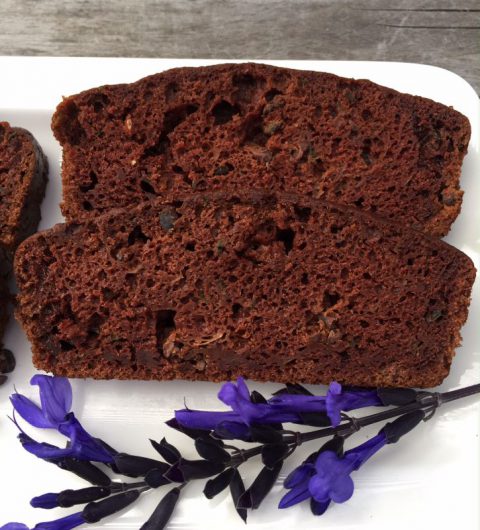
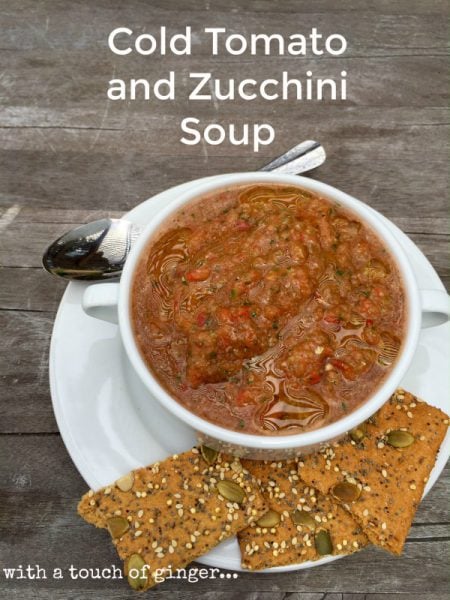
Here are a few of my recipes that I have enjoyed in past seasons! Remember, normally you get such a big batch from a few plants, you need to get creative and add them to baking goods, stews, soups, pasta dishes, quiches and pancakes, often called fritters. One of my favorites is my Chocolate Zucchini Olive Oil Cake!
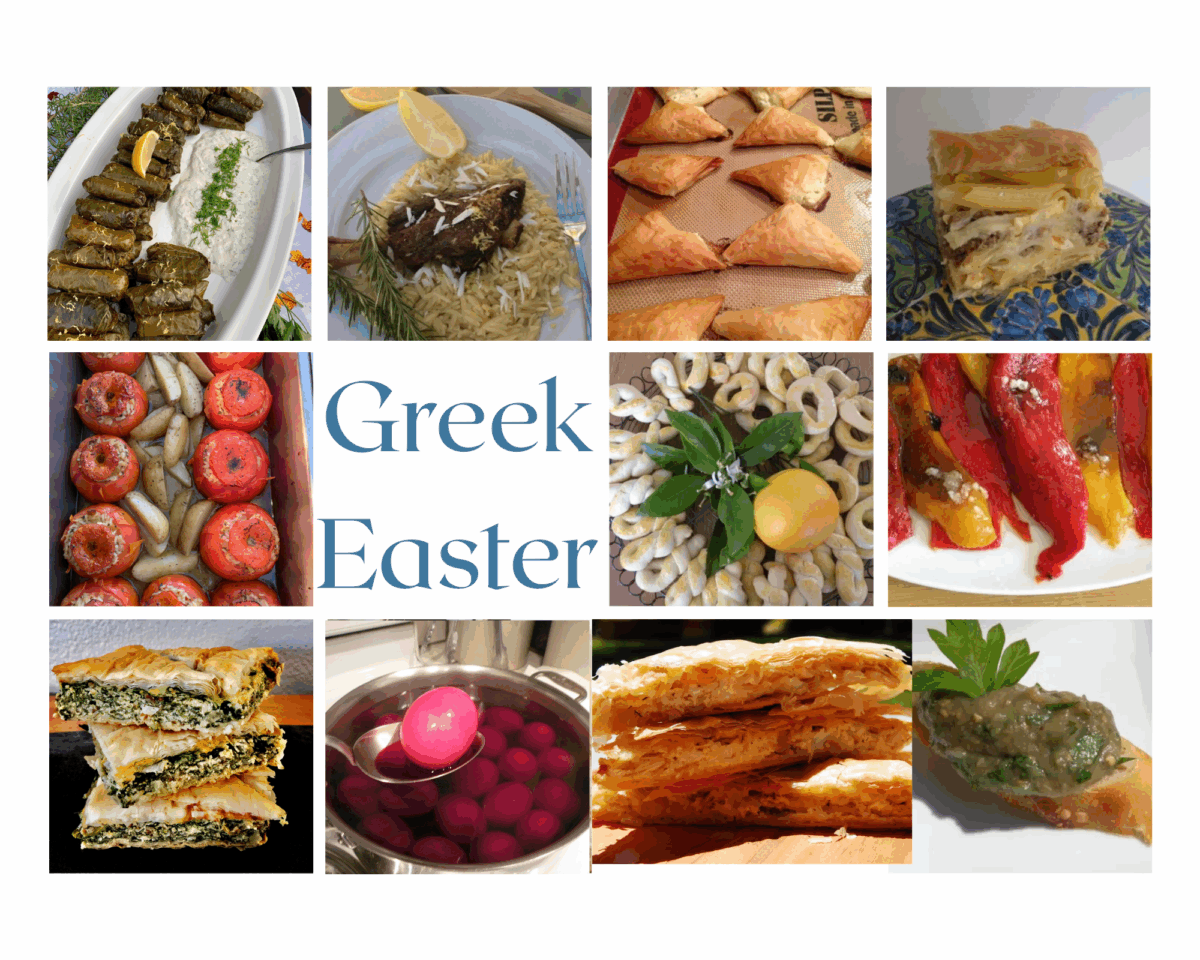
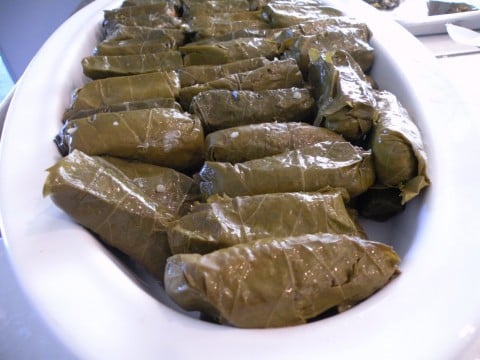
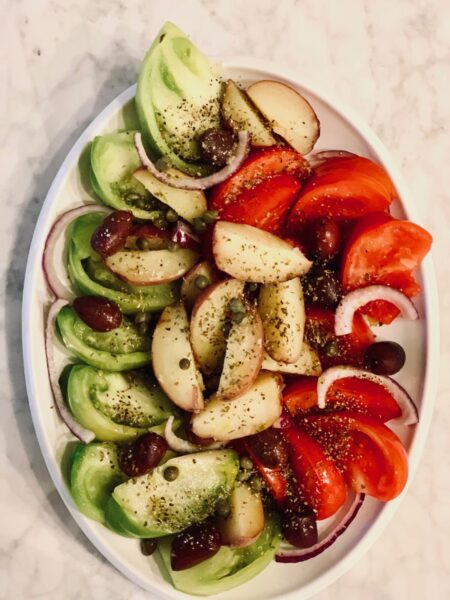
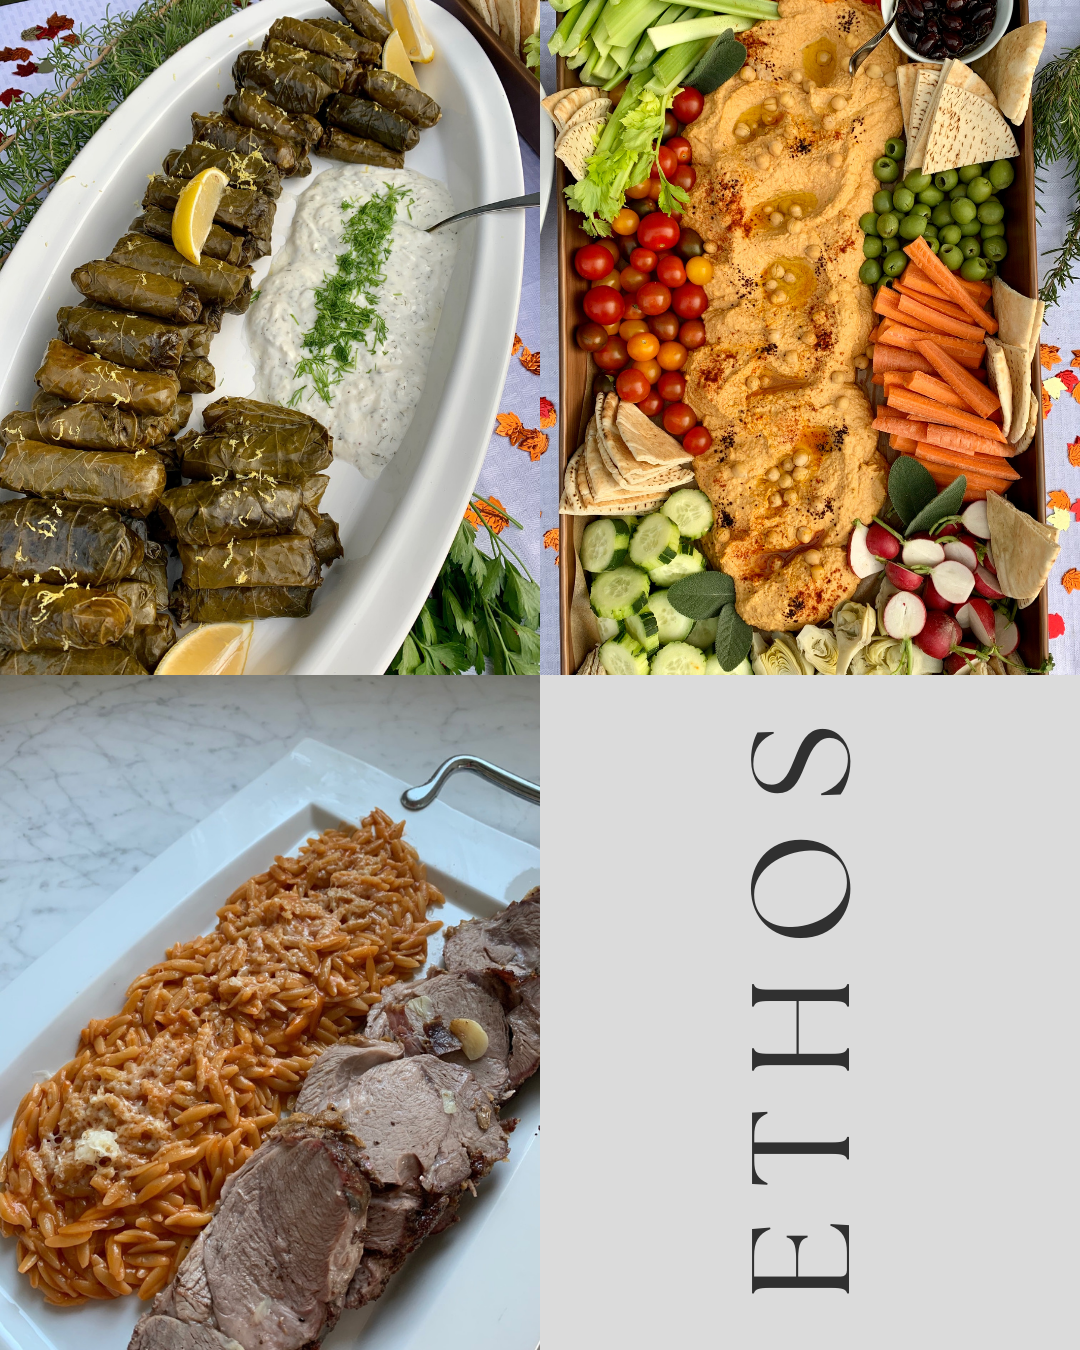
Greek Easter is the most celebrated holiday in the Greek Culture. Our family’s Easter recipes are the traditional foods passed down from my family and my husband’s family. Although they came from different regions of Greece, my mother from Corinth and my husband’s family from the island of Kythera, we have merged together to make these meals our family’s best. They are all very similar in tradition, but a few changes from the many years I have celebrated the holiday. Living in California, we have access to many vegetables, and this makes it easier to adapt the original recipes, making them ours. Many more recipes can be found throughout my blog by simply searching the category and also under Easter.
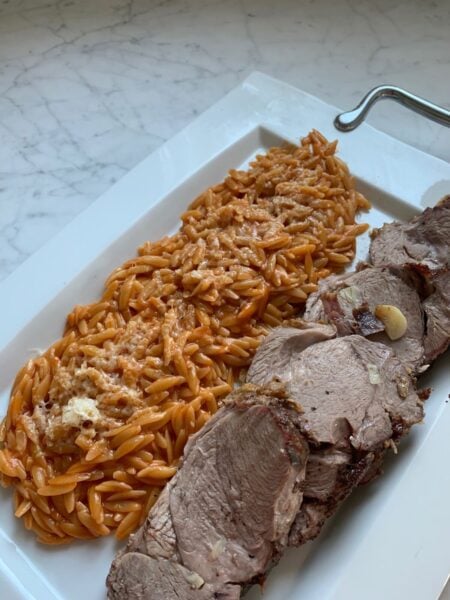
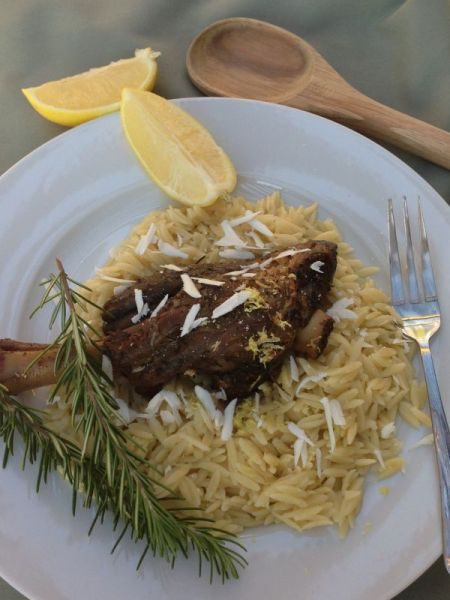
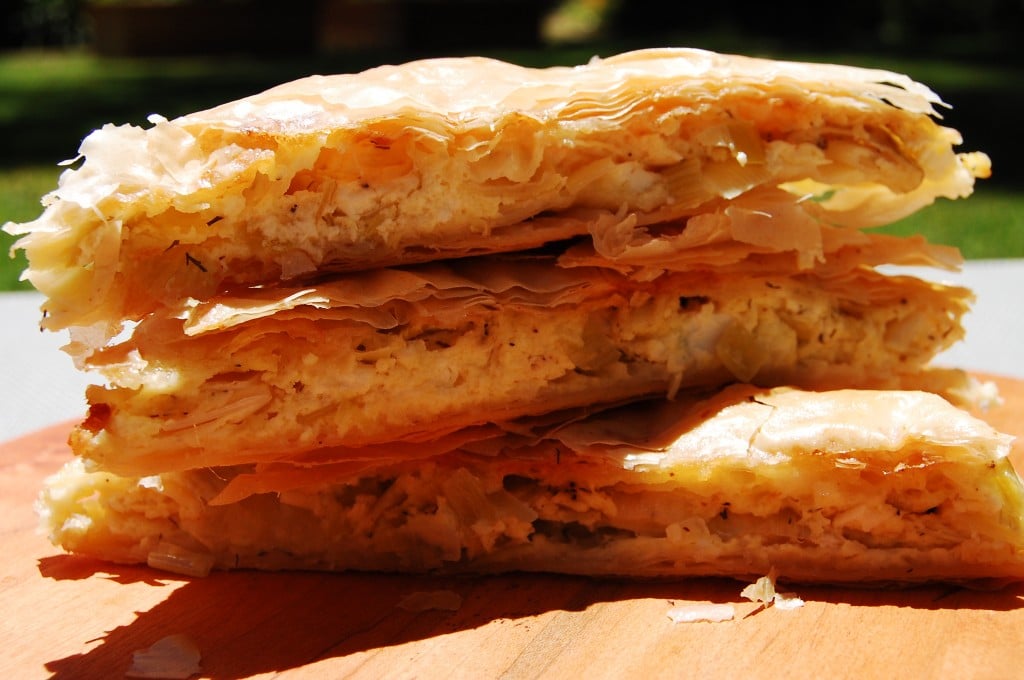
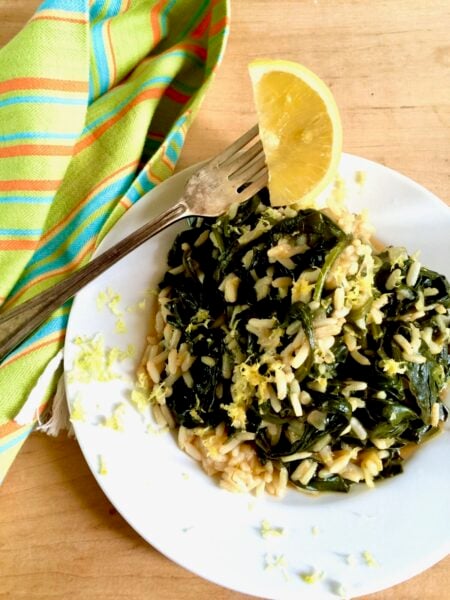
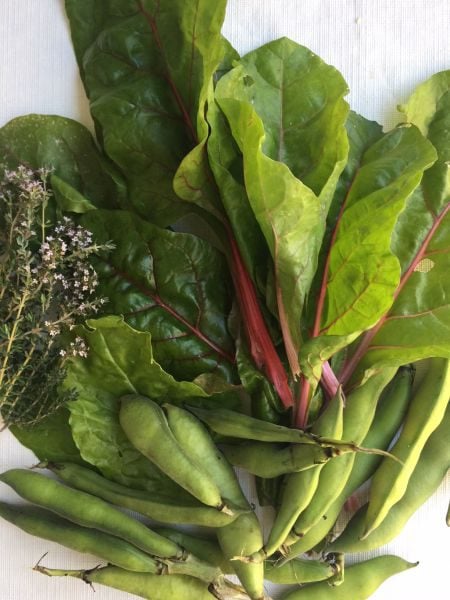
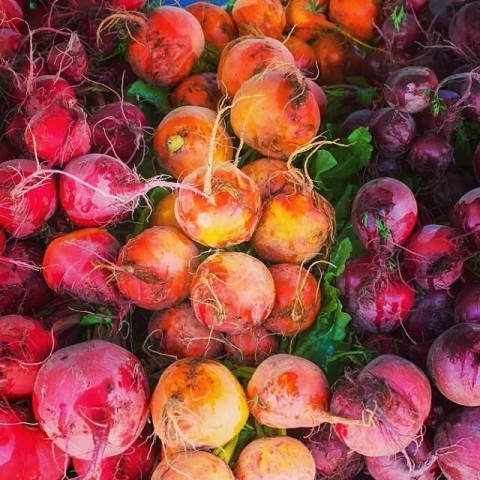
Lamb can be served in so many different ways that we alternate the cut of lamb over the years. From the traditional leg of lamb, lamb chops, or lamb shanks for all, we never forget our children’s favorite side dish that cannot be forgotten our Greek orzo. The many other sides change from year to year also, adding roasted beets, lemon bitter greens, , a large Greek salad, or spanakopita, they all are appreciated at the table. For more lamb information read my post here.
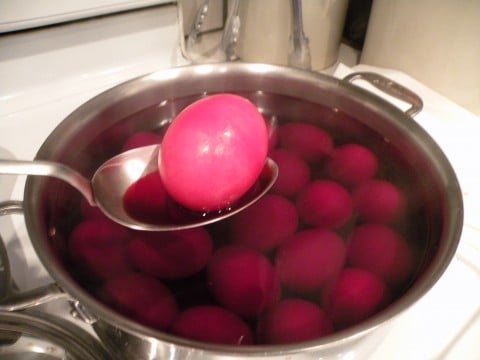
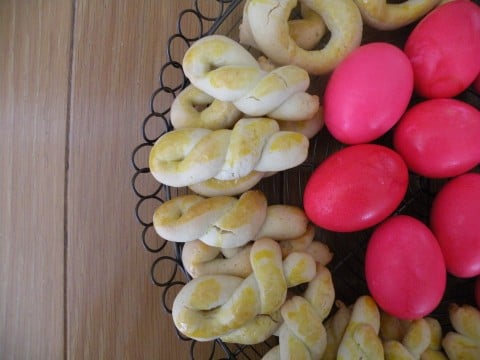
Best of all, and most important are the dying of the Red Eggs, to be later celebrated at the table after dinner with a smashing of the eggs, and the one winner whose egg survives, without one blemish!
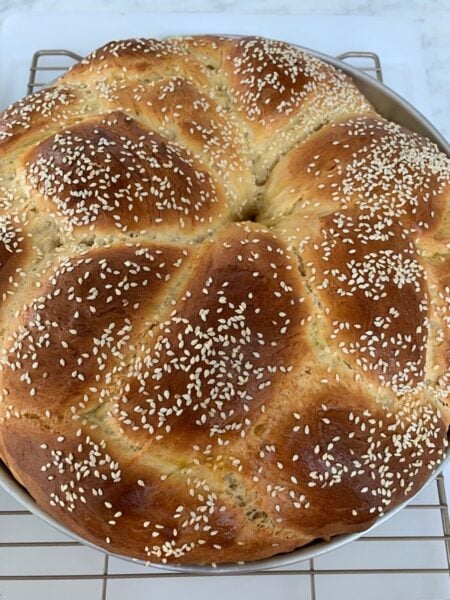
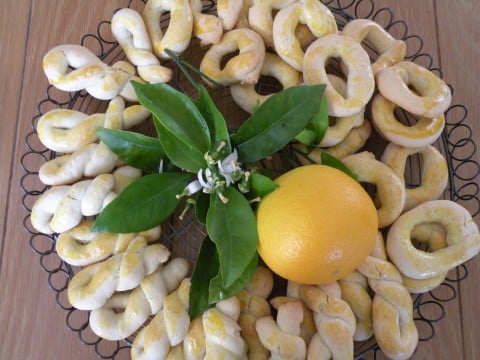
The Easter breads, “tsoureki” are baked with or with the addition of red eggs, symbolizing the blood of Christ. Bakers get very creative with the process and creative new shapes and toppings.
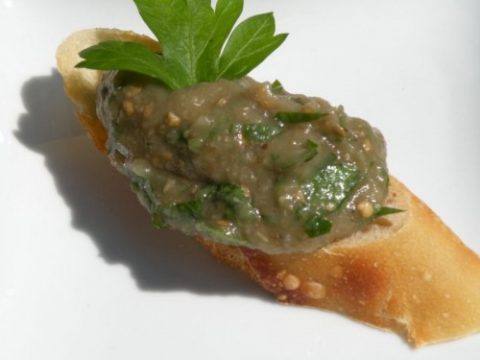
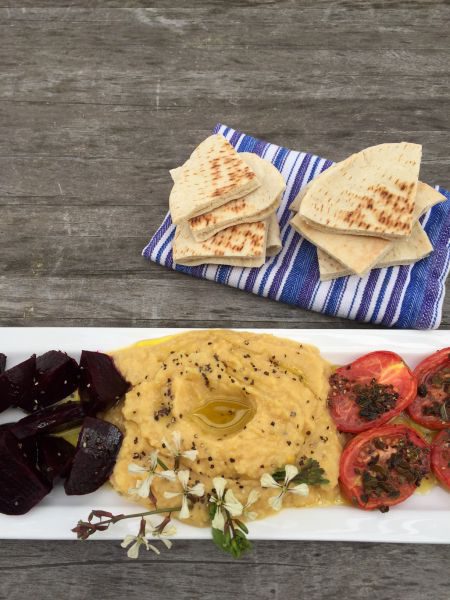
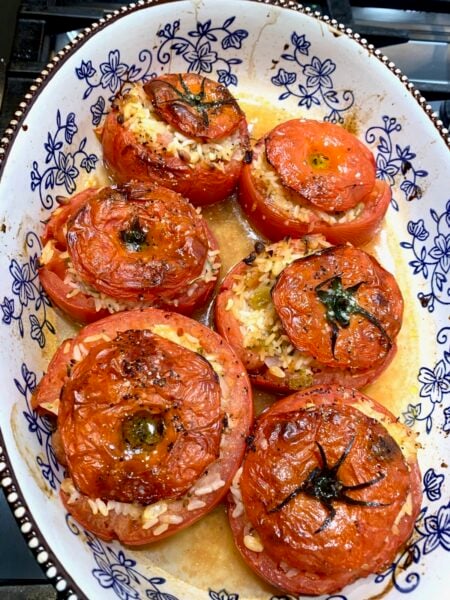
Easter Week is filled with traditional “Holy Week’ rituals leading up to Easter Sunday. Many participate in a 7-week fast, in order to cleanse the body for the final week, between Palm Sunday and Holy Saturday often called “Megali Evdomada”, translated to the Grand Week. During this plant-based” week, the community offers special foods including the local restaurants. Many of these foods can be found on my blog which includes, horta-greens, baked white beans, fava spread, spinach and rice, peas in tomato sauce, green beans in sauce, eggplant dip,black -eyed peas, chickpea stew, lentils, to name just a few.
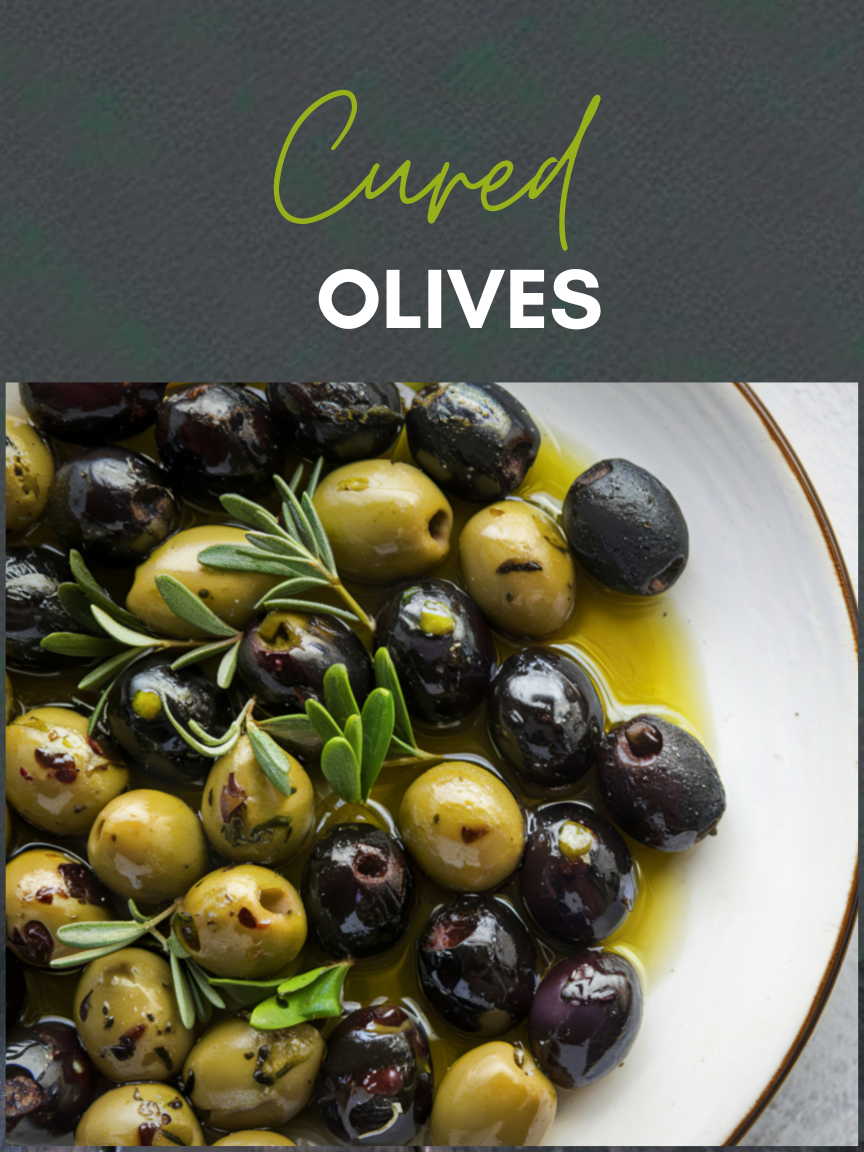
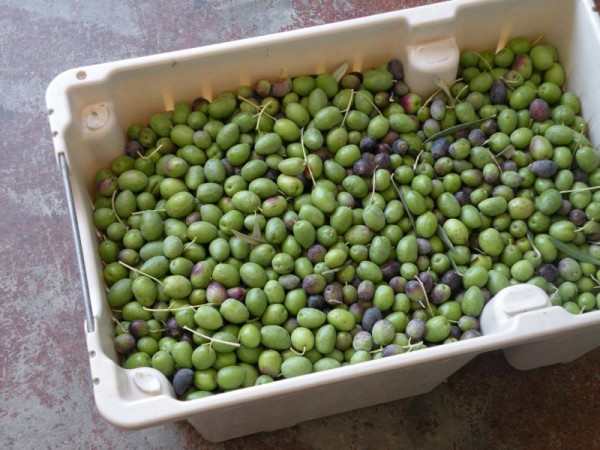
You can make cured olives at home. How many times do you pass by the olive counter at stores and say I can make those. Well, here’s your chance to make your own cured olives to serve as appetizers, with your cheese plates, or thrown on a salad. This recipe is using fresh olives straight from the tree. All you need to find is an olive oil farm or visit your local farmers at the markets and ask for fresh olives. Or find a neighbor who will be kind enough to give you 4 cups of olives from their tree. A variety of olives will make your dish more interesting but take whatever you can find. Change up the herbs as you wish but do use a high-quality extra virgin olive oil for this recipe.
Olives have many health benefits: All in one olive!
heart healthy
weight loss
cancer prevention
decrease pain
improve skin /hair health
reduce allergies
good source of iron
improve eye health
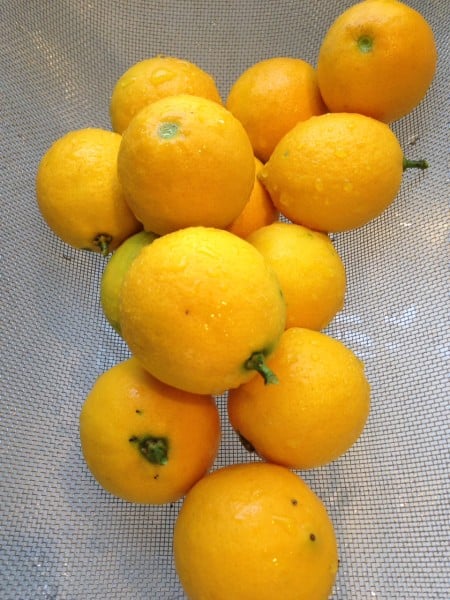
Meyer lemons happen to be in season during the olive harvest, so you may want to use these smooth -skinned lemons for a sweeter flavor.
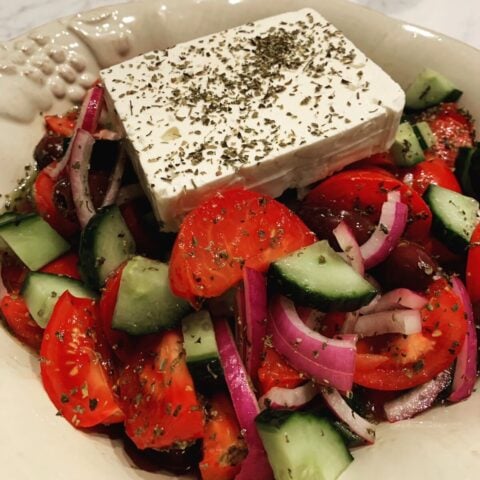
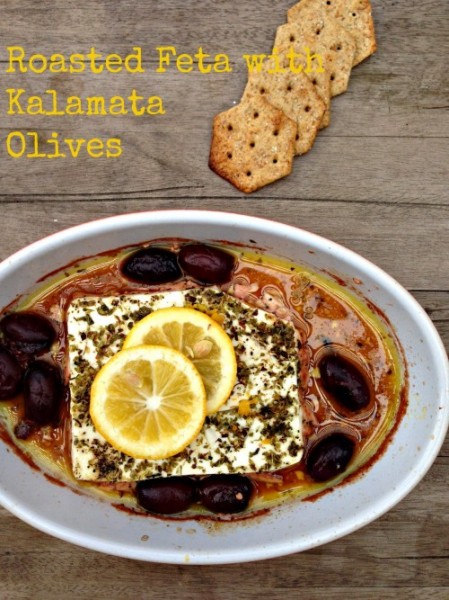
Add this quick olive appetizer with a side of freshly baked bread.
Course
Appetizer
Cuisine
Meditteranean
Keyword
olives, Meditteranean, Greek
AuthorMary Papoulias-Platis
Ingredients
4cupsassorted fresh olives, not pitted
1large lemon
8large garlic cloves, halved
1medium onion, sliced
6-8anchovy fillets
1sprig fresh rosemary, cut into 1 -inch pieces
1teaspooneach of oregano, fennel seed, lavender
Extra Virgin Olive Oil
Instructions
Make a slit with a sharp knife one side of each olive.
Use a sharp knife or peeler and peel the lemon in spirals
Using a crock or glass bowl, layer the olives with 1/2 cup measurements with lemon peel, garlic clove, onion slice, anchovy fillet, rosemary and herbs.
Cover with olive oil.
Store in a cool dark place for at least 3 days or up to one week. Taste! If still bitter continue aging, until flavor is right.
Recipe Notes
Fresh olives can be found at your local olive oil farm. Or check with farmer's at your local farmer's market. Do not use already seasoned or canned olives.
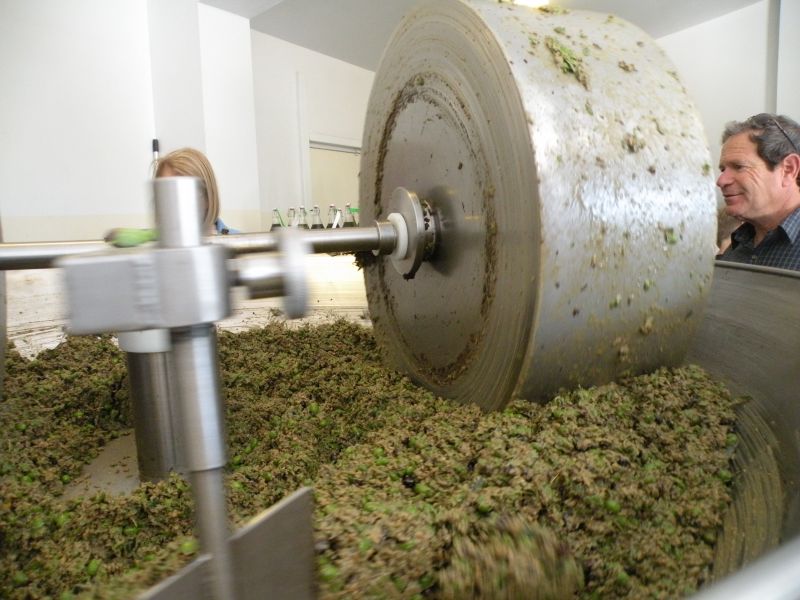
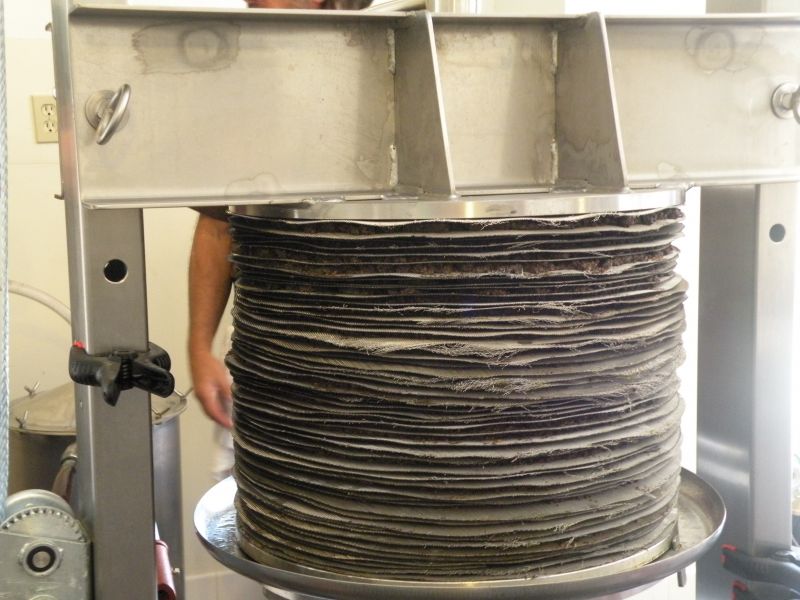
These pictures were taken during the harvest season at our local Temecula Olive Oil Ranch.
Cured olives are one of the essential ingredients in the Greek Diet. Here a few more recipes for your cured olives.
Welcome to Ethos Culinary!
We are located in the beautiful city of San Diego.
Subscribe to my newsletter (link at the right) to get the latest cooking class schedule.
As I begin the planning of my upcoming new classes, I happened to look back on my most productive events. It was a busy year taking on more private classes and team-building parties as requested. During this time, we tackled hands-on cooking classes which became our most popular events. There was more productive interaction among my customers during these classes as well. New inquires and questions regarding the process of developing recipes, and proper cooking skills which I enjoyed answering. My recipes also changed, as I was trying to be more aware of what is available locally in our stores. My position is always to support my local farmers and producers in my area. From my culinary perception as a teacher, my goal is to incorporate as many “cooking techniques” as possible during your time with me.
What am I talking about?
Once, you begin using proper Cooking Techniques in your daily recipes, it will make your cooking experience more pleasant. Which will then allow you to experiment all you want in the kitchen. And of course, I’m taking this from the healthy approach of cooking with purchasing organic and local produce as much as possible and supporting our local farmers. You can also take up gardening and try a small pot or two of your favorite veggies for your home-cooking. When you visit Ethos, one extra bonus you will encounter is the freedom to wander into my vegetable and herb garden for a quick tasting. We are all hands-on here!
Here’s a peak into my kitchen. I set it up as a classroom with bright light coming in and ample space for a large group. My appliances are all commercial with three
10-foot islands for hands on cooking and plenty of sitting for observation classes. We often spill into the front patio for relaxation and conversations. It is my private chef’s kitchen where we cook together and gather around for developing new friendships in our community.
Here are the basic cooking techniques I teach in my classes.
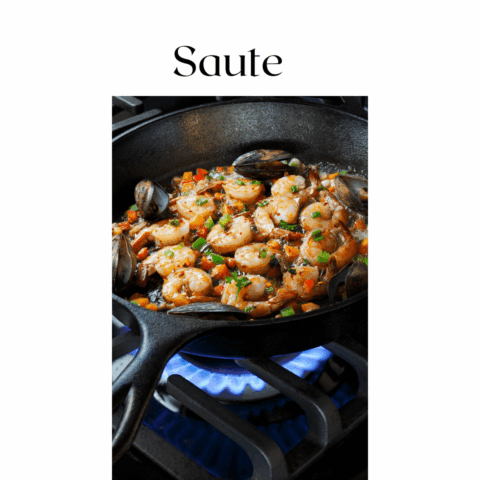
Sauteing – Foods cooked with this method are quick and higher in nutrients.
Stir Fry – Similar with sauteing, mostly Asian inspired based on vegetables and intensely flavored liquids.
Grilling – tender meats, poultry and seafood are generally grilled along vegetables that can be marinated or flavored with rubs.
Roasting- Foods cooked in the oven tend to have much flavor, moist and flavorful.
Steaming – Moist cooking is prepared in a steamer or wrapped in paper that retains their nutrients. Sauces are often added for flavor.
Stewing – Main ingredients such as meats, are paired with aromatics and cooked gently for developing flavor.
Knowing these simple cooking techniques can advance your culinary skills and knowledge on how to develop more creative dishes. These techniques are often taught and explained at the beginning of my cooking classes. It’s important to have several of these skills incorporated in the recipes as well, which are taught during my lunches, ands throughout my classes.
What equipment is needed to enhance your cooking skills?
Less is more! We don’t need to crowd up our kitchen counters with a zillion pieces of equipment.
A good large soup pot, stainless steel or cast iron as Le Creuset.
Several saucepans, small and large for sauces, small vegetables, and baking.
A food processor for making sauces, doughs and cutting up your foods.
A blender for creaming soups, fresh juicing, drinks, and blending foods.
If you’re a baker, a hand mixer or standing mixer will be necessary, along with baking pans.
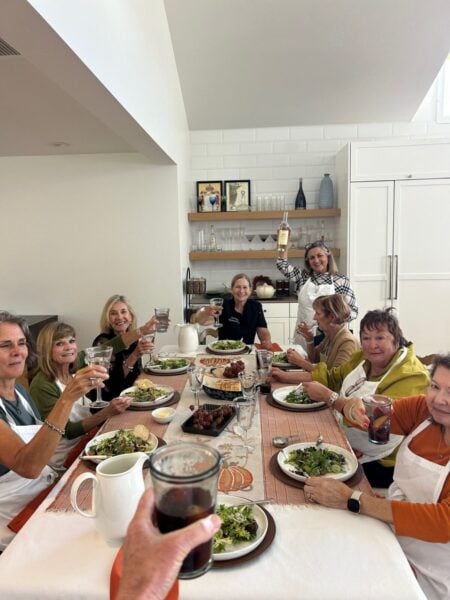
Now, that you have that understanding in knowing the basics of cooking skills, you can better understand my position as a culinary teacher and the responsibility I have in teaching you these basic techniques. My lunches will cover these skills one by one and in more depth. All my classes will cover one or two of these culinary techniques as we cook along in more details. We also include a sit-down table time so we can enjoy the foods we have prepared.
Subscribe above to my newsletter and this will enable you to receive my class listings and attend my classes. (I do not sell any information or advertise; it’s strictly for class dates and blog posts.)
What a year it has been! I want to thank everyone who participated in our events and classes. We hopefully fulfilled our promise to improve your cooking techniques and enhance your diet with dishes you can make from our Greek cuisine. Our goal is always improve your lifestyle with eating more nutrient-rich foods. As I’m writing this today, we now have a new food pyramid that has been in the news all day. We have been waiting to hear what the standard will be and apparently the message is “Eat Real Food”. Isn’t that we have been doing?
Here are a few take-aways from this new pyramid.
Emphasizing more protein and saturated fats.
Include more vegetables and fruit on your plate.
Incorporate dairy, cheeses and yogurt daily.
Less sugar and highly processed foods.
What foods to eat? The right foods are those that supply us with right amount of nutrients we need to order to be properly nourished. We do know that getting the right foods generally means eating a variety of foods, because no single food contains enough of all the important nutrients our bodies need.
I’m a big follower of Joel Fuhrman MD, and his health and fitness guides to longevity. He has many books out, Fit To Live, Eat For Life, and several more. When I plan my week of shopping, this simple guideline helps me remember what to shop for. He calls it the G-BOMBS. Easy and helpful.
Greens
Beans
Onions
Mushrooms
Berries and Seeds
Nutrient IQ scores was also developed keeping in mind, all you have to do is understand how to eat a healthful and nutritional balanced menu. The list is long so, I’ll just list a few of the top- 10 most nutrient-dense foods, with the IQ score. For more information take a look at this website for more information at Joe Fuhrman, MD
kale, cooked 1 cup – 112 (nutrient IQ score)
collards, cooked 1 cup – 112
mustard greens, cooked 1 cup – 112
turnip greens, cooked 1 cup -112
watercress, cooked, 1 cup 112
arugula, cooked, 1 cup -112
swiss chard, cooked 1 cup -112
bok choy, 1 cup – 90
broccoli, 1 cup – 90
broccoli rabe, 1 cup – 90
If you’re looking for a diet that can help with your choice of meals and lifestyle take a look at the Blue Zone regions where people live much longer, stay active, and live healthier lives. The average age of people in these regions live past 100 years old. They are not overweight, not obese, and have a BMI (body mass index) less than 21!
Here is where they live!
Ikaria, Greece
Sardinia, Italy
Okinawa, Japan
Seventh Day Adventists, California
Nicoya-Peninsula, Costa Rica
Here are a few meals to start the New Year with!
Breakfast Ideas: Mushroom and Kale Frittata, Blueberry Chia Soaked Oats, Teff porridge with Walnuts, and Berries, Mini Corn Muffins, Banana Pancakes, Huevos Rancheros.
Lunch Meals : Greens and Berries Salad, Roasted Vegetable Salad, Napa Cabbage Slaw, Edamame, Corn and Tomato Salad, Black Bean and Butternut Squash Chili, Corn and Red Lentil Chowder, Mushroom and Wheat Berry Soup.
Main Dishes: Artichoke Stuffed Portabella Mushrooms, Asian Lime-Ginger, Zoodles, Broccoli Quiche, Buffalo Cauliflower, Eggplant Meatballs, California Creamed Kale, Mac and Peas, Green Pizza, Lentil Walnut Burritos, Korean Vegetable Mushroom Wraps, Sweet Potato Toast with Roasted Broccoli, Vegie-Bean Burger
Here are as few recipes on my blog for you to begin with,
Hello from California Greek Girl. I’m the owner of Ethos Culinary located in the beautiful city of Carlsbad. Join me as we explore California’s bounty of foods, farmlands, and culinary experts. I’m looking forward to bringing you Greek, Mediterranean and Plant-Forward Cuisines. OPA!


 Hello from California Greek Girl. I’m the owner of Ethos Culinary located in the beautiful city of Carlsbad. Join me as we explore California’s bounty of foods, farmlands, and culinary experts. I’m looking forward to bringing you Greek, Mediterranean and Plant-Forward Cuisines. OPA!

