Chef Mary Invites you
to attend
a hands-on cooking class
November 30th
11:00-2:00
Staying Warm with Soups and Salads
Menu:
Beef and Barley Soup Greek Lemon Chicken with Orzo Soup
Classic Lentil Soup Roasted Pear and Arugula Salad with Pomegrante Vinagrette Winter Spinach Salad with Cranberries & Apples Crispy Greens with Goat Cheese and Olive Tapenade Dressing
Also Included:
Casual Luncheon with the Chef and Guests
Complete Recipe Booklet Cooking Demonstration: Making Homemade Vegetable Stock
Have you been nominated to have Thanksgiving Dinner this year? Well, let me help you make that a successful day. I have it all planned out for you! There are two ways you can approach this assignment. Have everyone bring a dish, or prepare it yourself which is what I prefer, so the dinner is balanced and you don’t have too many of one dish and not enough of the other. If you start early with the little things, you won’t feel rushed. Trust me if you follow these tips it will be much easier and relaxing for you that day and have time to enjoy your family. Don’t forget to continue and read Part Two.
Start planning two weeks ahead of time.
Pull out your recipes and read them.
make sure you have all the ingredients including spices, nuts, flours, fresh baking soda and powder, dried fruit, rices, pastas, teas,coffees,etc.
count how many baking pans you will need including; baking sheets, dutch oven, casserole dishes, soup pots, large and small bowls.
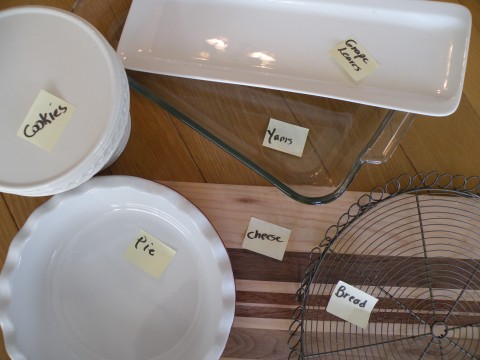
plan out and visualize how each dish will look in that bowl or platter on your table and take out post-it notes and label each platter with that recipe.(do the same for appetizers and dessert.)
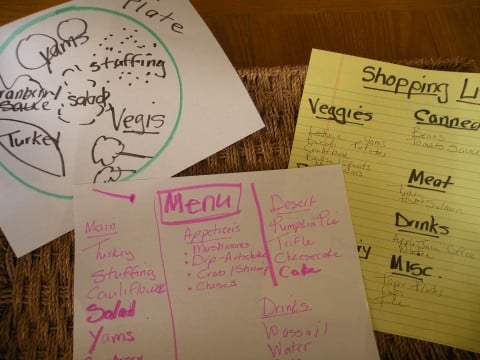
draw out on a piece of paper where everything is going to be placed on the buffet table or on your table. Use a card table if you need space next to your table.
pencil out how your plate will look when you have everything on it, and is your menu balanced. Do have enough veggies, salad, greens, potatoes, rice or stuffing?
plan your shopping trip by starting out with a list. Divide your paper by subjects. Vegetables, Meats, Cheese/Dairy, Dry products, Drinks, Cans, Paper products, liquor,misc.
list by starting with one recipe at a time, all the ingredients you will need even if you have them. (you might use them up before that date.) Closer to your shopping day cross out what you have in your pantry or refrigerator.
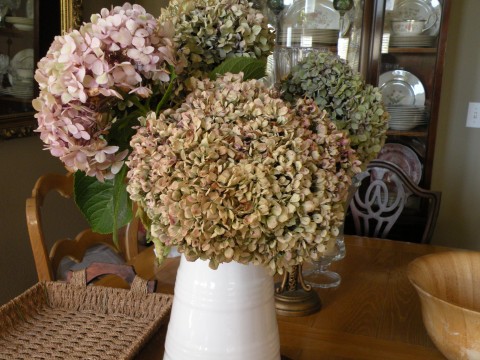
take a look at what you need for your table setting regarding, dishes, glasses, silverware, chairs, flowers, pull them out and count them. Borrow to make up the rest.
wash all your platters, tablecloths, flower containers, polish your furniture and silver, deep clean your house, wash the dog (that maybe too soon).
plan a trip to your favorite store for decorations (look for coupons), your local park for green or dried cutting, acorns, pine cones, pretty dried leaves. (too soon for your table)
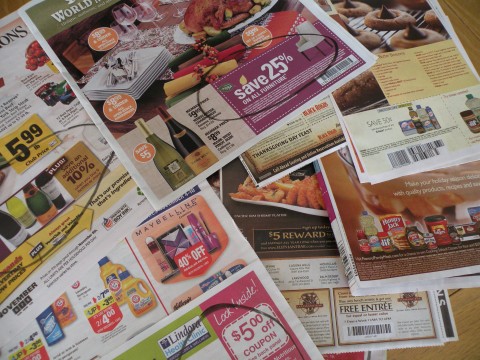
Label all your platter, dishes, and pans. Washed and cleaned. Visualize your plate, list your menu, make your shopping list. Break it up into three shopping days. Pull out your table setting, flowers, candles, and tablecloths. Set the table a week ahead of time. Clip coupons from your local newspapers before you head out to the stores.
Clip flowers, branches, greens from your yard or nearby fields. And not your neighbor’s yard!
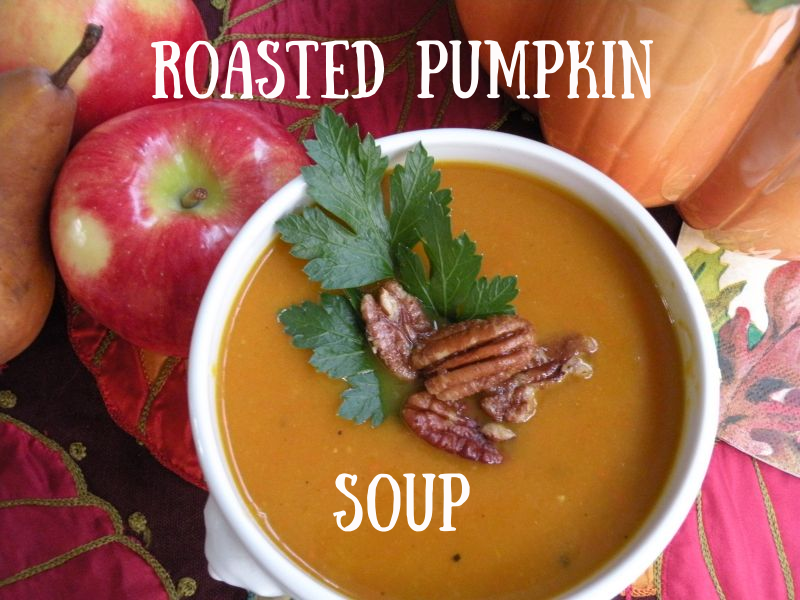
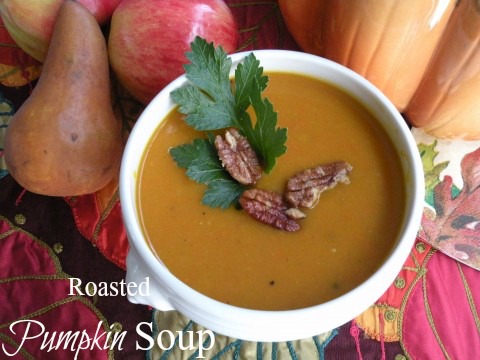
Many times during the fall season as I browse through my cookbooks for pumpkin ideas I often come across a new soup that catches my attention for some one reason or another. This recipe, Roasted Pumpkin or Butternut Soup caught my attention because of the techniques used in the preparation of the vegetables. I love to roast my vegetables, which brings out several new flavors from a smoky taste to almost a nutty flavor from the squash. This recipe delivers the intense taste of the vegetables that I expected. Make this for your Thanksgiving dinner and serve it as an appetizer in small shot glasses, or as a first course. Don’t forget to add the pecans, they add a great crunch to the soup. This recipe can be made with either Roasted Pumpkin or Butternut Squash, try them both and you’ll be surprised how different they are.
Pumpkin Facts:
Highly Nutritious and Particularly Rich in Vitamin A.
High Antioxidant Content May Reduce Your Risk of Chronic Diseases.
Potassium, Vitamin C and Fiber May Benefit Heart Health.
Pumpkin is a good source of potassium, vitamin C, fiber and antioxidants, which have been linked to heart health benefits. More information can be found at Healthline.
Serve this soup as a first course or alone for a Fall treat for your family and friends.
Course
Soup
Servings6
AuthorMary Papoulias-Platis
Ingredients
5 to 6medium carrots, coarsely chopped
1large white onion, quartered
2-3garlic cloves
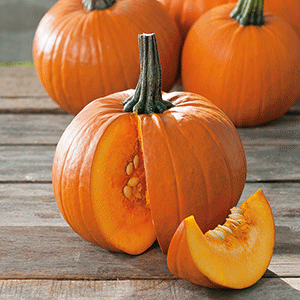
13-4 pound pumpkin or butternut squash, seeded, and quartered
extra-virgin olive oil
kosher salt
freshly cracked black pepper
8fresh sage leaves
4tablespoonspacked brown sugar, divided
6cupschicken or vegetable broth
Sprigs of Italian parsley
Spiced Pecan Topping
2tablespoonsbutter, melted
1/4teaspoonkosher salt
1/8teaspooncayenne pepper
1/2cuppecans
Instructions
Preheat oven to 375 degrees. Line the roasting pan with foil.
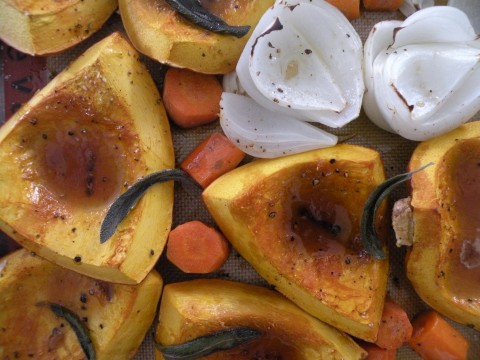
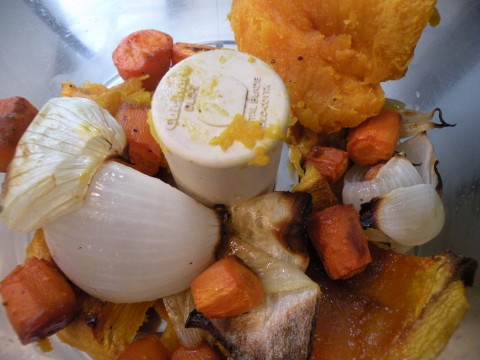
Place carrots, onion, and garlic in prepared pan. Drizzle with olive oil and toss until well coated. Sprinkle with salt and pepper.
Add pumpkin quarters to pan. Spread one tablespoon of brown sugar on each pumpkin quarter, top with 2 sage leaves. Drizzle with olive oil.
Roast the vegetables for 45 minutes or until pumpkin is soft.
Meanwhile, in a 4 quart Dutch oven bring broth to boiling; remove from heat. Set aside to cool slightly.
Remove vegetables from oven.
Discard sage leaves. Scoop pumpkin flesh into medium bowl. (about 5 cups)
In batches, add vegetables and pumpkin to blender or food processor; blend until smooth, adding enough cooled broth to reach desired consistence.
Pecan Topping
Preheat oven to 350 degrees.
In a small bowl combine 2 tablespoons melted unsalted butter, ¼ teaspoon kosher salt, 1/8 teaspoon cayenne pepper. Add ½ cup pecans and toss.
Spread onto a baking sheet lined with foil.
Bake pecans for 5 minutes or until toasted. Cool completely.
To serve: divide soup evenly among six bowls. Top with Spiced Pecans and Italian parsley.
Making the soup: Prep all of your ingredients and place on tray.
Place the vegetables on a sheet tray and sprinkle with salt, pepper, brown sugar, and sage.
Roast in the oven until soft.
Remove the pumpkin skin and place the roasted vegetable in the food processor or blender with partial broth and blend until smooth. Continue until all the broth and vegetables are blended. Serve with parsley and pecans on top.
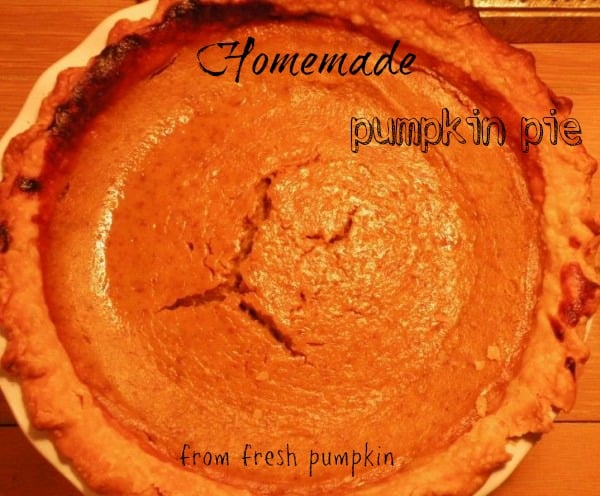
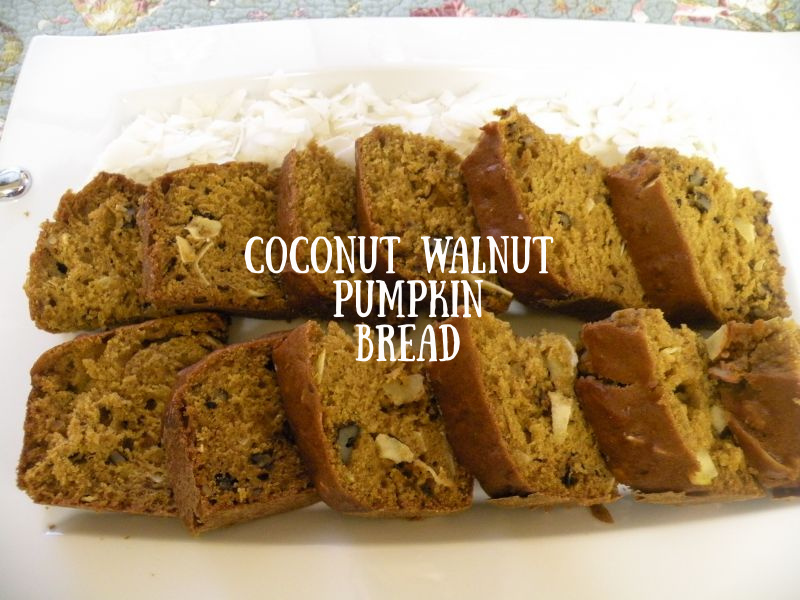
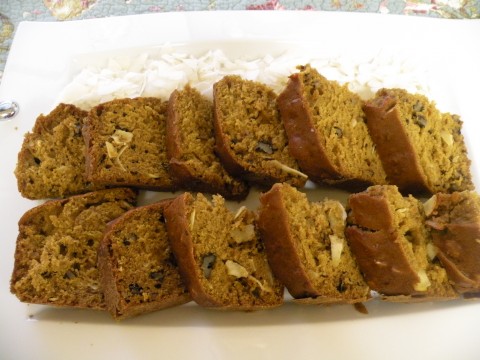
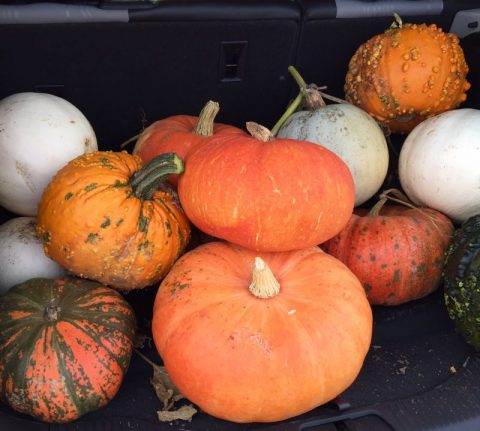
Once Halloween is over and Fall is upon us, I begin to sort through and gather all my Fall and Winter recipes. One recipe I cannot do without is my Coconut Walnut Pumpkin Bread. I can smell it, taste it, and can’t wait to start baking. I’m one of those that must use pumpkin in everything. My favorite thing to do is find the nearest pumpkin patch after Halloween and gather all the leftover pumpkins for my holiday pies and breads. Most of the time they are free, but I don’t have a problem paying for them. This pumpkin bread recipe was brought to me by my best friend Maria. She brought it to a gathering we had, and I have been making it every year since. It makes two loaves, one for today and one for later. It’s perfect in the sense it’s easy and quite different with the use of coconut. Whether you use canned pumpkin or fresh pumpkin, the amount stays the same. If you are interested in cooking pumpkin puree from scratch use Cooking Technique for Roasting a Pumpkin. Give this Coconut Walnut Pumpkin Bread a try, and join me in enjoying it throughout the season. It’s also a wonderful gift to give to others.
This recipe makes two loaves, one for eating and one for giving!
Course
Dessert
Cuisine
American
Keyword
bread, coconut, fall, pumpkin, walnuts
AuthorMary Papoulias-Platis
Ingredients
3 1/2cupsorganic flour
2cupsorganic brown sugar
1/2cupsugar - optional
2teaspoonsbaking soda
1 1/2teaspoonkosher salt
1teaspoonnutmeg
1 1/2teaspooncinnamon
2cupspumpkin puree
1cupextra virgin olive oil
2/3cupwhole organic milk
4large organic eggs
1 1/4cupsweetened flaked coconut
1cuptoasted walnuts, roughly chopped
Instructions
Preheat oven to 350 degrees. Butter and dust with flour two loaf pans.
Sift in a large bowl the flour, brown sugar, sugar, soda, salt, nutmeg, and cinnamon.
In a separate bowl whisk together pumpkin puree, oil, milk, and eggs.
Stir pumpkin mixture into dry ingredients, mixing only until combined. Fold in coconut and walnuts.
Divide batter between the two prepared pans. Bake at 350 degrees for 45-55 minutes or until the top of the bread springs back when pressed gently and a tester inserted in the center comes out clean.
Allow bread to cool on a wire rack for 10 minutes before turning out of pans.
Recipe Notes
In this photo you see chunks of coconut because I switched to an organic brand that had larger flakes.To use this product in the bread again, I would place it in the food processor and blend it until it is finely chopped.
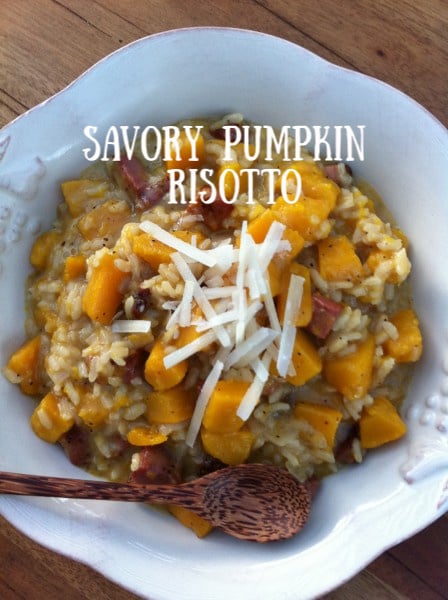
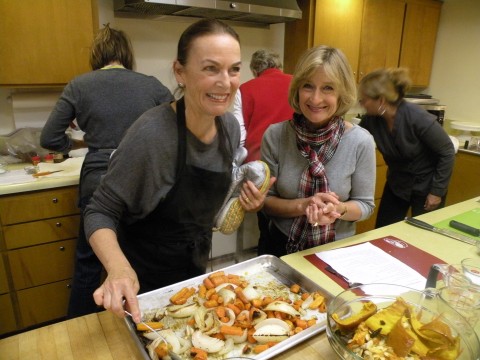
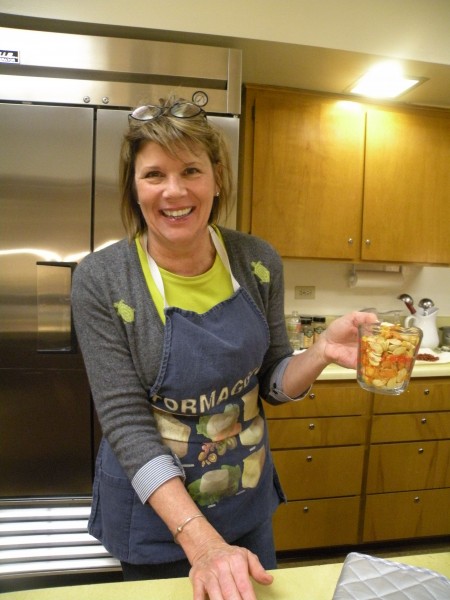
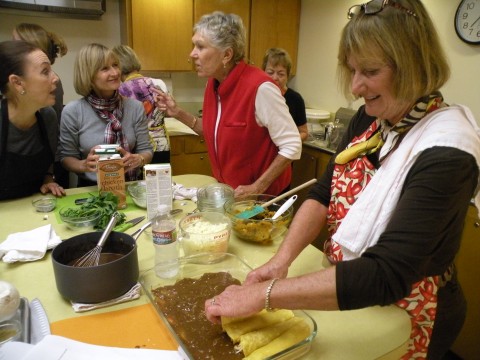
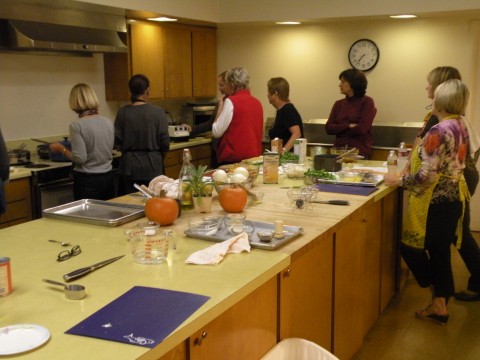
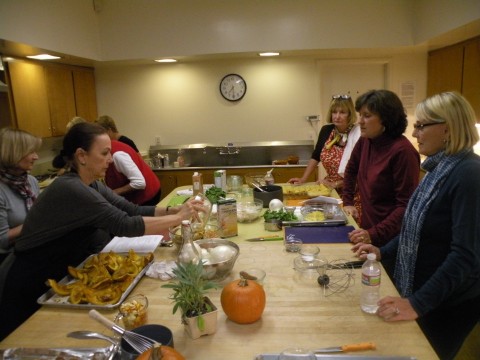
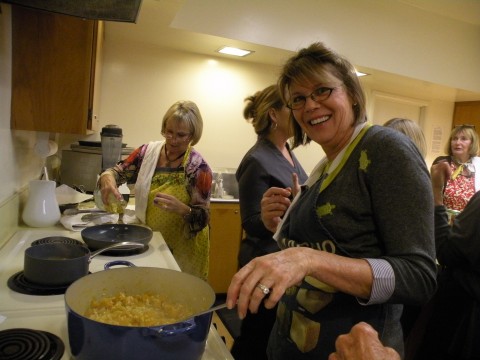
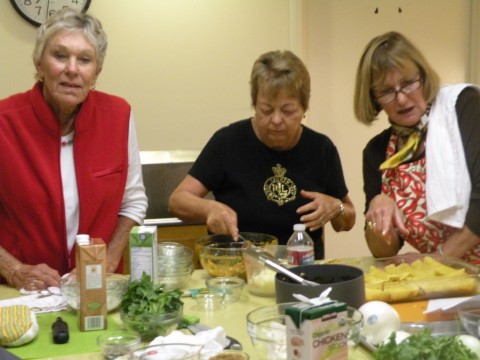
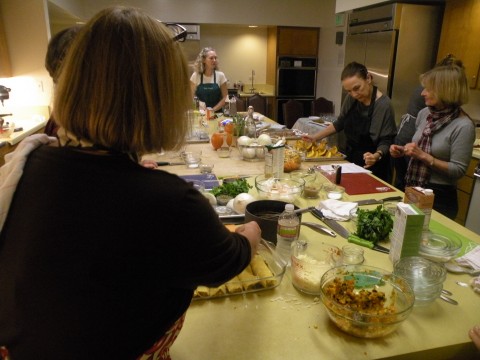
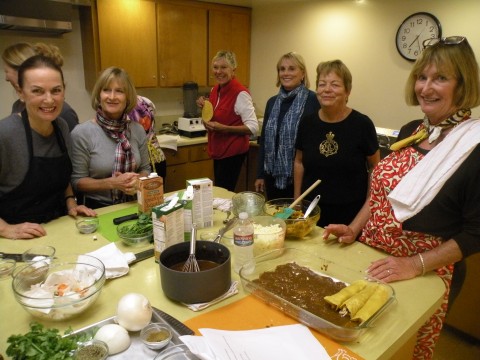
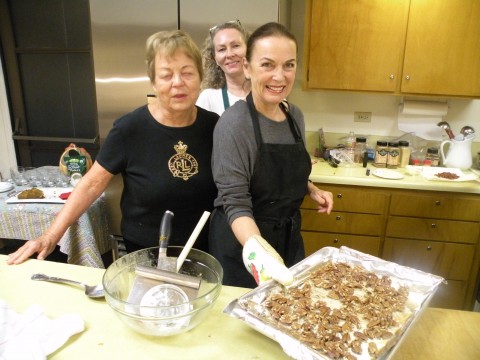
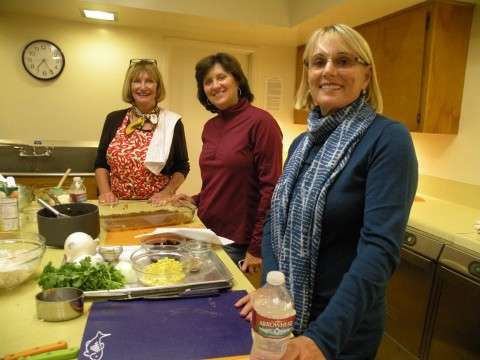
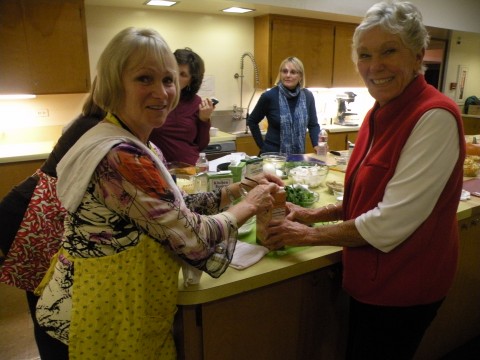
These pictures are from my cooking class Irresistible Pumpkins. When I select a subject to teach, I tend to create a class with seasonal cooking subjects for the basic reason that the main ingredients are in stock at the supermarkets as well as at the farmers markets in the area. Here, I chose a pumpkin theme and everyone had a wonderful time exploring the basics of cooking with fresh pumpkin, to soup building skills, along with with the process of making a delicious risotto. Here you can learn the cooking technique for roasting a pumpkin.
Roasting vegetables for the pumpkin soup.
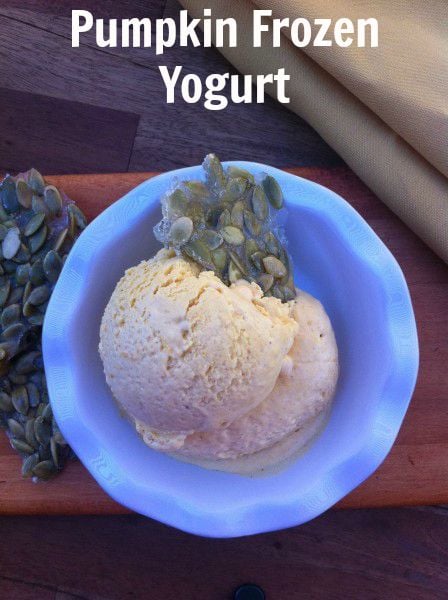
Pumpkin seeds anyone?
Rolling pumpkin mole enchiladas
Checking out the soup being blended in the vita-mix.
Watching the roasting of the pumpkins.
That yummy pumpkin risotto cooking.
Reading the recipe is important. The enchiladas were fantastic!
Thanks Wendy Woolf for your recipe.
Everyone busy with their dishes.
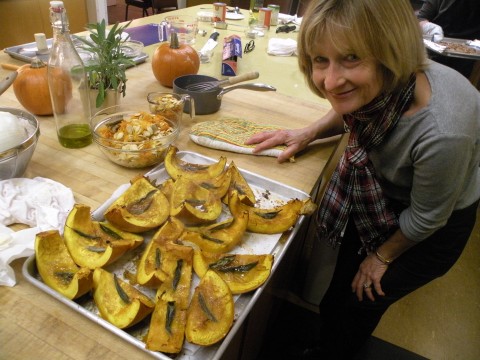
The roasted pumpkin with sage leaves.
What a great group of ladies.
The spiced pecan topping for the soup.
Just taking a break before getting started again.
Two returning ladies enjoying each other’s company.
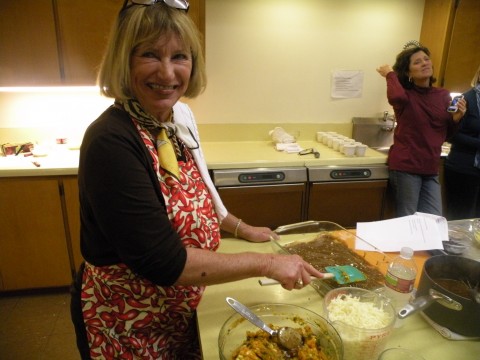
Red hot chef with a hot pepper apron!
A wonderful cooking day with fun and lovely ladies.
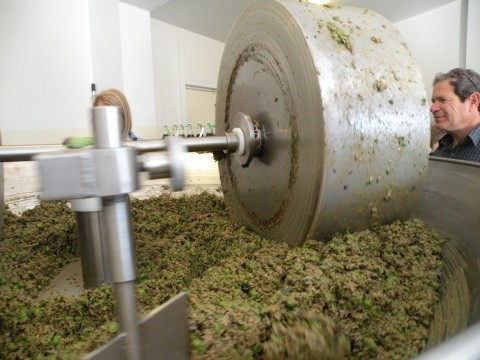
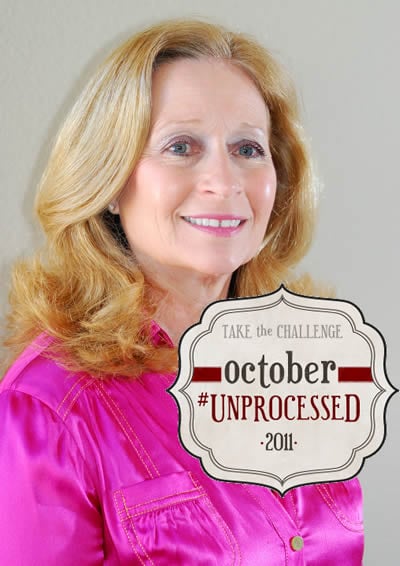
As you can see all month I have taken the #unprocessed challenge from Andrew’s website, Eating Rules . This is my second year taking the challenge , last year I wrote an article on Chick-peas. I have been tweeting about this new challenge, adding recipes to help others with their daily recipes, and wrote this article about an area of food I have a strong love for, extra-virgin olive oil.
I had discovered over the months that UC Davis had completed a study on the much needed olive oil standard, after discovering that the extra-virgin olive oils didn’t meet up to the chemistry or the tasting tests given by the panel. Over 79% of the extra-virgin olive oils on the market didn’t pass the standards.
Food Day 2011 is part of a food revolution we are experiencing in America today. Stop and take a few moments to think about how you can use food to feed your mind and body.
Be more sustainable by eating locally as much as possible.
Try and buy organic and shop at your local farmers markets.
Plant a small garden to feed yourself and your family.
Are you staying active and exercising daily.
Look for “Fair Trade” products when shopping for coffee and chocolate.
Have you tried to purchase non-GMO foods.
Are you eating less processed foods and eating more vegetables and grains.
Have you considered planting fruit trees for fresh fruit all-year long.
Switch to healthier snacks during the day to stay fit.
Grow fresh herbs to enhance the flavor and taste of your dishes.
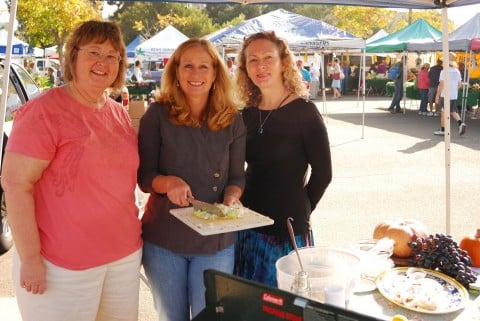
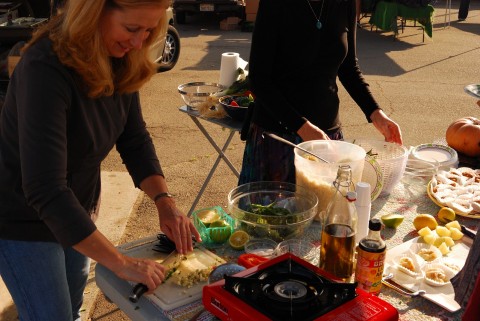
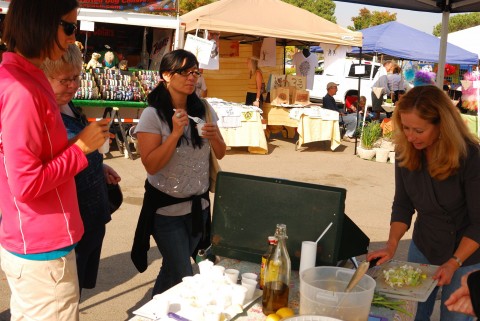
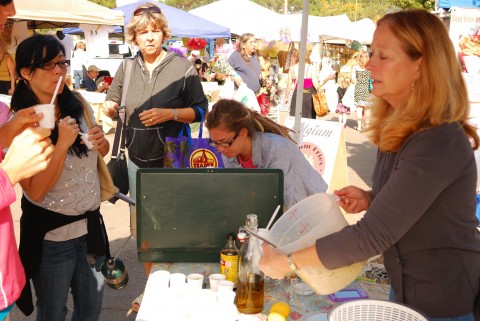
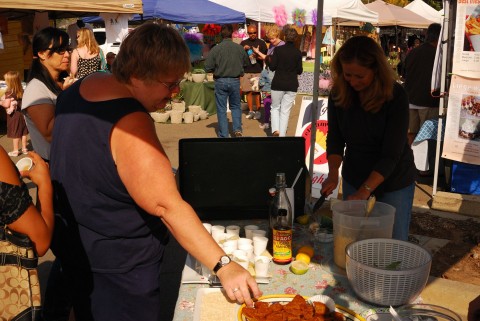
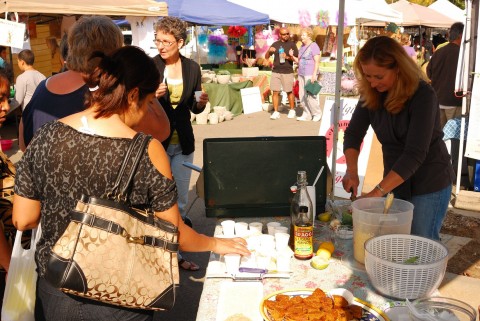
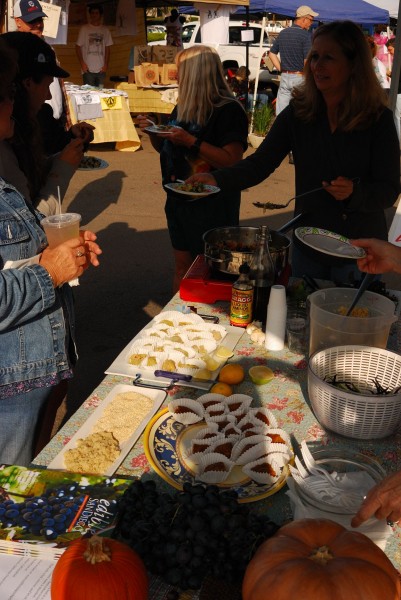
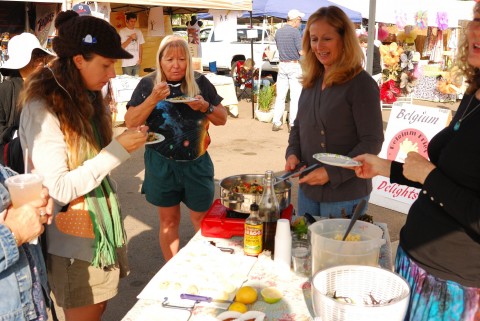
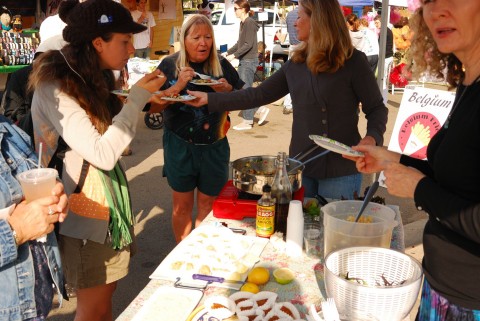
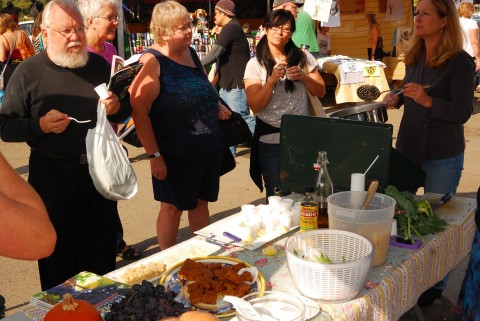
I had the opportunity to set up Vista’s Farmers Market as my first cooking demo on Saturday morning. I chose to demonstrate quinoa recipes in which I prepared Quinoa Stuffed Cabbage, Quinoa Pumpkin Chocolate Muffins, and a Fresh Quinoa Sir Fry with Vegetables from various vendors. The day was beautiful and I started cooking early in the morning around 8:30, but by 10:30 or so , I had cooked six batches of quinoa stir-fry, and my samples were devoured. The market was full of eager shoppers willing to learn about a new seed, and it’s nutitional value in a quick preparation using the vegetables they has just purchased. A sucessful day, with friends and farmers working together.
Mimi Holtz a tweet friend came by to see me, and Diane Barnard the coordinator for the market volunteered to help me with a cooking presentation.
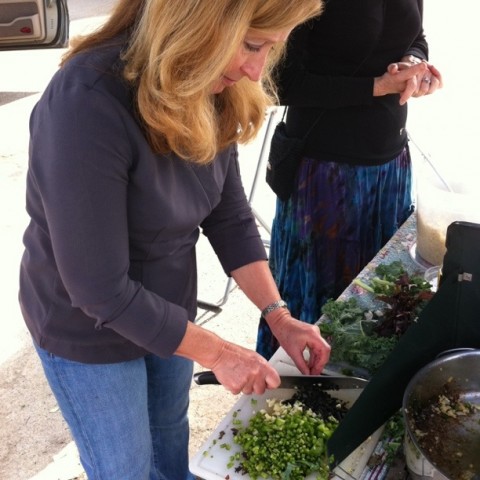
Chopping and prepping for the quinoa stir-fry.
I started fresh with leeks and onions, which perfumed the air, and brought visitors by to see the demo.
Showing how I prepared the quinoa the night before, and how it can be stored in the refrigerator up to a week for quick dinners.
The quinoa muffins were enjoyed by all.
Smit Orchards was kind enough to drop off those beautiful grapes for tasting.
Demonstrating how easy it is to throw together a fast and healthy dinner together.
Everyone enjoying the samples.
I love teaching about new foods and how to cook them in various methods, so people can take home something new from the visit.
Busy chopping away!
That’s all, and I’ll see you at the next farmers market in town!
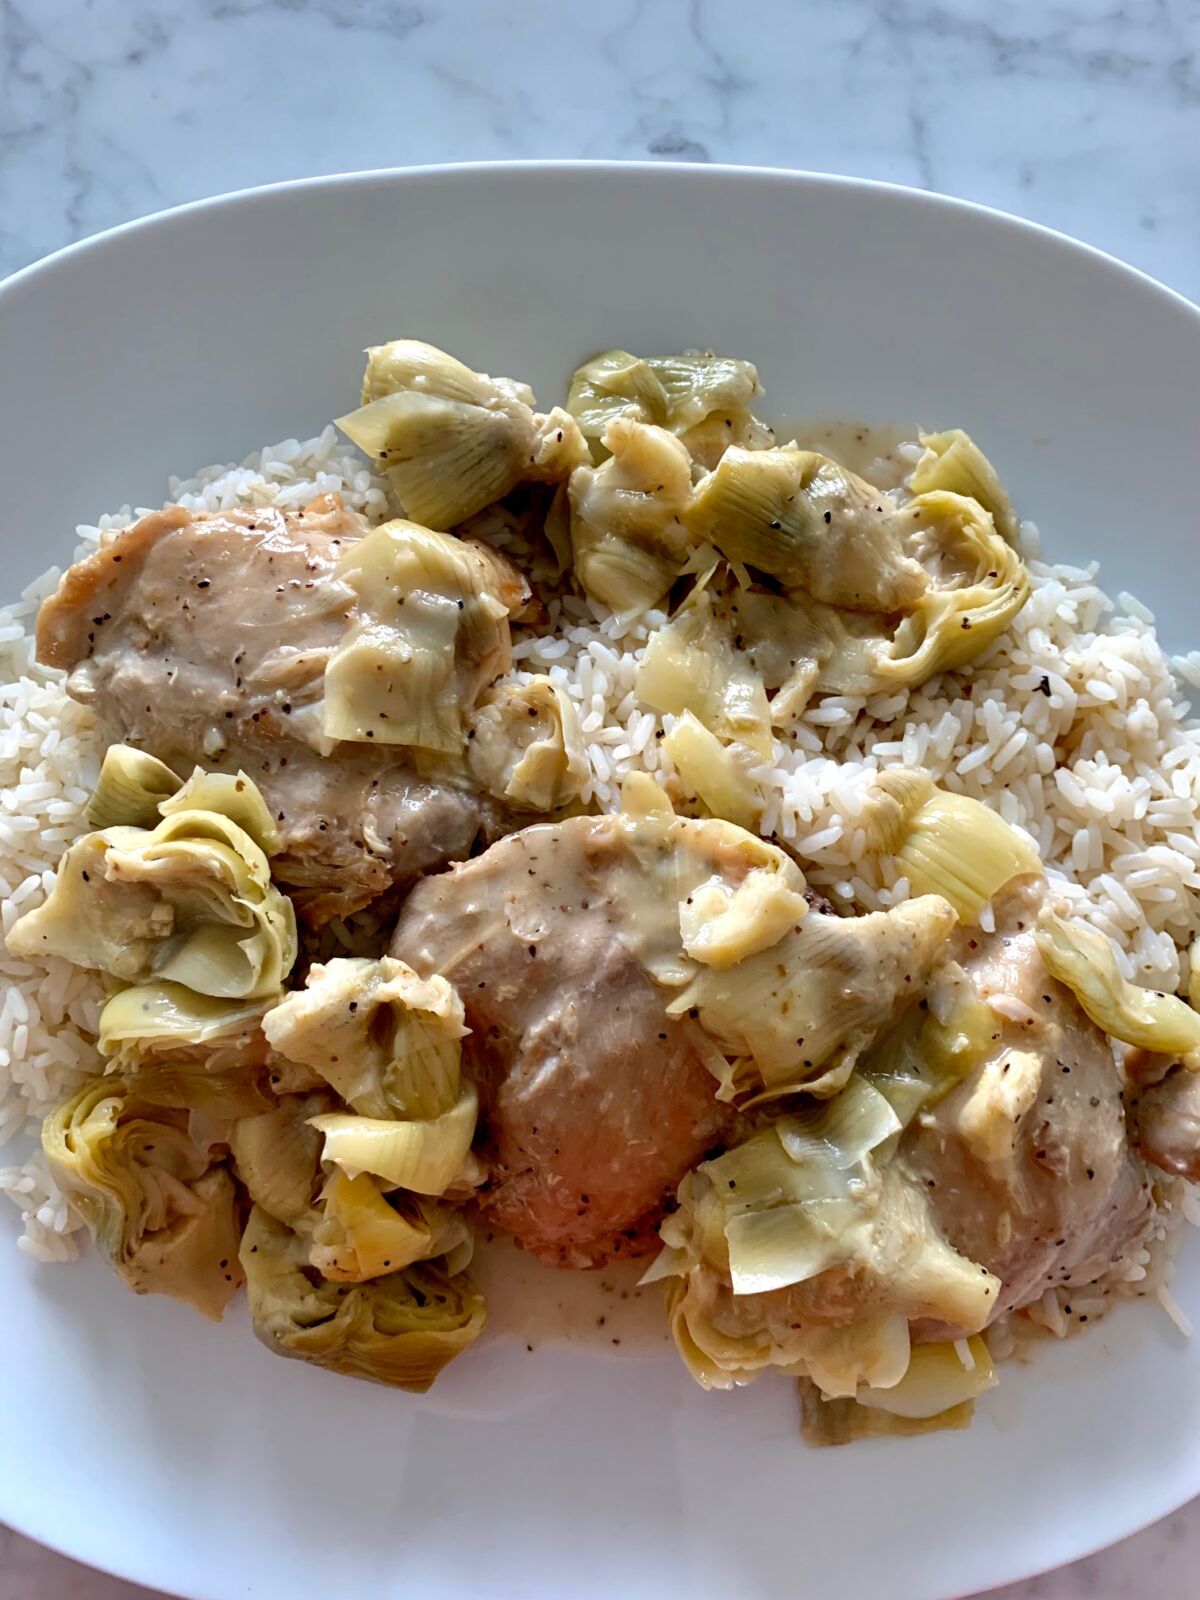
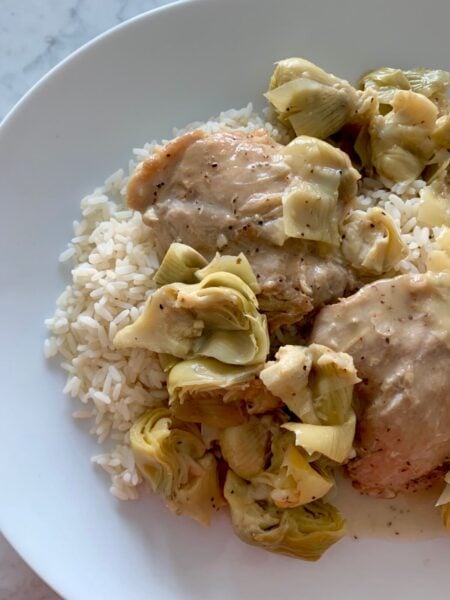
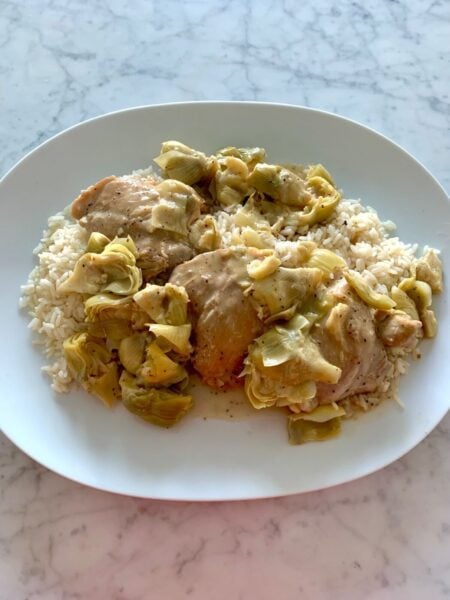
Greek Braised Chicken has to be one of my favorite all season dishes to prepare for my family. With the addition of artichokes this dish is elevated and can be served as a main dish for any occasion. Greek chicken is a favorite among our household, and can pass as a quick weeknight dinner. It’s also perfect for a large crowd or at any party or event. Here, I have accompanied it with plain rice, but this dish can be served with a vegetable, pasta or a Greek salad. The liquid that the chicken is cooked in, is equal portions lemon juice and white wine. You can substitute the wine for a broth. Artichokes can be fresh, frozen or canned in water. Keep these few ingredients in your freezer for a quick last minute dinner.
I use chicken thighs because they stay moist in this cooking method. The thighs with the bone in, have a deeper flavor from the bones, and they stay together and do not fall apart during the cooking time.
Greek Braised Lemon Chicken with Artichokes " Kotopoulo Lemonato"
Add this to your monthly meals for your family or guests. It's quick with a simple serving of rice.
Course
dinner
Cuisine
Greek
Keyword
artichokes, chicken, dinner, rice
Servings6
AuthorMary Papoulias-Platis
Ingredients
1package of six thighs, bone in
1package of six chicken legs, bone in
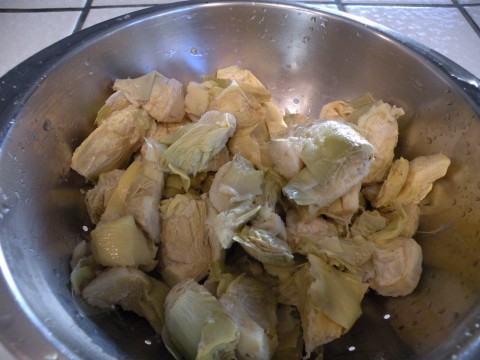
2cans of artichokes in water or 2 packages frozen-thawed
2tablespoonsolive oil
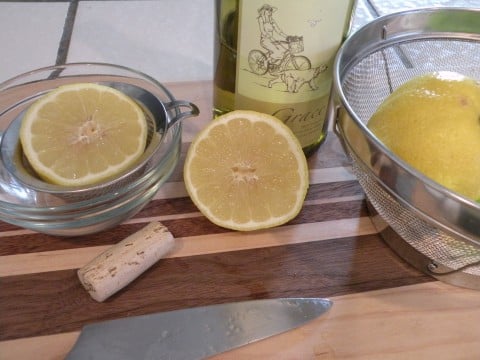
1cupfresh lemon juice
1cupwhite wine
salt and pepper
Instructions
Wash and pat dry the chicken thighs and legs. Sprinkle with salt and pepper.
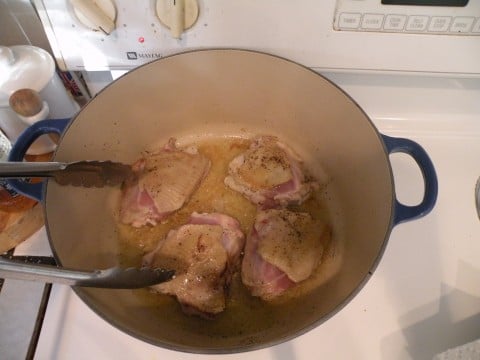
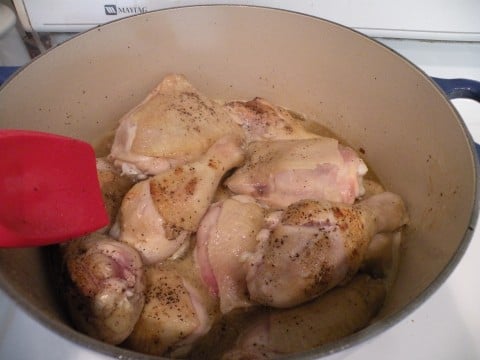
In a deep Dutch oven, place 2 tablespoons of olive oil in the pan and brown all the pieces 3-4 at a time. Do not overcrowd. Drain on paper towels.
Continue until all the chicken has been browned on all sides.
Place the chicken back in the pot, and add the lemon juice and wine. Bring to a boil, and simmer for 45-50 minutes, until chicken is done.
Remove chicken from pot, leaving in the liquid.
Add the artichokes and cook for 15 minutes or until artichokes have absorbed some of the juices.
Add the chicken back to the pot and reheat on low.
Serve with rice, beans or pasta.
Recipe Notes
The white wine can be substituted with a broth. The artichoke sauce can be thickened with flour, cornstarch or tapioca. This dish can be made the day before, and re-heated.
Techniques on how to make Braised Chicken
Place chicken in the pot and brown on all sides. Drain on paper towels. Do not crowd.
Once all the chicken is browned, return it to the same pot and add the fresh lemon juice and wine.
Bring to a boil, reduce to a simmer and braise for 45-50 minutes, until cooked.
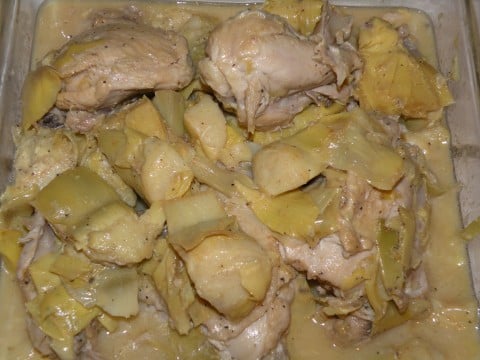
After the chicken is cooked remove from the pot. Add the artichokes. Cook on low until the artichokes are tender, and juice becomes thick. You may want to add a thickener such as cornstarch, tapioca, or flour to make the sauce. Add chicken back into the pan to warm and serve.
For family style, this dish can be served on a beautiful white platter. Enjoy with rice pilaf, vegetables, or a salad.
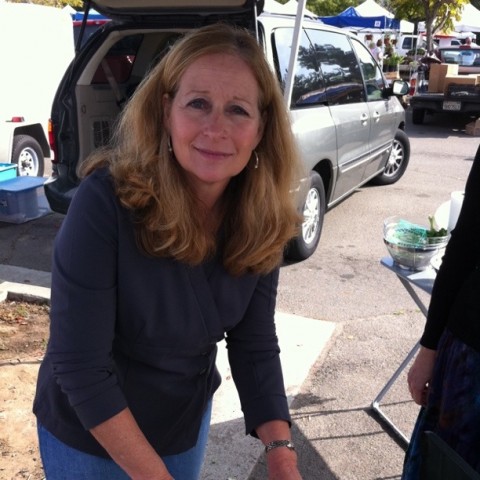
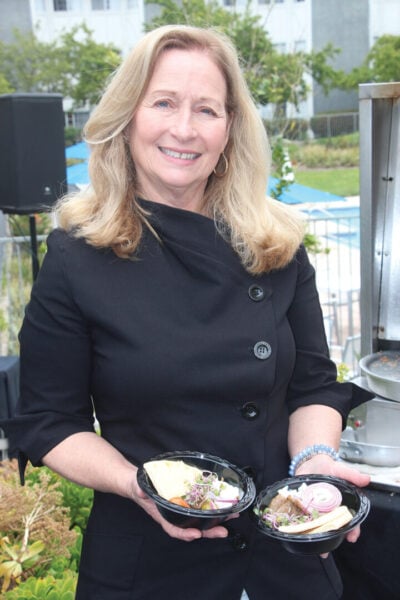
Hello from California Greek Girl. I’m the owner of Ethos Culinary located in the beautiful city of Carlsbad. Join me as we explore California’s bounty of foods, farmlands, and culinary experts. I’m looking forward to bringing you Greek, Mediterranean and Plant-Forward Cuisines. OPA!
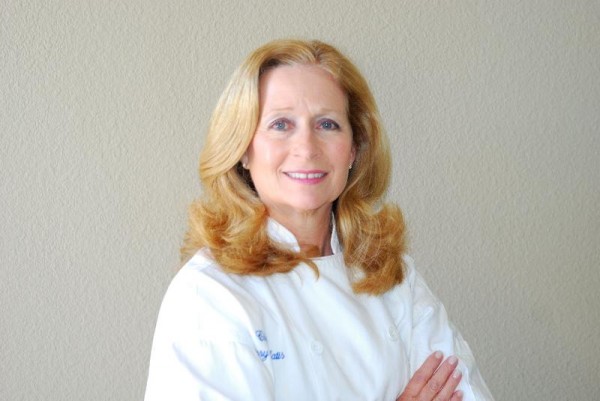







 Hello from California Greek Girl. I’m the owner of Ethos Culinary located in the beautiful city of Carlsbad. Join me as we explore California’s bounty of foods, farmlands, and culinary experts. I’m looking forward to bringing you Greek, Mediterranean and Plant-Forward Cuisines. OPA!