A hands-on phyllo demonstration class is one of my most popular cooking class. This is not making phyllo from scratch, which is another topic, but just working with the store-bought phyllo we find in our store. After class I often see many smiles and positive comments made from my students. They find working with phyllo is much easier once they are shown the technique. Many leaving the class are hoping to use phyllo in their cooking without the fear they had before attending. And it’s true. The dough is quite easy and forgiving which many doughs are not. I would rather work with phyllo than a pie crust any day!
My mother had to show me several times and with practice I became comfortable with it. Once you know more about phyllo, you will have an easier time with it. Here are some facts before getting started with your recipe, that you need to know. As I worked the county fairs for many years, I made up to 100 pans of each Greek pastry we offered. Just like any pastry, you need to work with it many times to get the feel just right!
- Phyllo needs to be defrosted overnight in your refrigerator, so plan ahead and keep several boxes on hand. Keep the dough in the box.
- Remove the phyllo package from the refrigerator as you begin the filling to warm up a bit. Don’t unwrap.
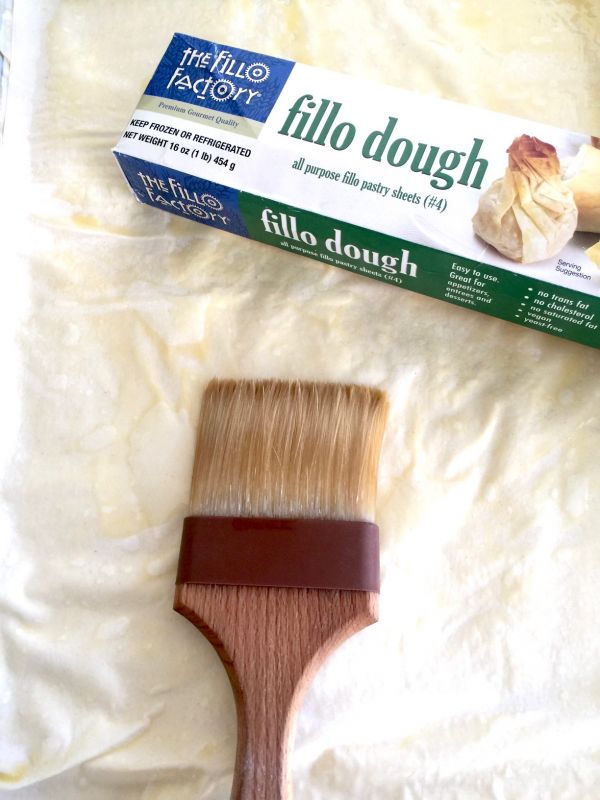
- Phyllo needs butter or olive oil brushed between all sheets to get it’s crispy texture. If they are sticking together, two sheets can be used at once and it will work. I use sweet unsalted butter, or extra-virgin olive oil.
- Use a soft bristle pastry brush, so not to tear the dough.
- Plan on completing your filling first, then unwrap the phyllo. It will dry out if you answer the phone.
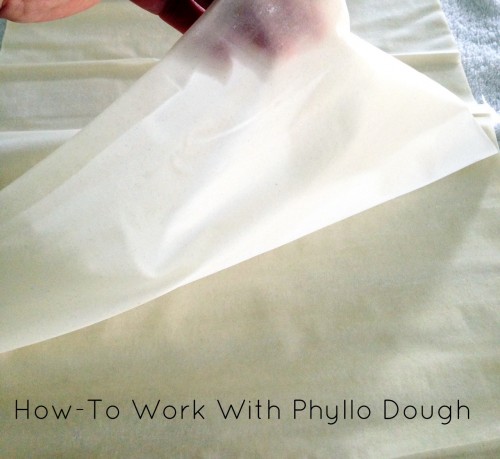
- I lay out my phyllo on a clean kitchen towel as I work.
- Phyllo comes in various thicknesses. I tend to use the thinner phyllo for pastries, and the thicker for savory dishes. But, if you cannot find either one, use whatever you have available to you.
- The #1 instruction not written in most recipes when using phyllo, is to score the top before baking.

- Always score the top layers of the phyllo dough with a sharp knife before baking or freezing. This will help in serving the dish after it’s baked. Follow recipe instructions on how many pieces to score.
- If you plan on serving this on a busy holiday, I bake mine ahead of time and freeze it. It can then be baked off early in the day. ( I don’t like baking it the night before, because the top phyllo layers get soggy).
- Phyllo dough can be found in the freezer section, next to the puff pastry or pie dough.
- If you are not using all the dough, re-wrap tightly in plastic wrap and place back in the refrigerator for up to 2 months.
- Purchase sheet trays for larger dishes, the phyllo dough fits these pans.
Instructions for a large casserole #1
Step One: Open the package and unroll the phyllo sheets gently, onto a kitchen towel or smooth surface.
Step Two: Place the first sheet down onto a greased sheet tray. A deep large casserole dish works as well, but you may have to cut the phyllo to fit the pan.
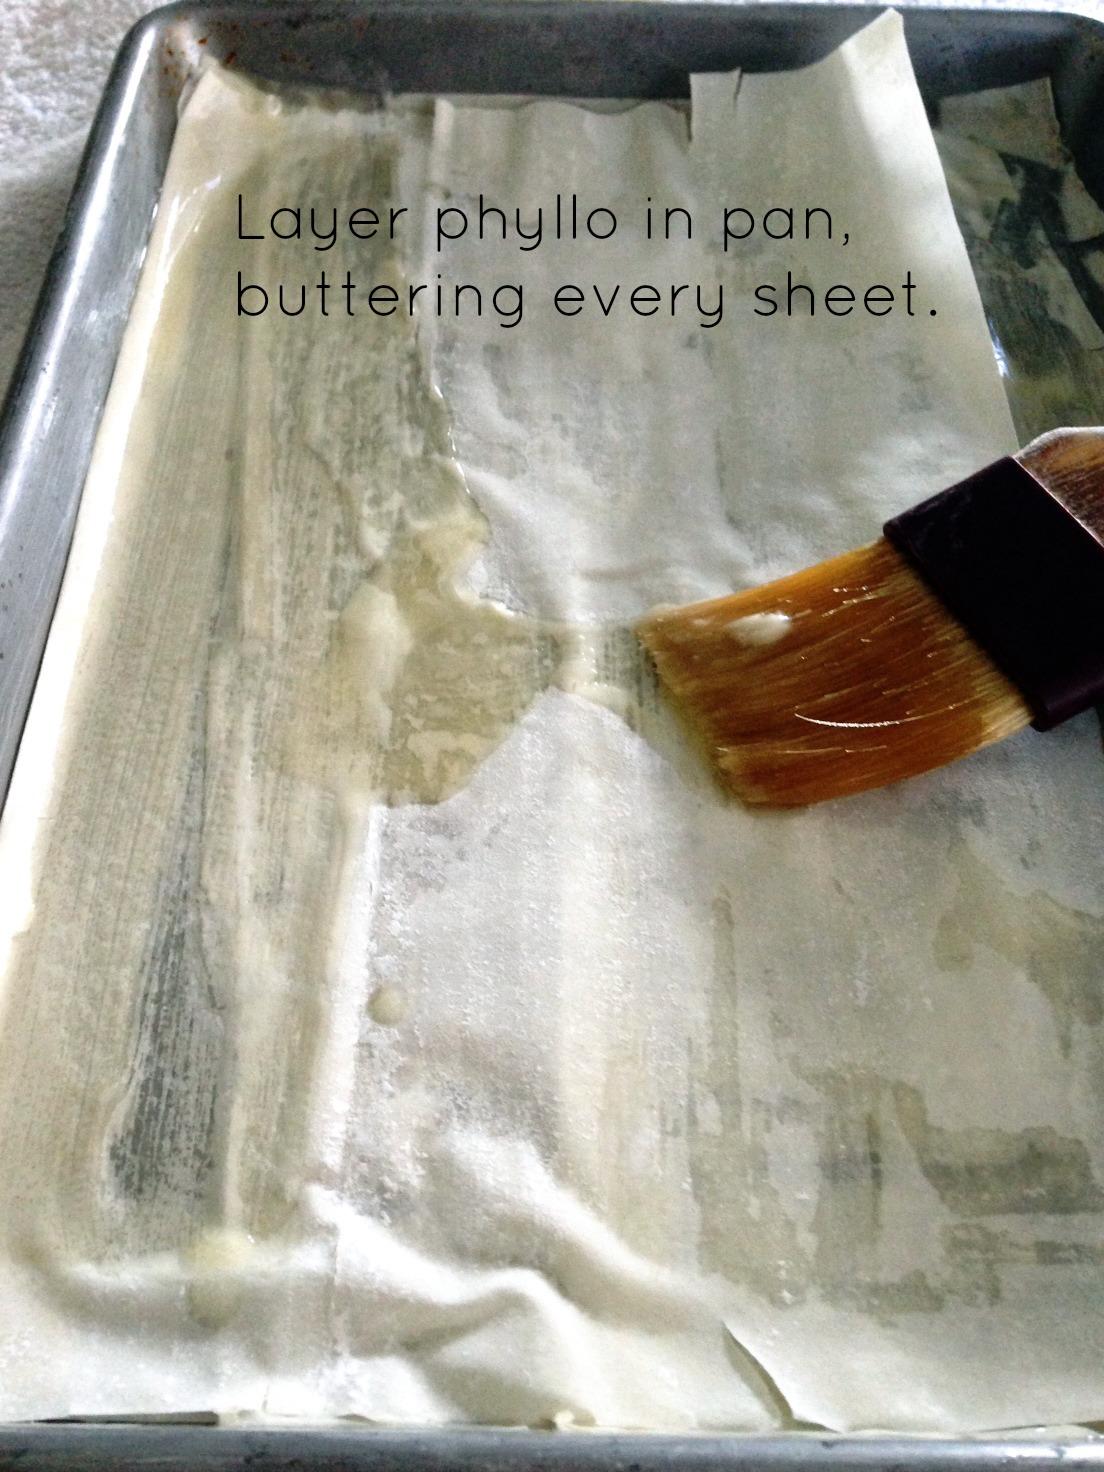
Step Three: Using your pastry brush and butter every layer lightly, but covering every corner and around the edges.
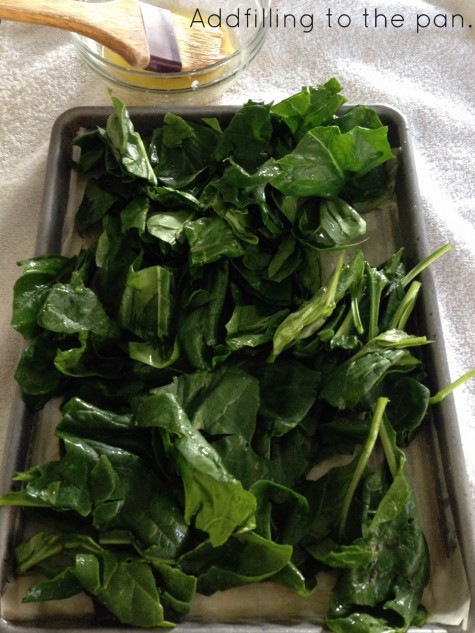
Step Four: Once you have all the bottom sheets layered, add the filling to the pan.
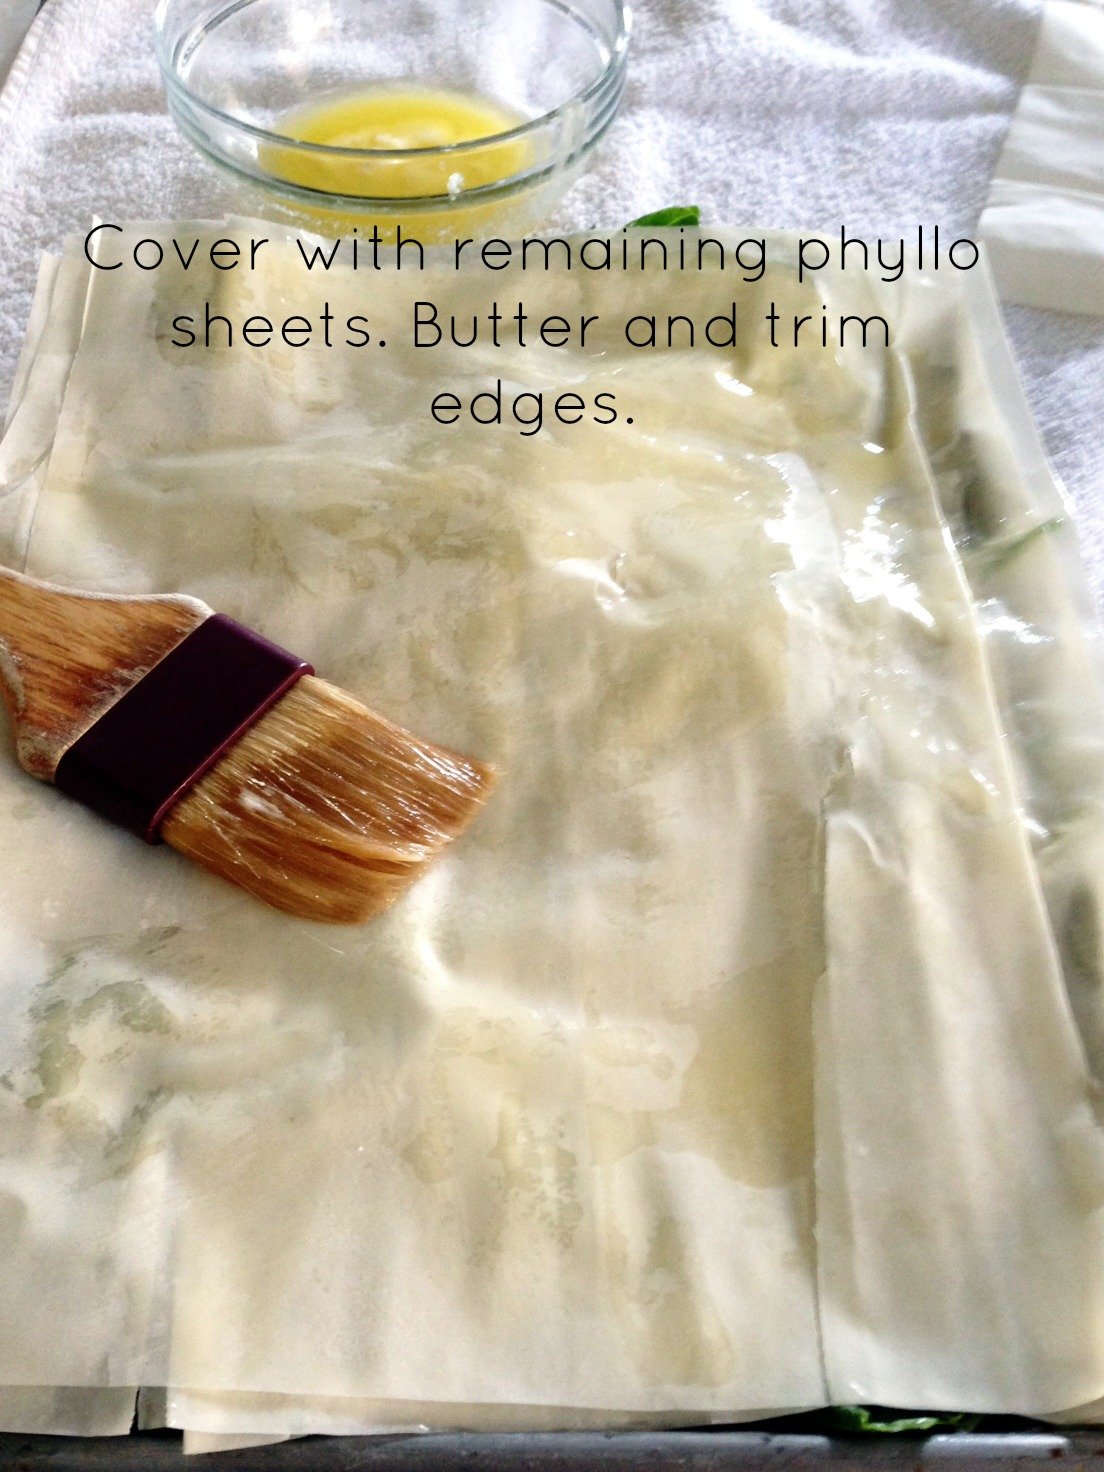
Step Five: Top with remaining sheets of phyllo, buttering every sheet. Butter the top sheet well.
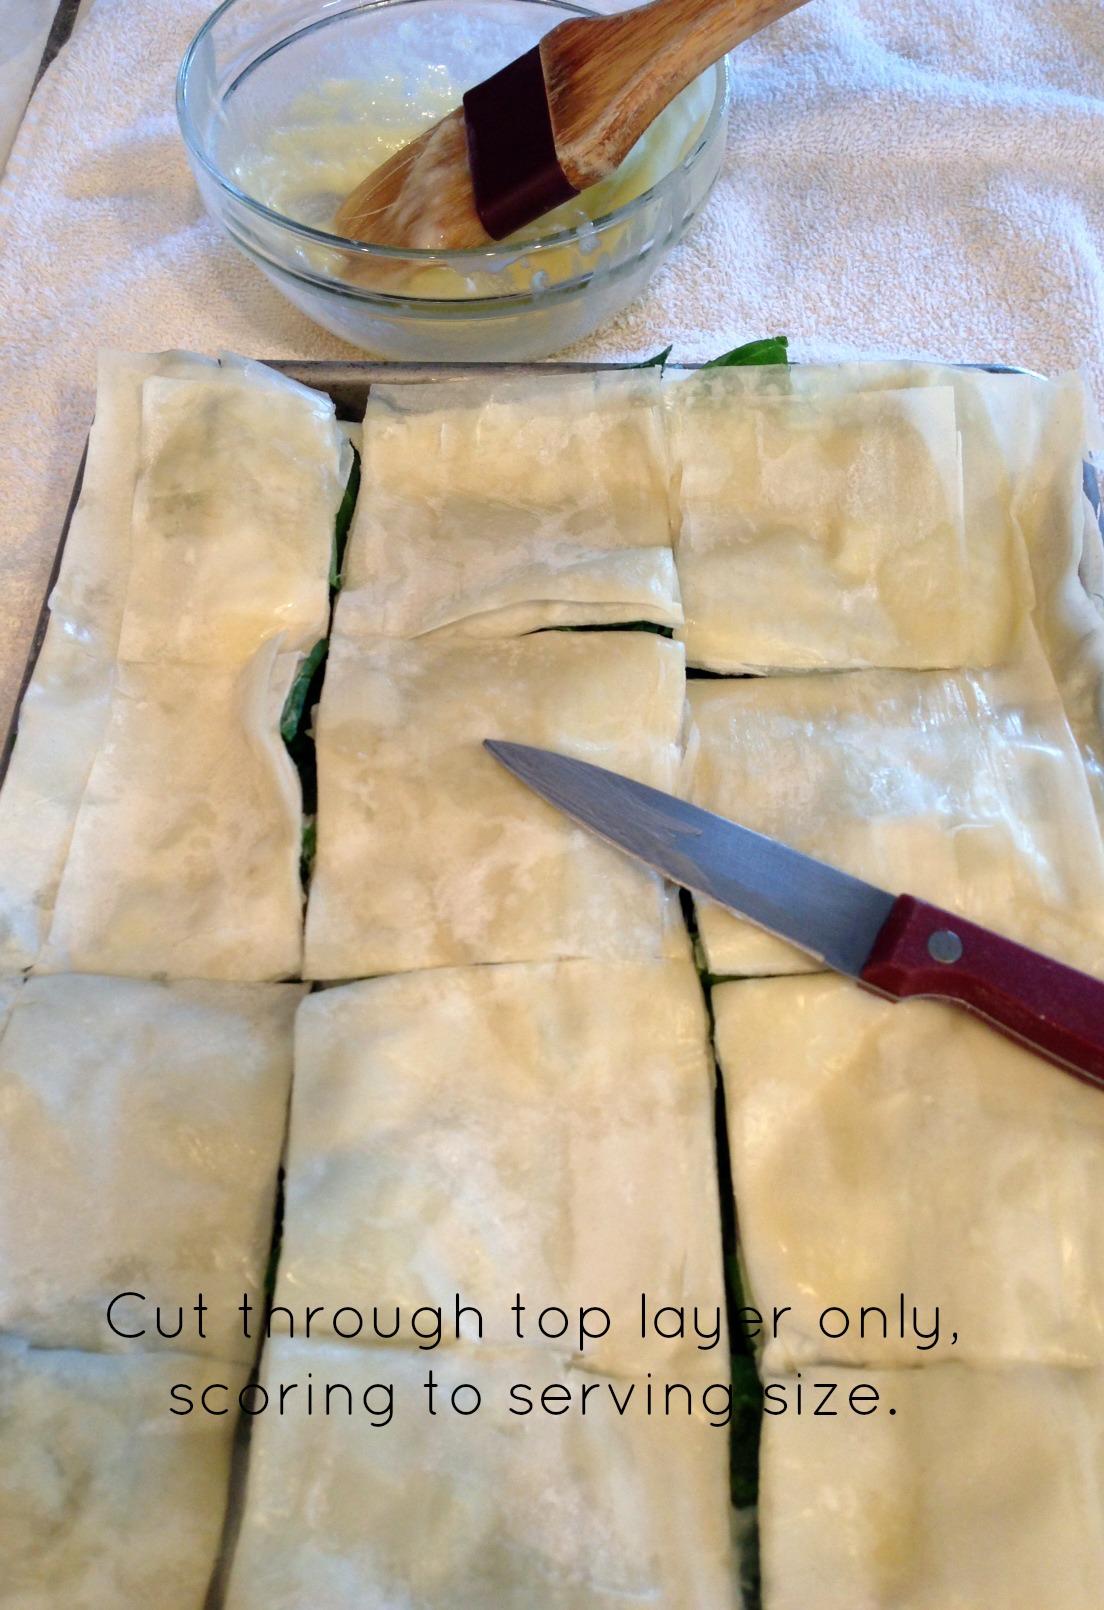
Step Six: Score with the number of pieces you would like to serve and bake. (or freeze at this point)
Instructions for wrapping an appetizer #2
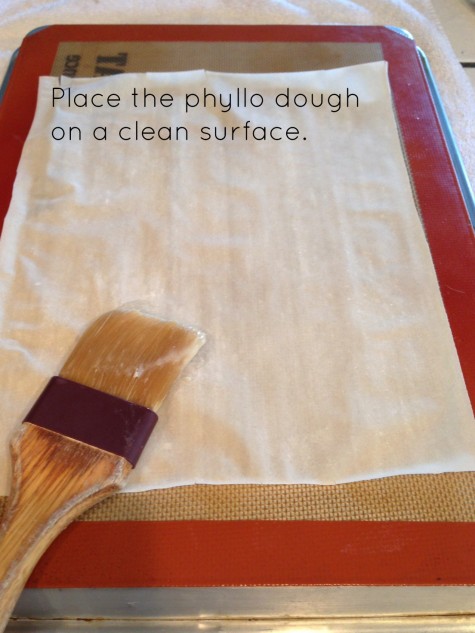
Step One: Place one sheet of phyllo on a smooth surface or on parchment/wax paper and cut larger than the phyllo size. Butter phyllo. (I use a silpat).
Step Two: Place a second layer on top and butter. Continue according to recipe.
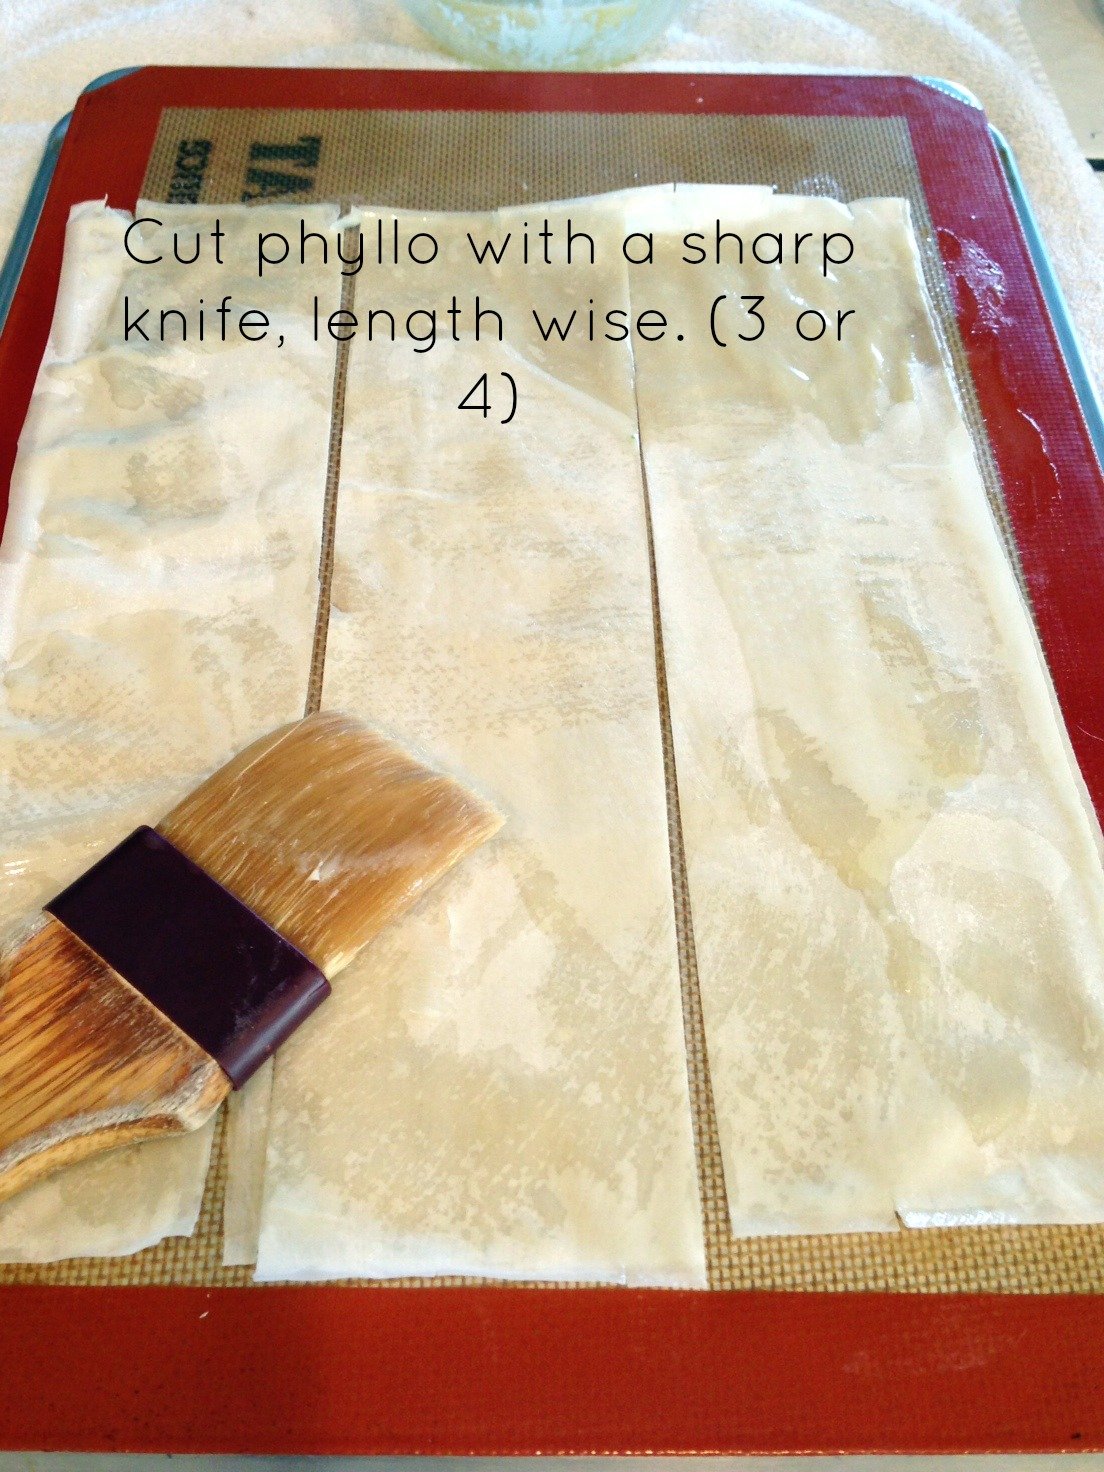
Step Three: Cut phyllo in thirds or fourths, length wise.

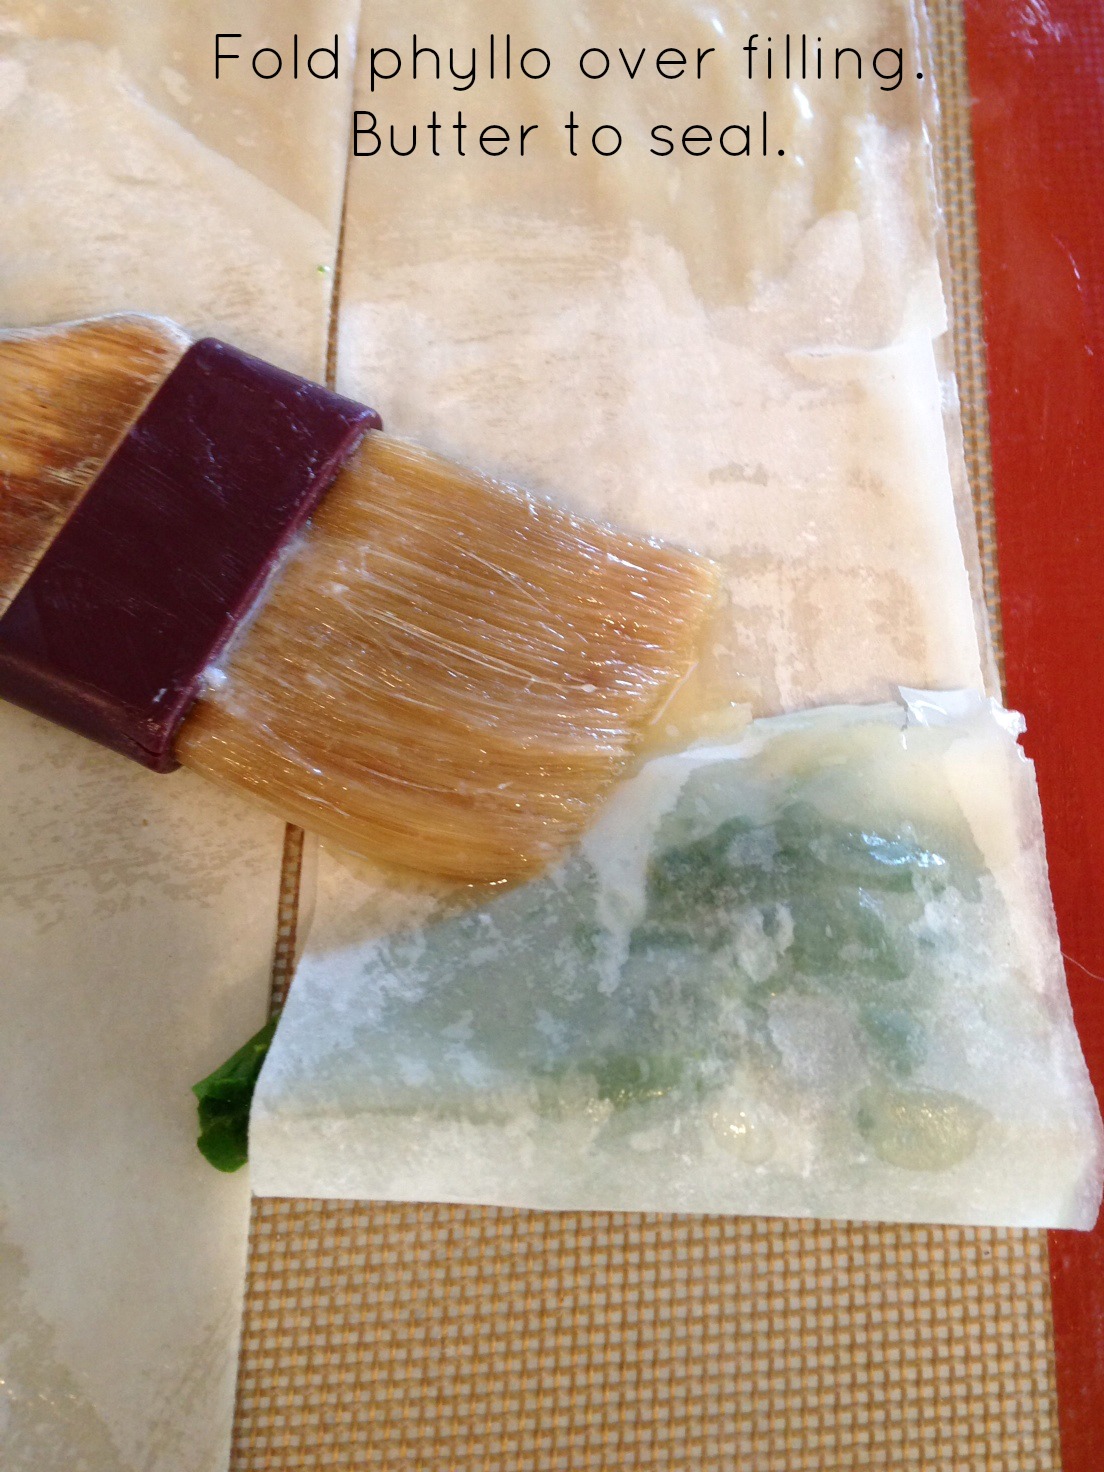
Step Four: Add filling to bottom edge and lift bottom edge of phyllo up and over filling.

Step Five: Lift left corner and fold over to the right side to form a triangle.
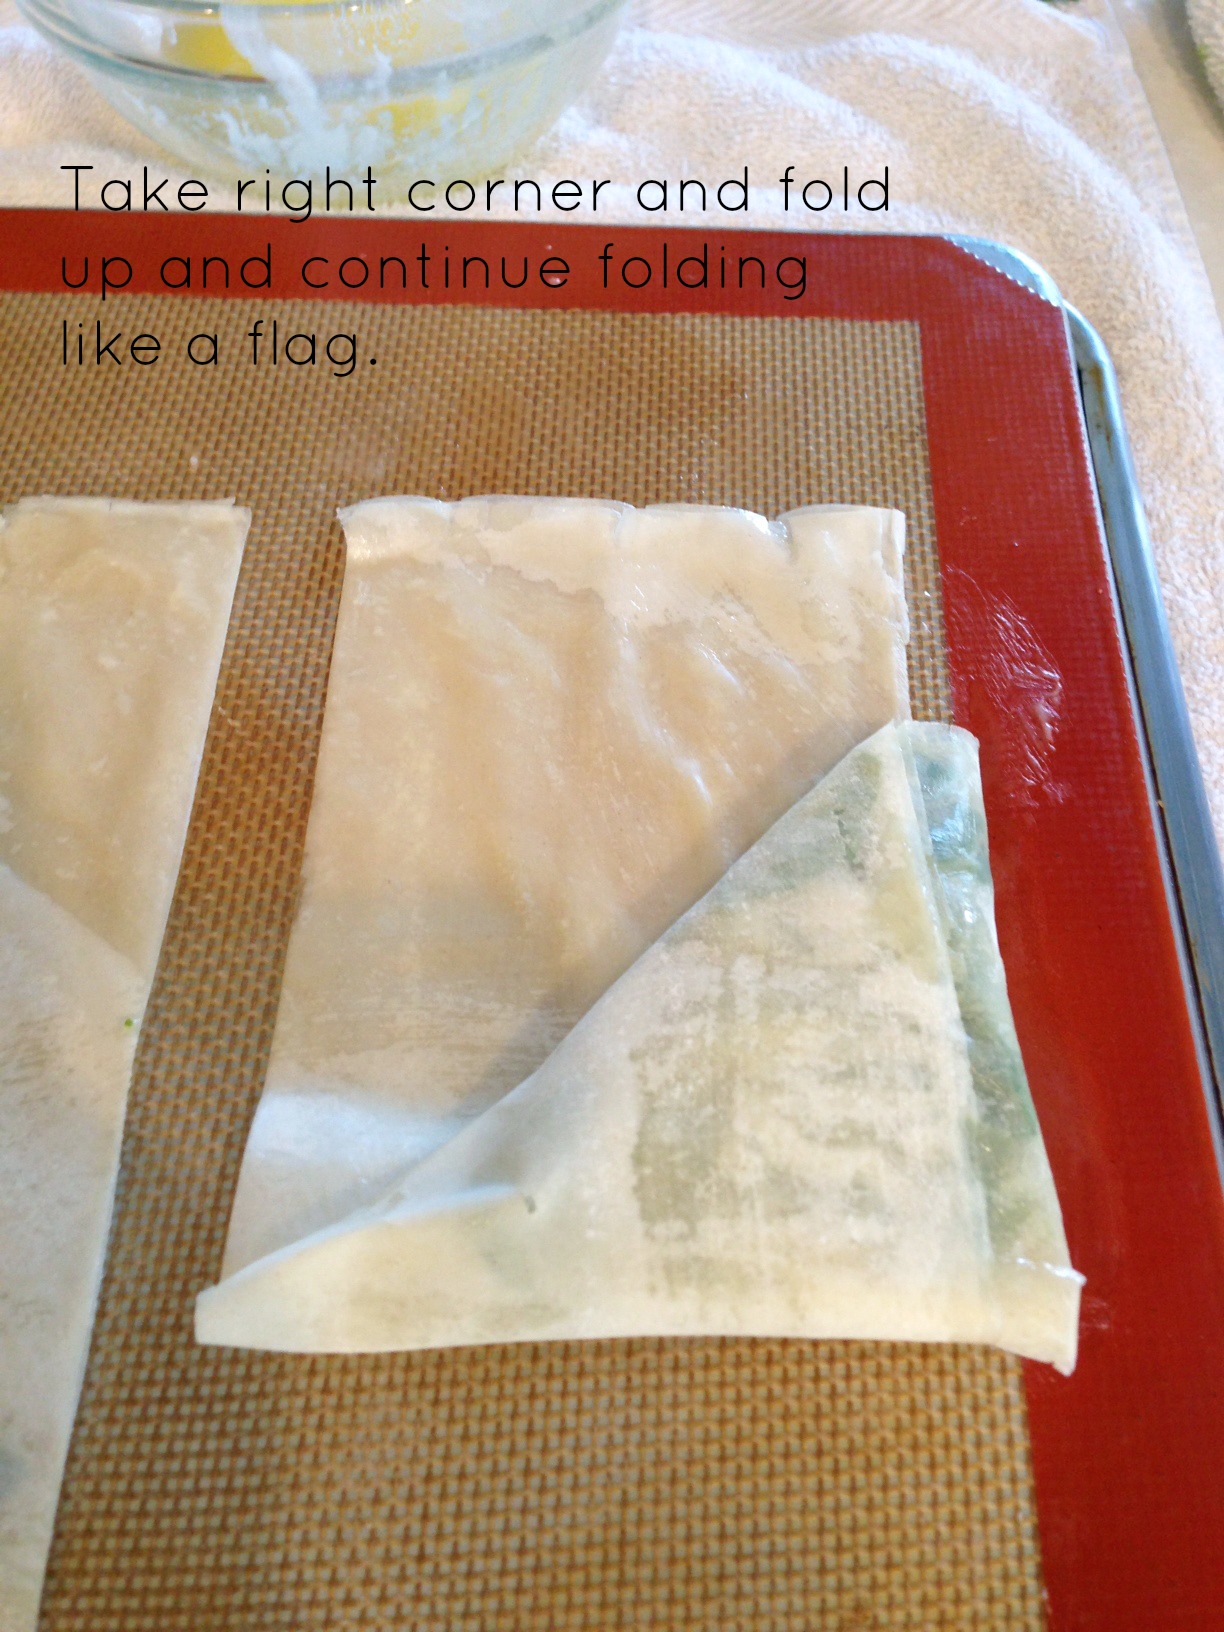
Step Six: Lift right corner over to the left side.
Step Seven: Continue until all the phyllo is used up.
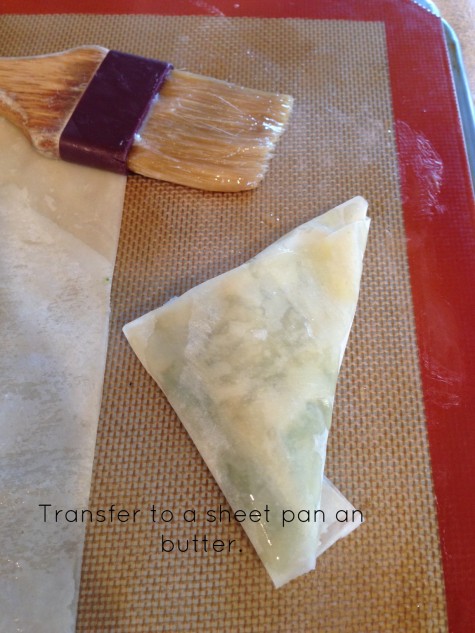
Step Eight: Place on a greased sheet pan , seam side down. Butter the top of the triangle.
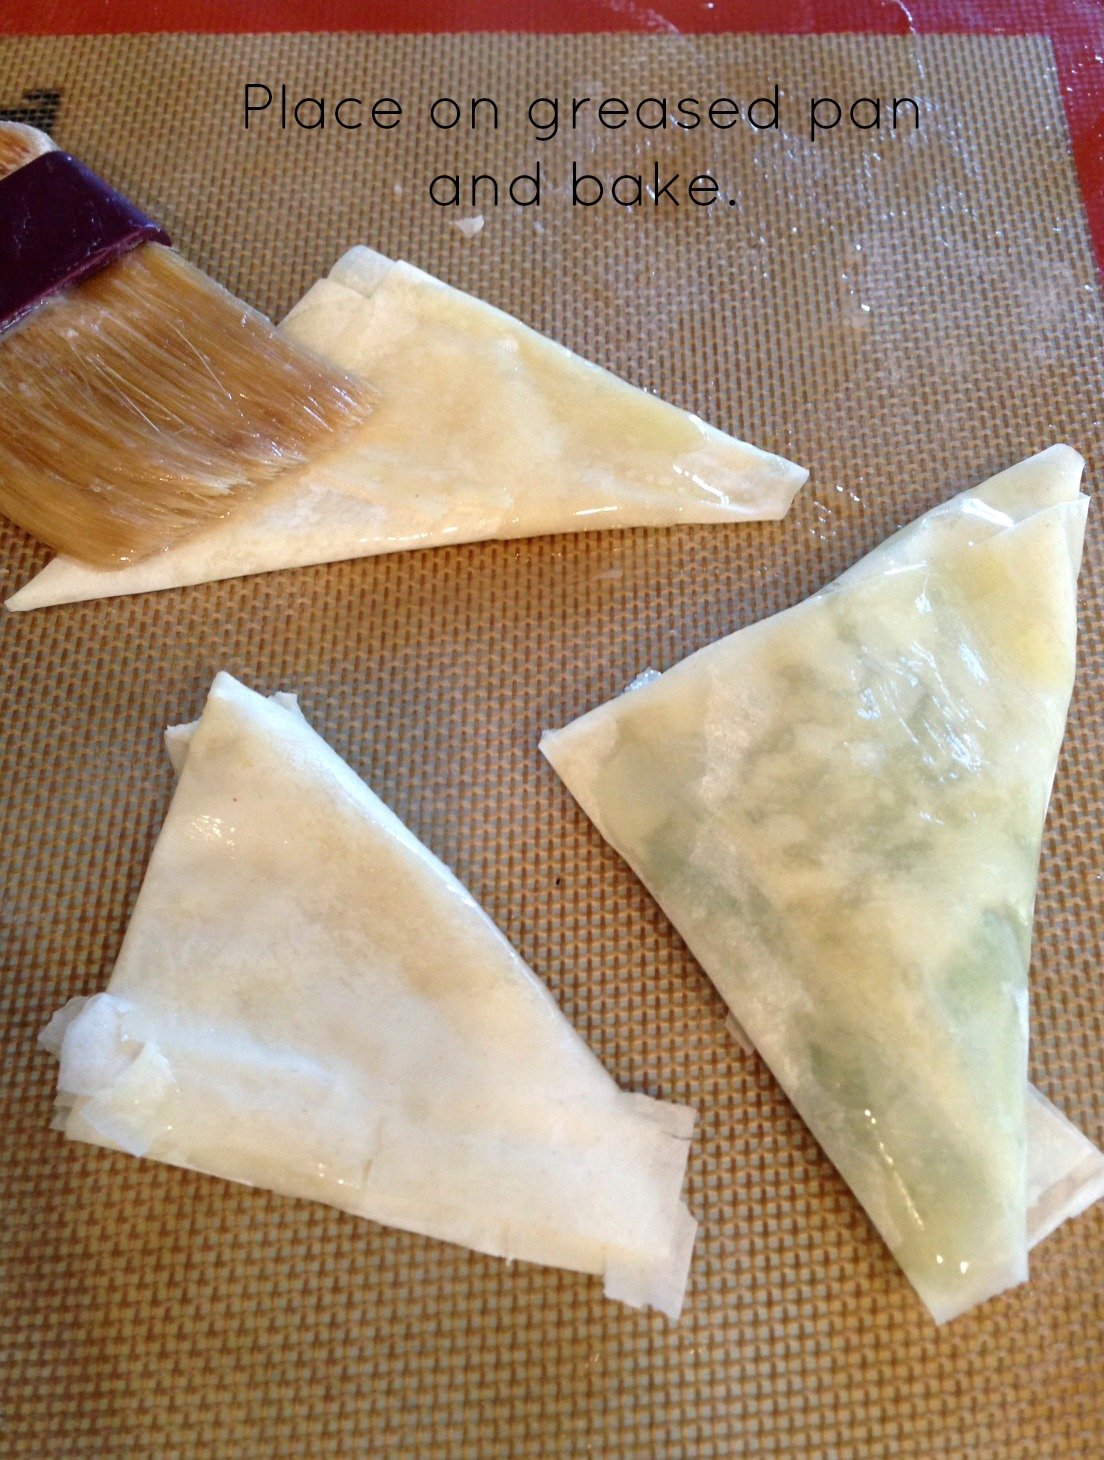
Follow baking instructions in recipe or cover and freeze at this point, and bake off another day.
Enjoy my recipes from my blog below, and send me pictures of your experience working with phyllo. I may just post them.Dishes using the layered method. #1
Spanakopita – spinach and cheese pie
Pastitio with Meat and Cheese
Eggplant Potato Phyllo Pie Custard with Phyllo – “Galotobouriko”
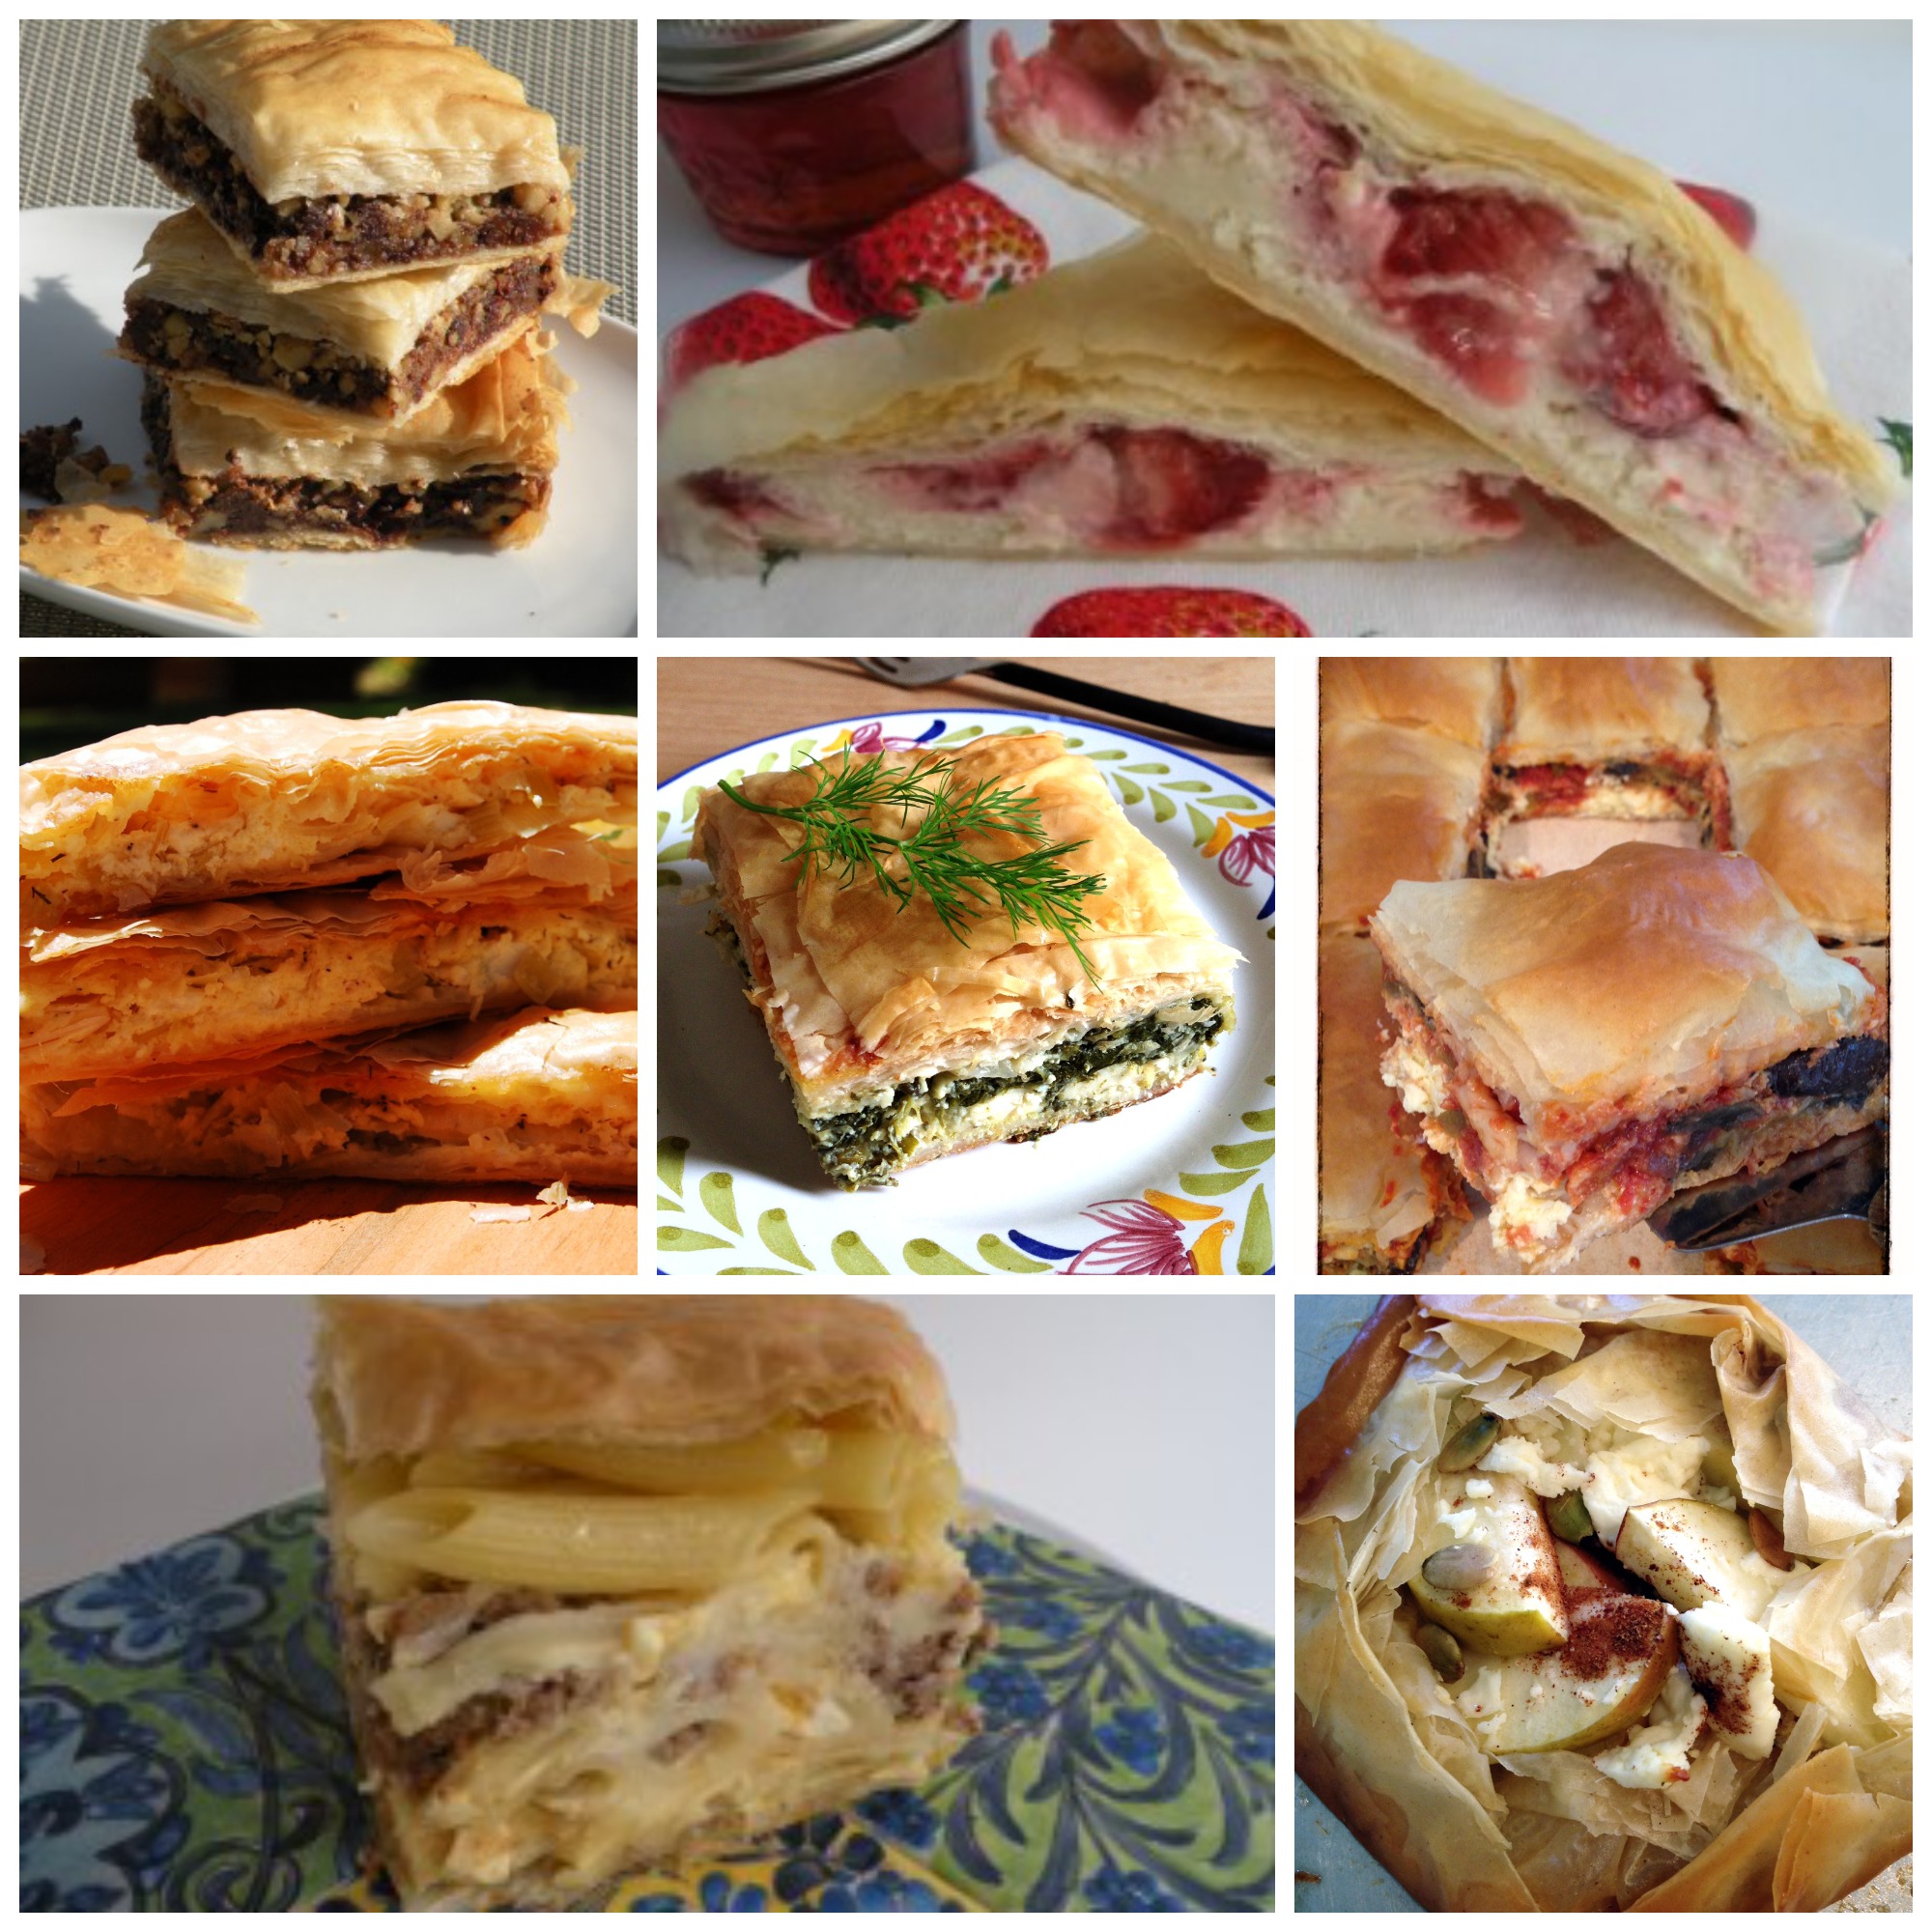
Dishes using the folding flag-method and more. #2
Crunchy Phyllo Greens with Dipping Sauce
© 2013 – 2019, Mary Papoulias-Platis. All rights reserved.


{ 3 comments… read them below or add one }
Wow! I hate working with phyllo but I learned something new. Maybe I won’t curse so much the next I make Persian Baghlava?!
how many pieces of philo dough to use for making cream horns?
Hi Becky,
I sent you an email with a link as well.
Best of luck,
Mary