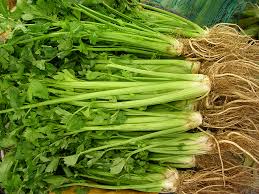
Celery is a vegetable that is under-rated here in the U.S. In the states it is mostly used for a base with onions in a saute at the beginning of a recipe.
I grew up with celery because my mother loved it in all her dishes. The smell alone of cooked celery reminds me of warm soups and stews she would be cooking on the weekends. Celery does grow wild in some parts of Greece, and I assume it did in my mother’s farming community. Celery is very common in the Greek cuisine. It is used in braises with lamb and pork. Often times as a side dish with fresh herbs from the garden.
Why eat celery?
- Low in saturated fats.
- Very low in cholesterol.
- Good source of Vitamins A, B6, C, and K.
- Adds fiber to your diet.
- Includes Riboflavin, Magnesium, Potassium, and Manganese.
Not bad for a little stalk of celery!
You can also use celery with many different techniques: saute with onions and carrots as a a base for soups, stews often called: the trinity and mirepoix.
Add to your cheese boards or dip presentations. And don’t forget to use it as a fresh addition to your spirits and cocktails!
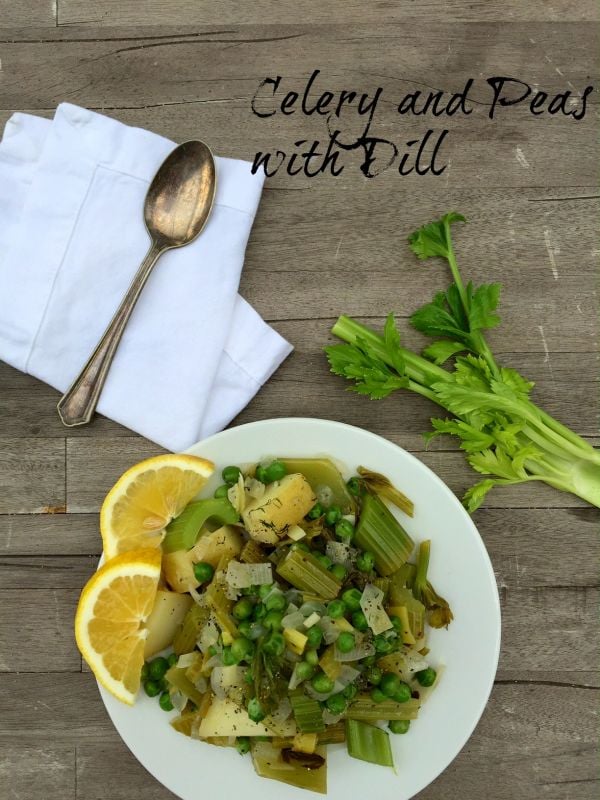
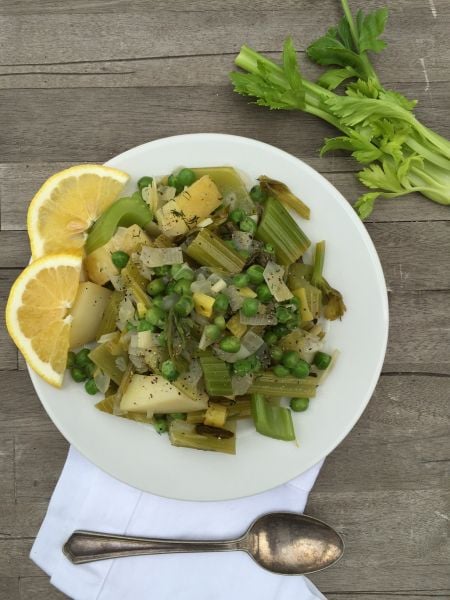
Today, I chose to remember this quick and healthy dish my mother taught me for a late-night dinner. She called it “Selino”, Greek for celery. All you need with this is a large loaf of homemade bread. This makes a perfect meatless dish.
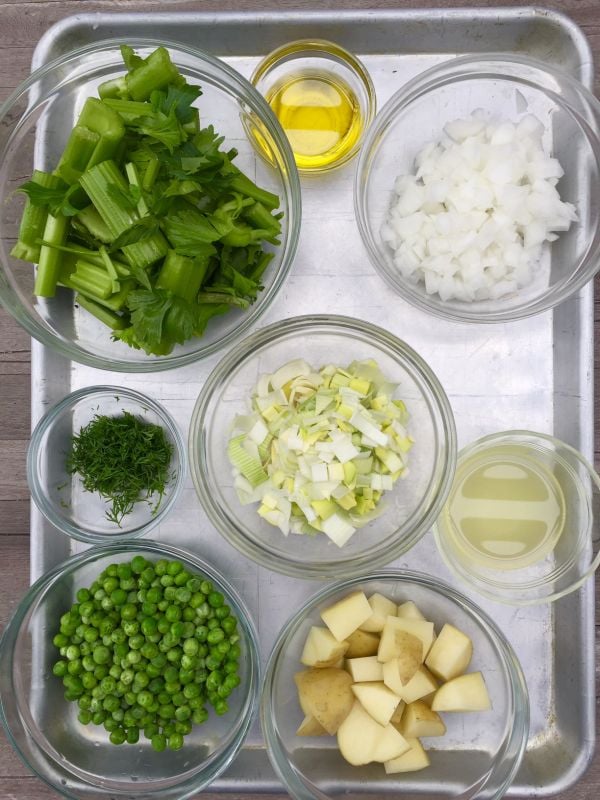
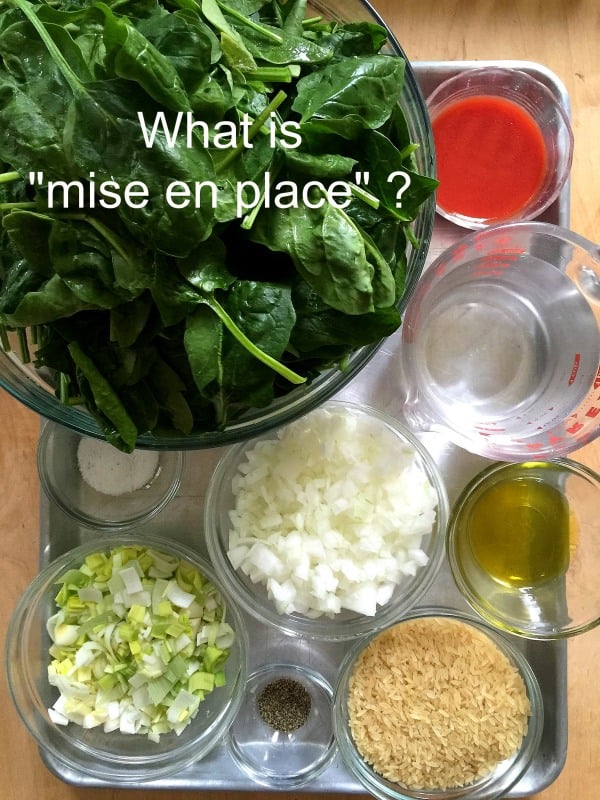
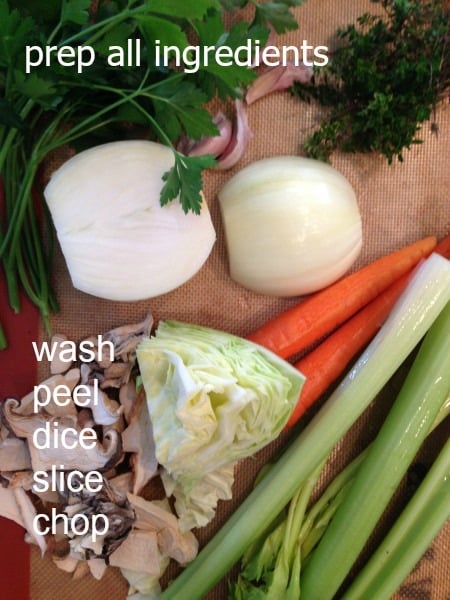
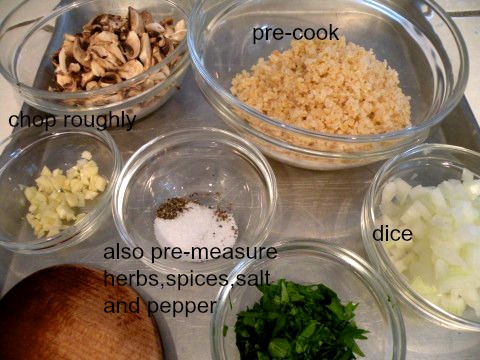
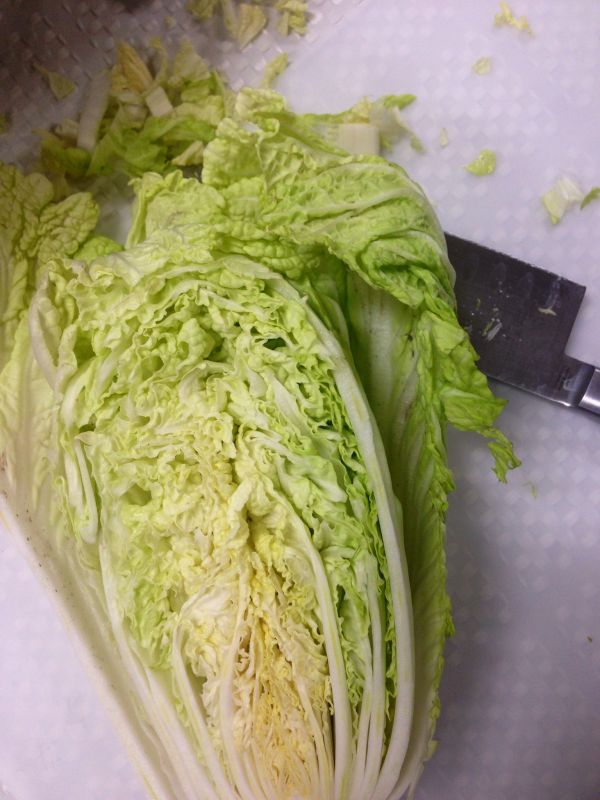
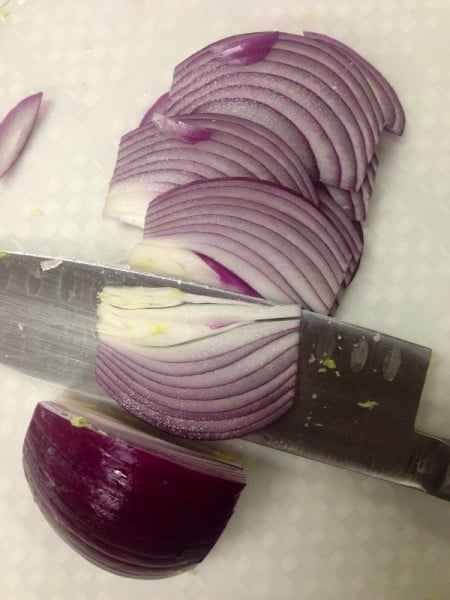
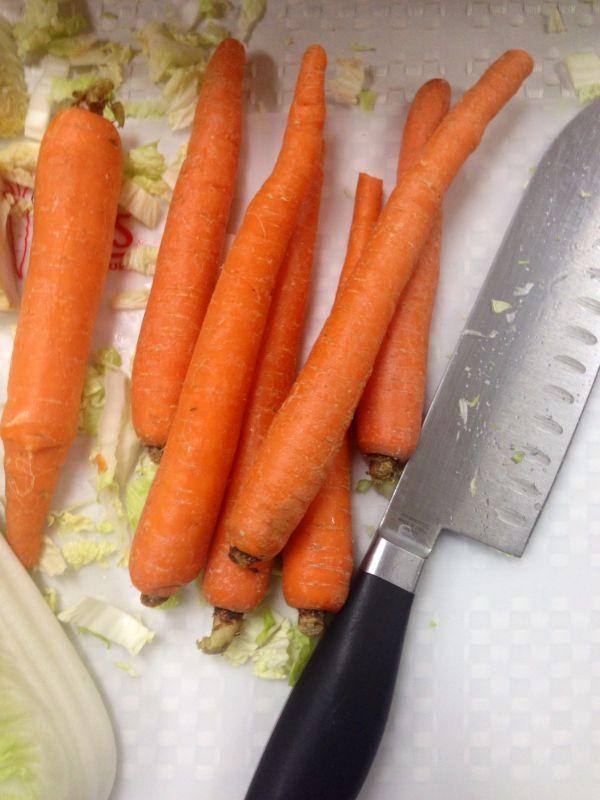
Start with collecting all your ingredients – “Mise en Place”
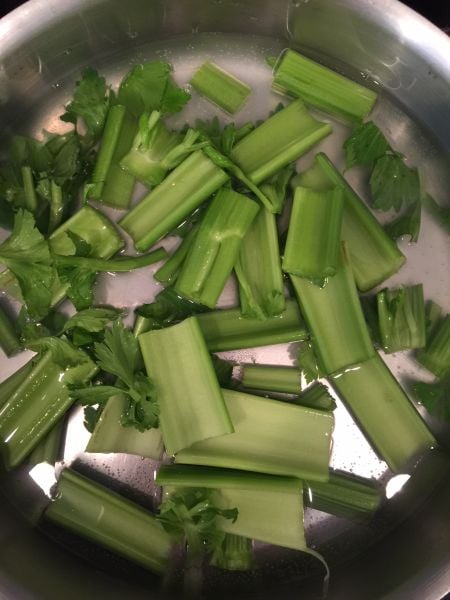
Bring a pot to boil and blanch the celery by simmering for 10 minutes, drain and allow to cool. Or place in a ice bath.
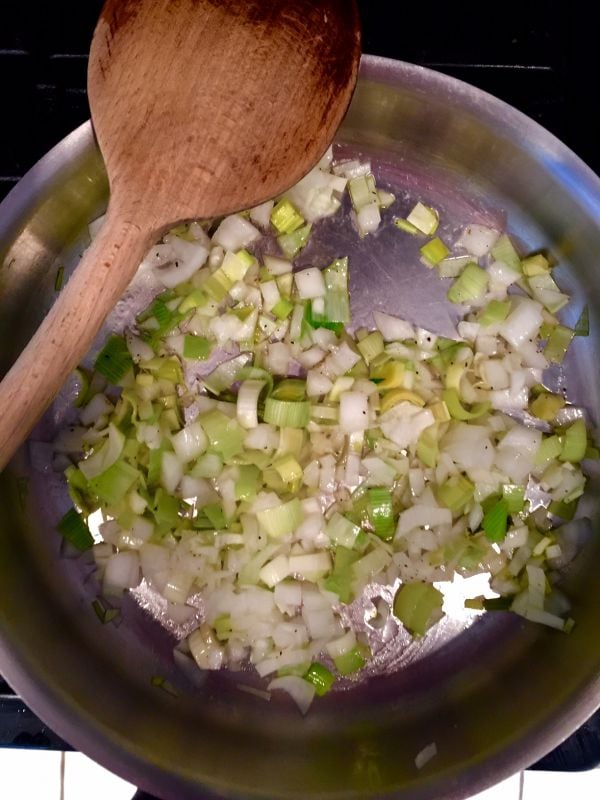
Saute onions until softened.
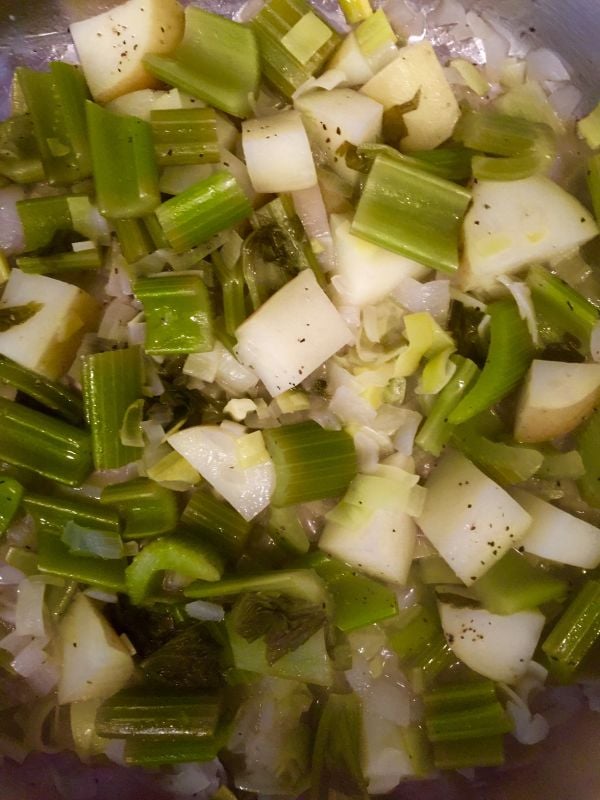
Add celery and potatoes.
Add the peas, dill and salt and pepper. Continue cooking on a simmer until vegetables are tender. (my father-in -law dropped by and I forgot to take this last step – but he enjoyed lunch!)
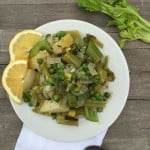
Greek Celery and Peas - "Selino"
Ingredients
- 2 lb. of celery, cut in diagonal in 1/2" pieces, blanched
- 2 lemons, divided and juiced
- 2-3 tablespoon extra virgin olive oil
- 1 large onions, finely chopped
- 1 leek, finely chopped
- 1 large potato, cut in 1" pieces
- 1 1/2 cups fresh or frozen peas
- 1 tablespoon fresh dill, chopped
- salt and pepper to taste
Instructions
-
Blanch the celery in water and the juice of one lemon for 10 minutes and drain. Set aside in a bowl.
-
In a large saute pan, add the olive oil and both onions, cook until softened.
-
Add the potato, and celery. Add a 1/4 -1/2 cup water, cover and simmer for 15 minutes. Watch carefully, more water may be needed.
-
Add the peas and dill and cook for additional 10-12 minutes, until vegetable are almost soft.
-
Sprinkle the juice of one lemon on top and season with salt and pepper.
-
Simmer until warm and serve.
Recipe Notes
Recipe can be halved for a smaller portion.
{ 4 comments }
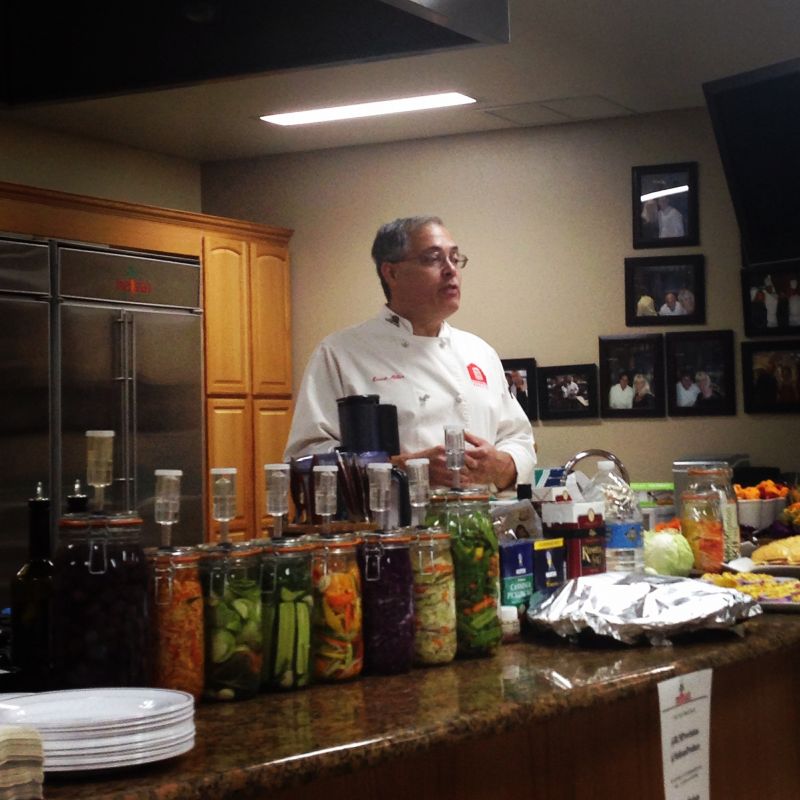


 Hello from California Greek Girl. I’m the owner of Ethos Culinary located in the beautiful city of Carlsbad. Join me as we explore California’s bounty of foods, farmlands, and culinary experts. I’m looking forward to bringing you Greek, Mediterranean and Plant-Forward Cuisines. OPA!