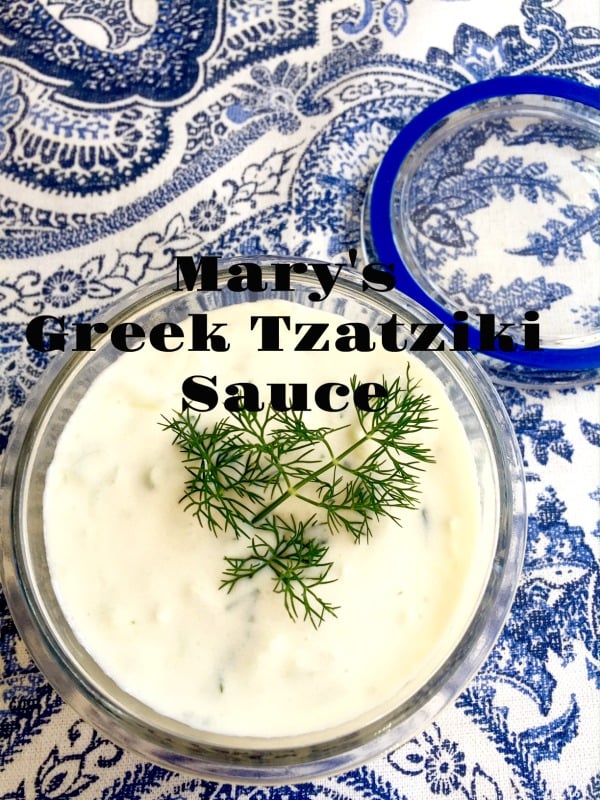
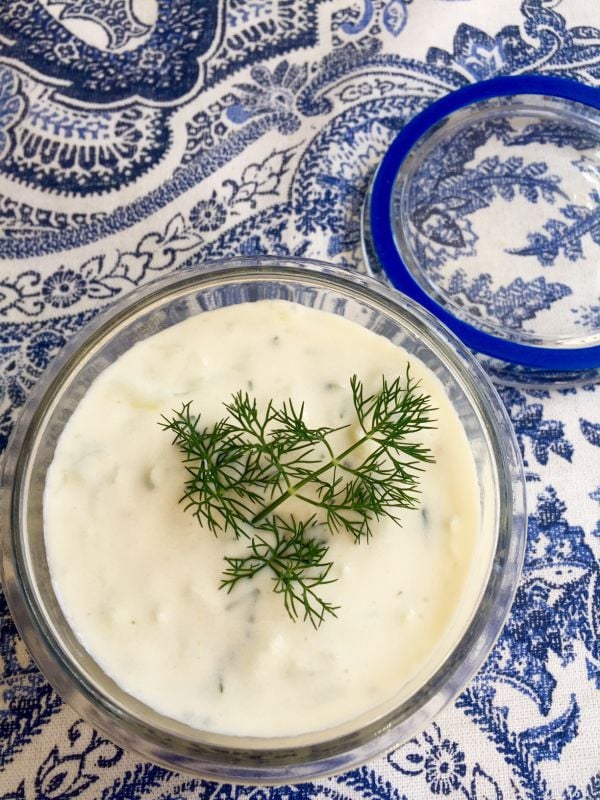
Greek Yogurt sauce called Tzatziki is used as a staple in the Greek family kitchen for deserts, sauces, and main dishes. Many of you know this yogurt sauce as the Gyros sandwich sauce. Tzatziki is a healthful alternative to many condiments in today’s American diet. Use this sauce for topping your baked potato, as a dipping sauce for your vegetables, as a sauce for kabobs, and a topping for your sandwich. I use whole-milk yogurt for this recipe, because I tend to find that the low-fat yogurt makes the sauce too watery. This can be made days ahead of time and served at room temperature.
I add fresh dill but dried will do in a pinch.
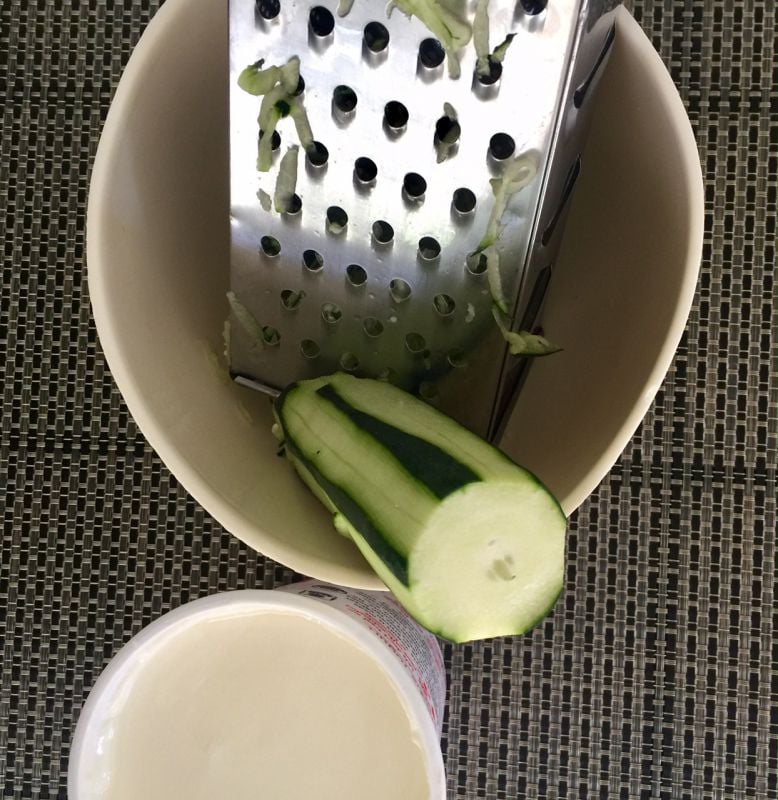
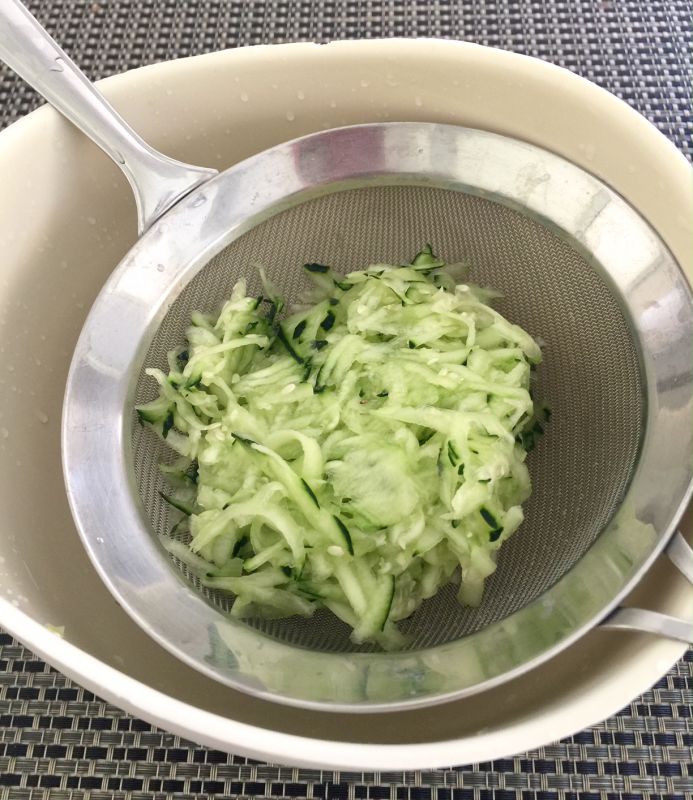
First, grate your cucumber, so it can drain while you prepare the rest of the ingredients. I like to leave some of the peel for color and flavor. But, you can peel the entire cucumber.
Press down with your hand, to get all the juice out. If you don’t have a sieve, you can use a kitchen towel and just squeeze it out with your hands. Add the cucumber to the yogurt with the remaining ingredients.
Greek yogurt dip can be used with main dishes, grilled vegetables, and with fruit.
Course
sauce
Cuisine
Greek
Keyword
appetizer, california greek, Greek, yogurt
AuthorMary Platis-Papoulias
Ingredients
2cupswhole-milk plain yogurt
2garlic cloves, crushed
1cucumber shredded or finely chopped
2tablespoonsolive oil
1tablespoonred wine vinegar
1teaspoonfresh dill or 1/2 teaspoon dry dill
salt and pepper to taste
Instructions
Wash and dry the cucumber. Shred or finely chop the cucumber and place in a colander to drain. Or pat dry with a paper towel.
Place the yogurt in a bowl and add the garlic.
Whisk in the olive oil and vinegar.
Add the cucumber, salt, pepper, and dill. Stir.
For a party: Can be made ahead and refrigerated. Can be served at room temperature.
Recipe Notes
Can be doubled.
Depending on the yogurt company you use, adjust the seasonings to your taste. Often times I need more vinegar, olive oil, and garlic. You can use regular yogurt, just place it in a sieve and drain it overnight. Pour out the water.
Have fun with it, and keep it on hand for many other uses.
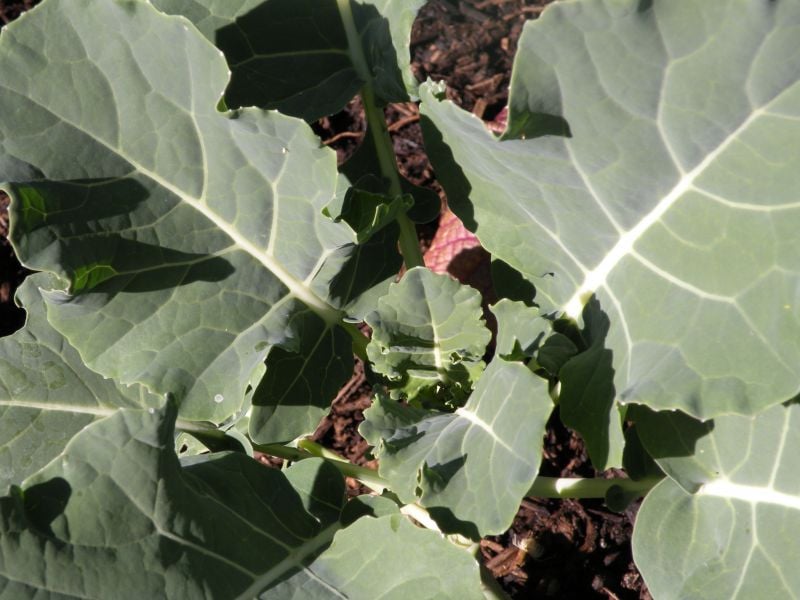
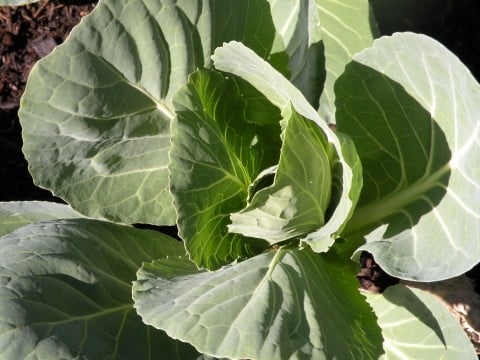
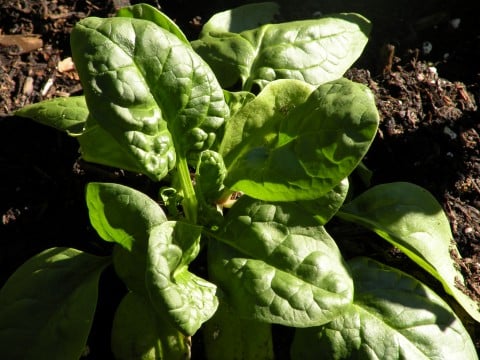
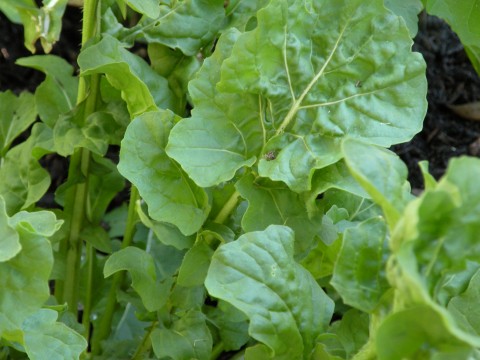
Planting a winter garden might be something most people don’t do in many parts of our country, but after seeing my girlfriend’s garden last winter, I decided to try it for the first time. I gathered all my seeds and planned out my space according to what we need in our Greek cuisine to make many of our dishes.
Steps to a Greek Winter Garden
The first step is to prepare your soil. If you have a compost bin, you’re ahead of the game! Or go to your garden store and select a good quality organic garden.
We do have a worm box that we feed our scraps too, but you can purchased worm castings at your local farmer’s market.
Don’t forget to fertilize your plants with a good organic mix.
And if you need to add insects, such as ladybugs they can be purchased at a garden store as well.
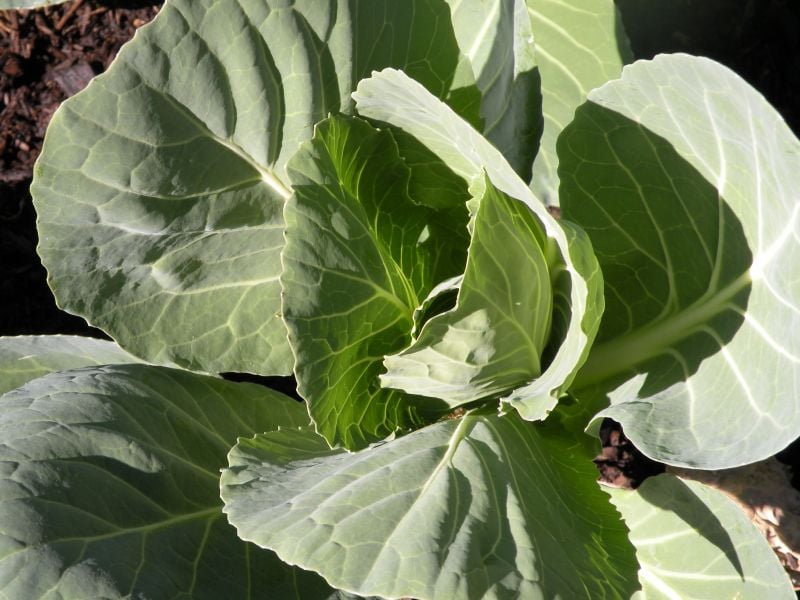
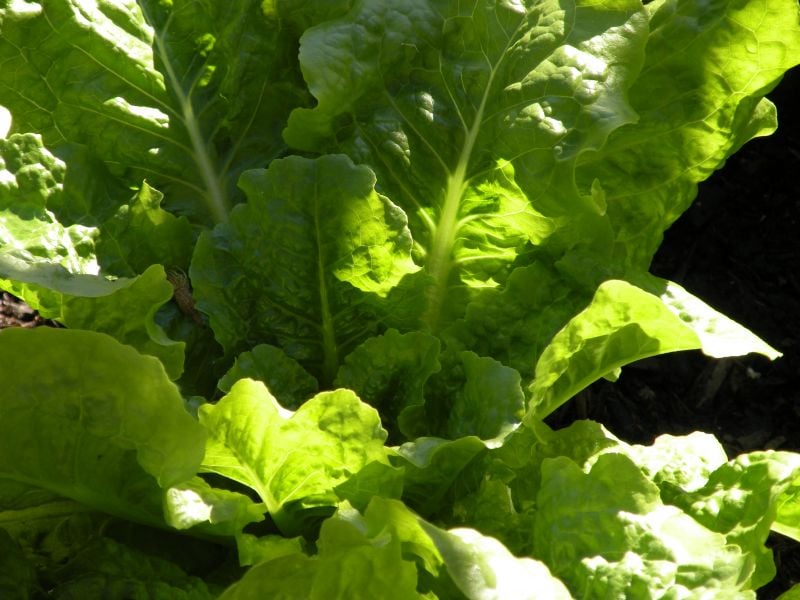
In the first box I planted artichokes, broccoli, cauliflower, and green cabbage. In between the main plants I added various lettuces and rapini.
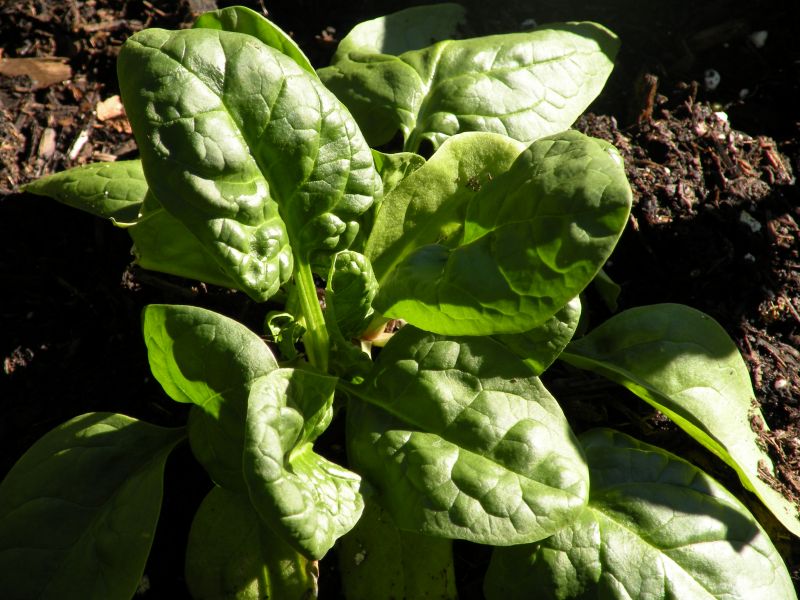
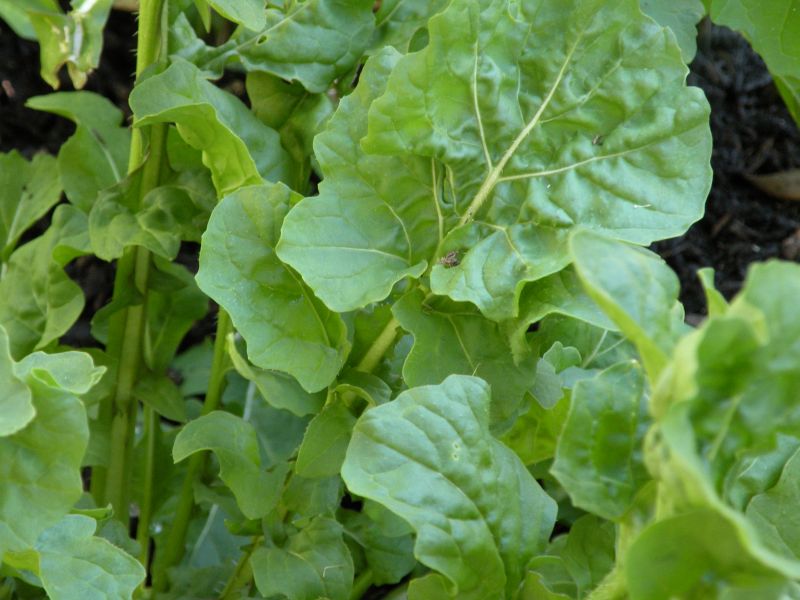
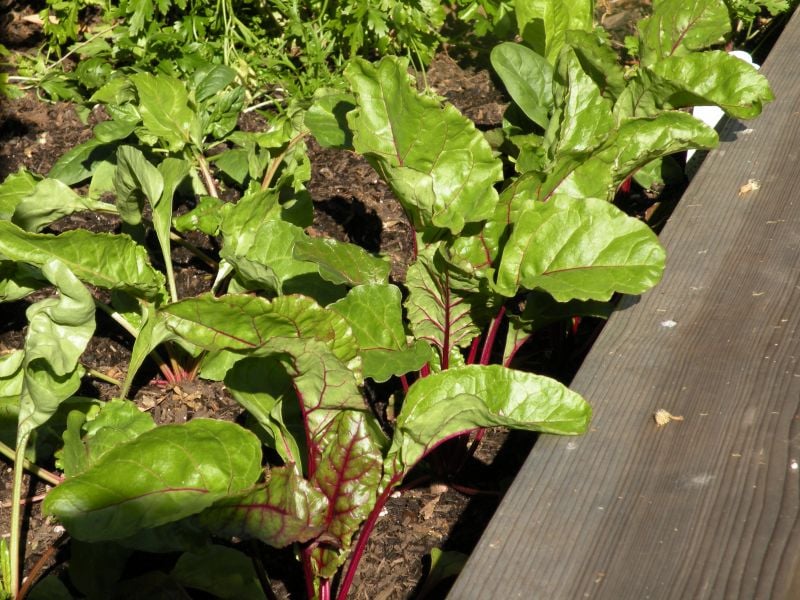
In the middle box, I planted sugar snap peas, beets, green bib lettuce, spinach, kale, lettuce, and parsley.
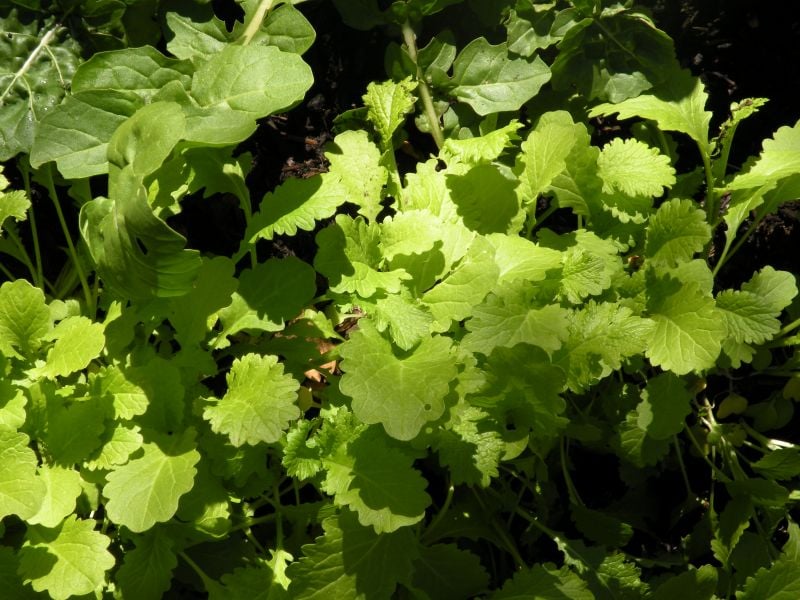
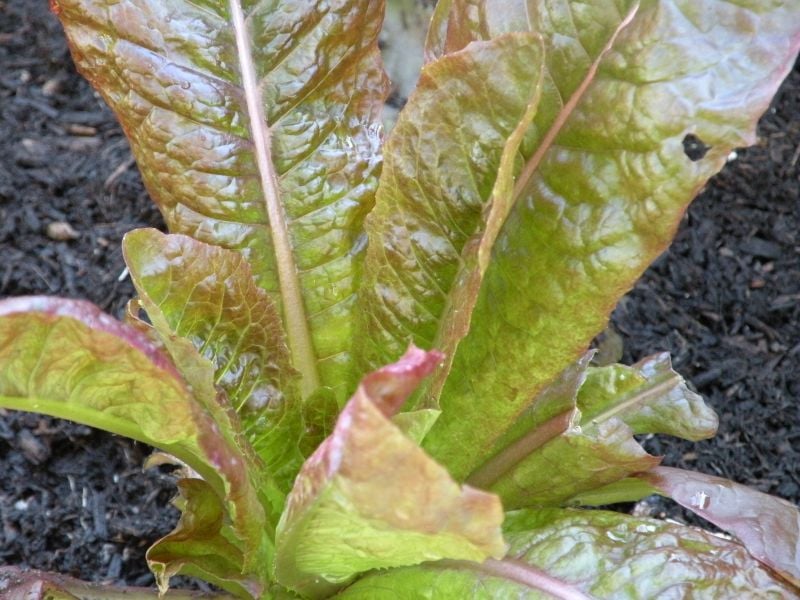
In the last box, snap peas to climb (because I love them), red lettuce, amaranth, mustard greens, arugula ,sage and marjoram .
Hopefully, if the weather behaves I will shoot current pictures as the plants mature.
So, give it a try, pick your favorite winter vegetables, and most of all have fun!
It wasn’t until I was an adult did I realize I had missed out on an All-American Thanksgiving dinner and festivities! Not that we didn’t eat on Thanksgiving Day, it’s just that it was a little different. Okay I’m lying, it was incredibly unusual and bizarre.
From the beginning, attending school in America as a Greek girl was very strange. In kindergarten, we learned about the Native-Americans and pilgrims. We all acted in a play with funny pilgrim hats and Native-American vests that we had made in class. Can you imagine a Greek girl as a pilgrim? Well, in many ways I guess I was one. My mother and father made the big pilgrimage from Greece; was that the same thing? In my house we learned about the Germans and all the devastation they caused the Greeks during WWII. Was this the same thing? As a kindergartner, I couldn’t figure out where pilgrims fit into our story or where they fit into my heritage.
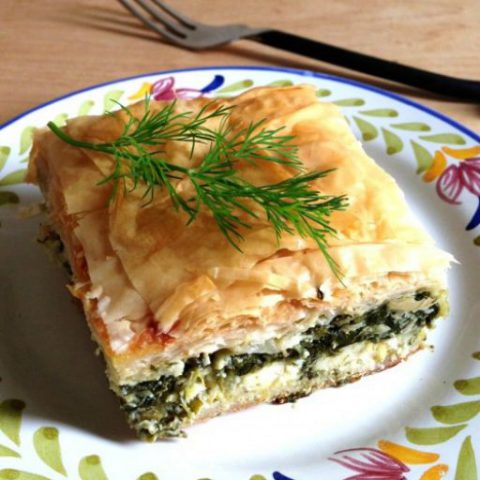
What confused me the most was this special meal we were suppose to have on Thanksgiving Day – turkey, dressing, mashed potatoes, corn..CORN! Then came the feast. We all gathered around the lunch tables in class and ate this funny meal that the parents helped prepare. Where was my mom? And what was this food? Can you imagine what I might have been thinking as a five-year old? This was far from what we had in my Greek home. We ate a big fat leg of lamb, spanakopita, moussaka, and baklava! Where did I fit in here? I didn’t.
Year after year, the following week after Thanksgiving in class, we were asked to write about our Thanksgiving Day in our journals. (Thank God we didn’t write in kindergarten!) What was I suppose to say? We didn’t wear those funny hats and vests, and we didn’t have a turkey, mashed potatoes, or cranberry sauce. And pumpkin pie… that was just an image in a picture book one of our teachers read to us. I was totally confused about this holiday.
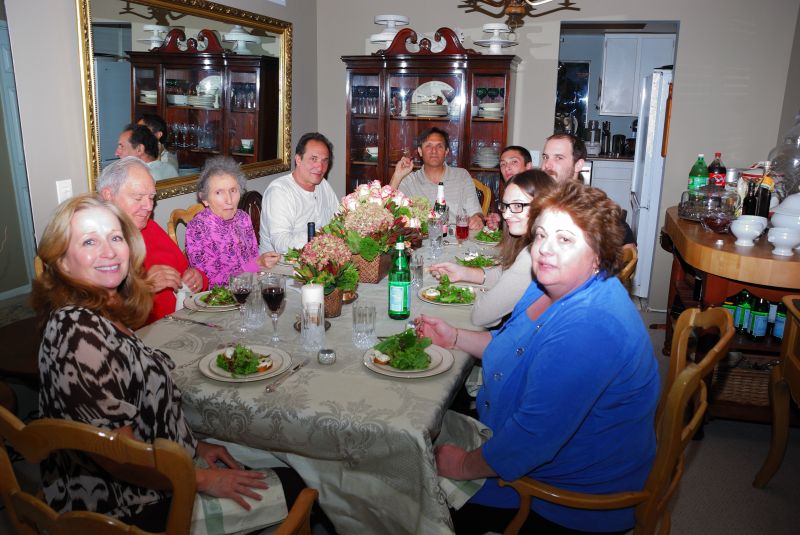
Though we were Greek, we did celebrate Thanksgiving-just in our own way. Every year we rotated families. We gathered together in one of our many aunts homes with more cousins than I ever wished to see. My cousins and I spent the majority of the day eating traditional Greek food and observing our parents singing and dancing to old Greek tunes!
As I grew older, way older, I still had no clue! Sure, by then my mother cooked a turkey under pressure from her three kids to conform to the norms of the Thanksgiving ritual, but it wasn’t stuffed! There was no gravy or mashed potatoes! No cranberry sauce, except for that canned stuff that looked like a spiral jellyfish. Just a small turkey with all the wonderful Greek side dishes… I had never had the opportunity to go next-door or visit one of my girlfriends for a look into their Thanksgiving day and happenings. I just assumed everyone did what we did. Eat their favorite foods.
It wasn’t until I got married, yes I did marry a Greek boy, did I experience what a real Thanksgiving menu was like. My husband’s mother was second-generation, so she adapted well to the American traditions cooking all the traditional fixings. This is what I had missed out on all these years. Can you imagine how excited I was to finally eat a stuffed turkey with dressing, real cranberry sauce, yams, mashed potatoes! Finally, I knew how to prepare a real Thanksgiving meal!
The year we had moved into our first house in Pomona, we decided to invite everyone to our home to celebrate our first Thanksgiving together as one family. And we did. And yes I made my first turkey, dressing, mashed potatoes, and pumpkin pie! I loved every minute of it, and for many years after that I finally understood what this special holiday was all about.
As a kindergarten teacher, I look back at the many years of cooking I had done with all of my wonderful students. I reminisce about how I taught them about this special day. To this day, I will never forget the many costumes Sue Yezbak, my kindergarten aide, and I made year after year for our special students. I felt proud to be an American-Greek girl willing and happy to celebrate our special Thanksgiving history with our classes. Sue and I went a little further and cooked year-around with our students. It must have been the Greek in me and the Lebanese in her that made us understand the importance of food and taking the time to sit down and enjoy our food together as a class.
Thanksgiving is not about the food we eat, it’s about the extra-time you take to invite your friends and family into your home, to share wonderful memories and to make new traditions. It’s about taking the time to sit down for the day to a bountiful table of good food and company!
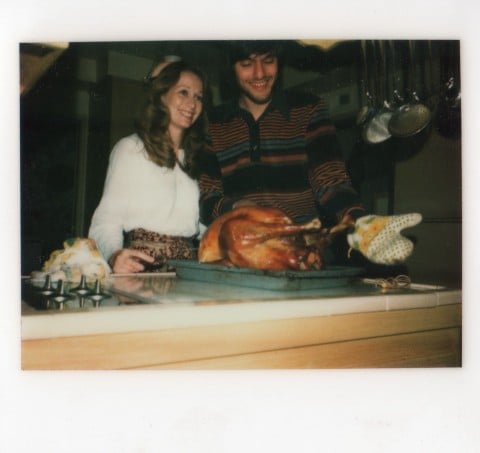
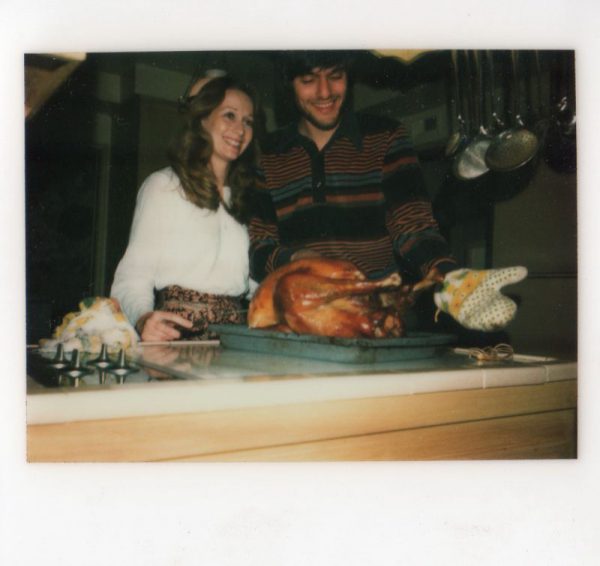
This was my first Thanksgiving turkey in college when we attended Cal Poly in Pomona. The same turkey recipe has been used ever since!
You must think we eat a lot as a family! The truth is, we do. Our holidays like many families become traditional over the years, in other words as the kids grow up and leave home they remember their favorites dishes and demand that we make them each holiday season. Over the many years of collecting recipes from our mothers to many copies of Bon-Appetit we have seemed to have held on to the ones we love. Tradition is something you make happen for the ones you care for and respect.
To all those young couples out there just getting started, it takes many years of cooking and entertaining to finally establish the meaning of tradition. Of course, we all have aunts, uncles, grandparents, and parents who have influenced our cooking, so gather all those recipes up like we have and begin your own list of home-favorites for your collection. So, I hope you enjoy our traditional dishes and hopefully one or two of them might end up on your table this year!
Simply Turkey
Order your turkey EARLY! Usually plan on 1/2 pound per person.
Try and order a fresh turkey, if not a frozen one is just fine. (Remember to defrost your turkey in the refrigerator, and allow one day for every 4 lbs. For more information take a look here.
Wash the bird and take out the package of giblets.
Sprinkle the inside and outside with salt and pepper.
Stuff the bird with your favorite stuffing or leave empty.
Rub the bird with oil or softened butter.
Place breast side up for one hour in a 450 degree oven.
Then tightly cover with foil, and reduce the oven temperature to 350 degrees for 3 hours.
Make sure to have an instant thermometer handy to test the turkey.
Take the turkey out at 160 degrees, because the temp will rise up while the turkey rests and continue cooking.
Rest the turkey covered, for at least 1/2 -one hour.
Take out the juice from the pan and make your gravy.
That’s it. This works every time, and it is the simplest way to cook a turkey.
Our Favorite Bulgur Stuffing 1 pound Farmer John sausage links (2 80z. packages)
4 cups chopped celery
4 cups chopped onions
4 cups bulgur
8 cups water
1 teaspoon dried thyme or (2 tablespoons fresh thyme)
1/2 teaspoon dried sage or oregano ( or 2 teaspoons fresh sage or oregano)
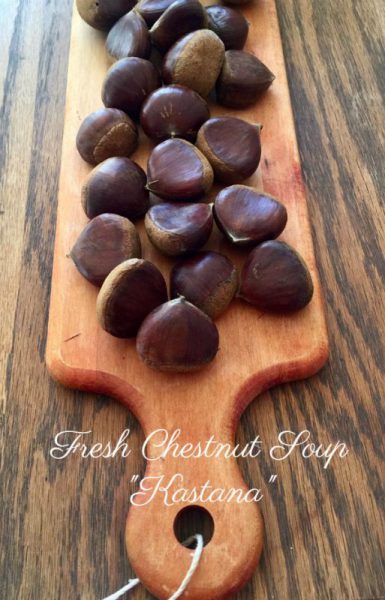
1 pound cooked chestnuts, peeled and coarsely chopped (see note)
1 cup golden raisins
1 cup pine nuts
Salt and pepper to taste
In a deep skillet or dutch oven cook and brown the sausages.
Leave some of the fat in the skillet and cook the onions and celery until softened.
Boil 8 cups of water. In a large bowl add the bulgur and water. Cover and let sit for 30 minutes.
To the bulgur bowl, add the spices, raisins, chestnuts, pine nuts and salt and pepper.
Start the stuffing early in the day and let it cool. Never stuff the turkey with hot stuffing.
Use lettuce to cover the stuffing opening, so stuffing stays in place.
Use a needle to sew up the opening or a trussing kit.
Don’t forget to stuff the neck opening as well.
Place left-over stuffing in a baking dish and bake for 30 minutes. Use the chicken stock to moisten it before baking.
Note: To bake chestnuts, take a sharp knife and make an x on the flat side of the chestnut.
Preheat the oven to 400 degrees. Bake for 20-25 minutes until soft.
Peel while warm.
Cranberry Sauce with Cognac Makes 1 1/4 cups ( can be doubled)
2 cups fresh cranberries or defrosted frozen cranberries
3 tablespoons cognac
1 cup packed light-brown sugar
1/4 cup orange juice
3 whole allspice berries
2 whole cloves
4 whole black peppercorns
1/2 teaspoon crushed red pepper flakes
1/2 inch piece cinnamon stick
In a medium saucepan combine cranberries, cognac, brown sugar, and orange juice.
Place allspice, cloves, peppercorns, red-pepper flakes and cinnamon stick in a double layer of cheesecloth. Bundle and tie together with string.
Bring mixture to a boil. Reduce heat to a simmer, and cook, stirring often, until syrupy, 15 t0 20 minutes.
Discard bundle. Transfer mixture to a bowl, let cool, and refrigerate until needed.
This recipe came from Martha Stewart.com
Holiday Wassail
Makes 2 quarts
12 oz. apricot nectar
4 cups unsweetened pineapple juice
2 cups apple cider
1 cup orange juice
6- inch stick cinnamon- broken up
1 teaspoon whole cloves
4 cardamon seeds- crushed open
Place all the spices in a cheesecloth bundle and tie with string.
Combine all juices in pot with spices and bring to a low boil. Reduce heat to low simmer.
Simmer for 15 minutes, and serve.
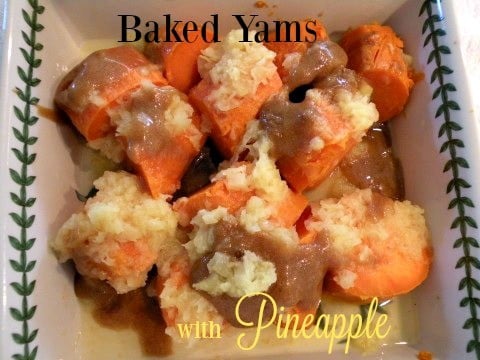
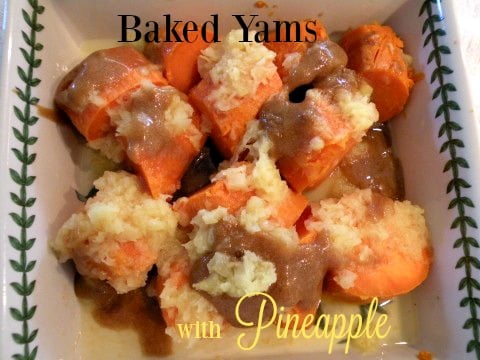
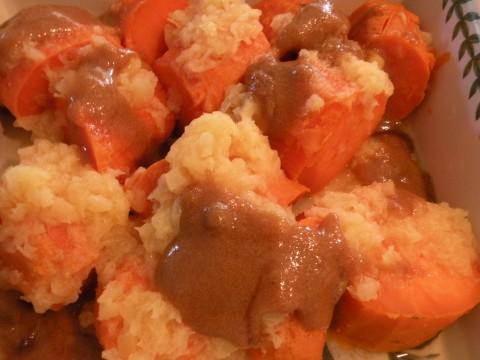
These baked yams are my most requested recipe from the family during the holidays. Yams can be served with turkey, ham, or any vegetarian meal.
Making these the day before make it the perfect side for a busy cook. Refrigerate after baking and just re-heat in the oven and serve warm as one of your side dishes.
You can double-triple this recipe for your specific number of guests.
Reduce to medium and cook for 20 minutes until soft when inserted with a knife. (may vary check often)
Pour crushed pineapple over yams.
Mix together sugar, maple syrup, mustard, and lemon juice in a small bowl.
Pour sugar mixture over yams.
Dot with butter .
Bake yams in a 350 degree oven for 35-40 minutes until bubbly.
Can be made the day before, refrigerated and re-warmed.
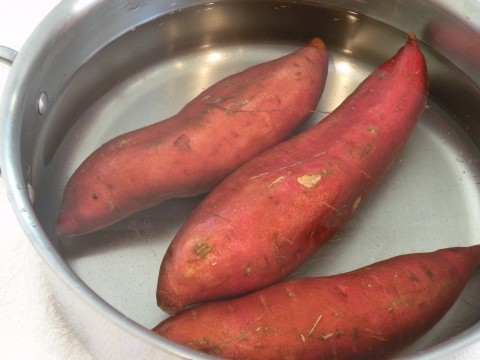
Place washed yams in a pot and bring to a boil.
Reduce to medium and cook for 20 minutes until soft when inserted with a knife. (may vary check often)
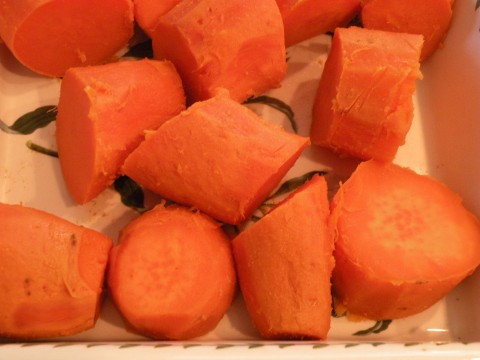
Drain yams and let cool for a few minutes.
Peel and cut into large pieces.
Place in oven-proof dish.
Pour crushed pineapple over yams.
Mix together sugar, maple syrup, mustard, and lemon juice in a small bowl.
Pour sugar mixture over yams.
Dot with butter .
Bake yams in a 350 degree oven for 35-40 minutes until bubbly.
Can be made the day before, refrigerated and re-warmed.
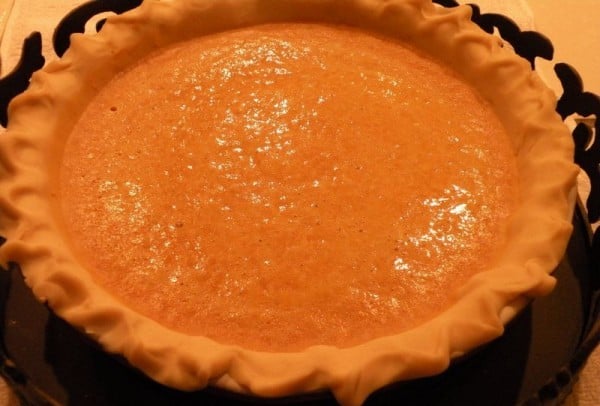
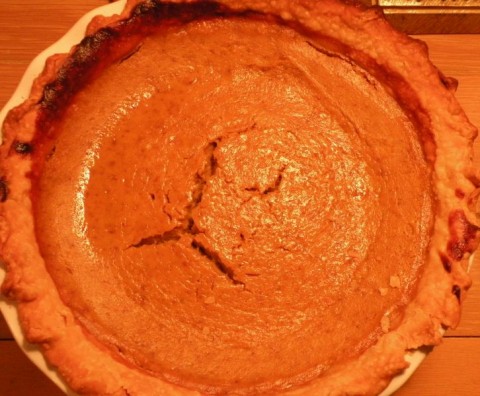
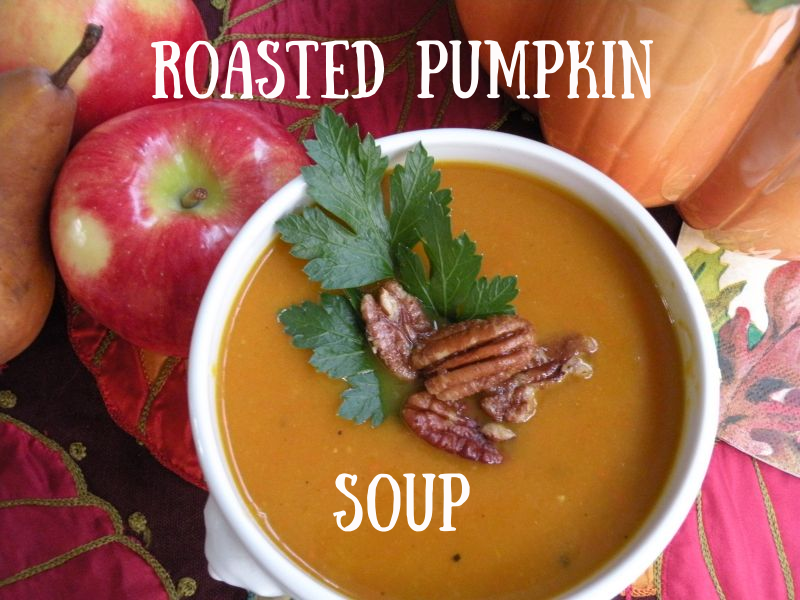
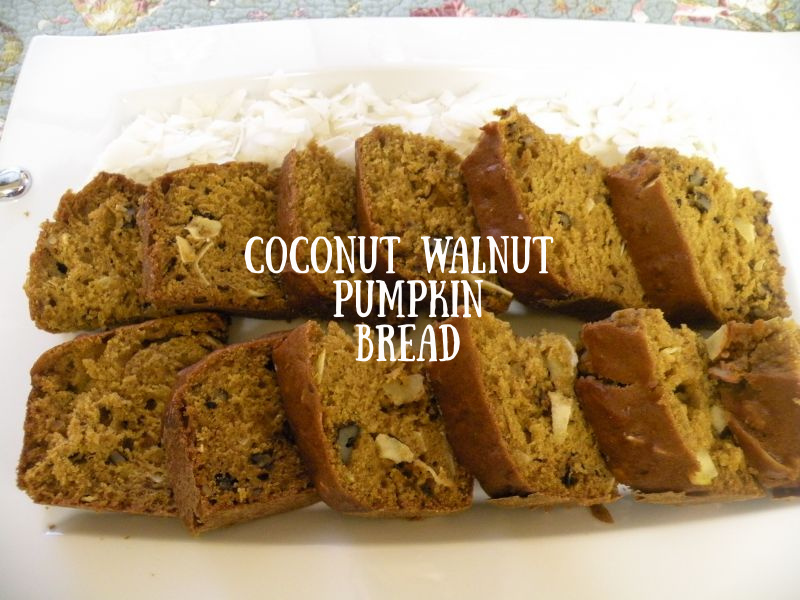
This pie recipe has been in our family since Yiayia Helen began making it many Thanksgivings ago! She loved baking pies, in fact the was her specialty. She taught me how to use a fresh pumpkin, cut it up and cook it for the pies. Once you have tried fresh pumpkin pie, you’ll never turn back. The reaction we get from our friends and family over this pie recipe is unbelievably positively and mouth-watering. To make this pie from a fresh pumpkin , go to Cooking Techniques: Roasting Pumpkins. Libby inspired us to create this recipe, using fresh pumpkin instead of canned. But if you’re in a pinch, canned can be substituted, recipe for Libby’s appears here. When you purchase canned pumpkin pie look for the plain pumpkin filling without spices. I buy the organic pumpkin filling. Once, you have tried your hand on roasting your own pumpkin, you can make so many dishes from the pulp. Add your fresh pumpkin to breads, soups, risotto, sauces for pasta and the ideas are endless.
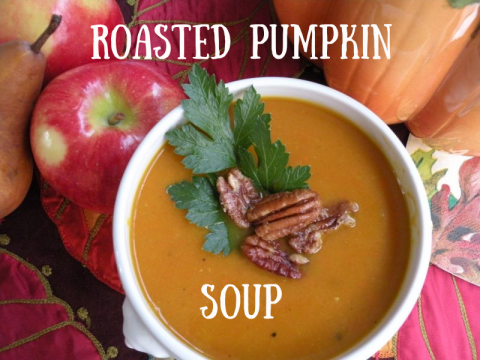
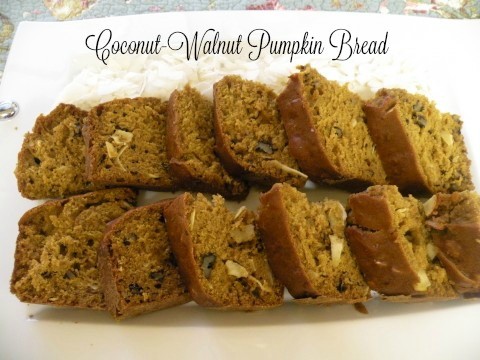
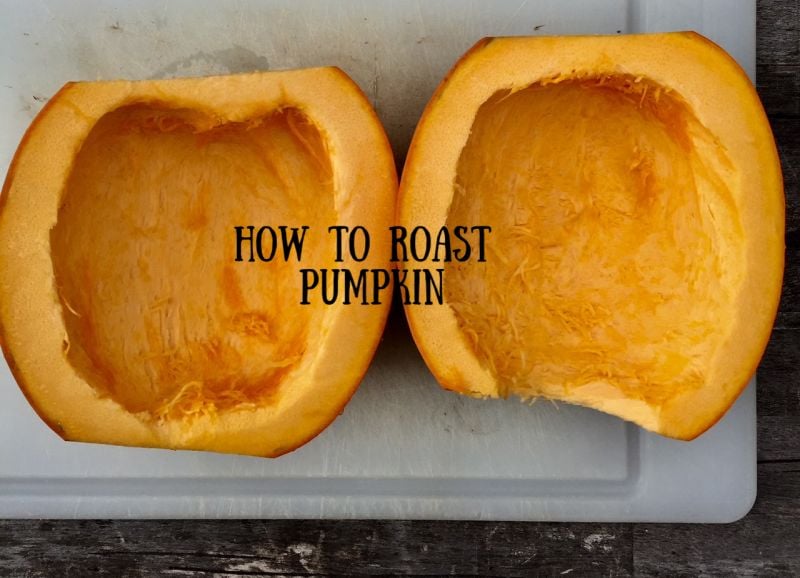
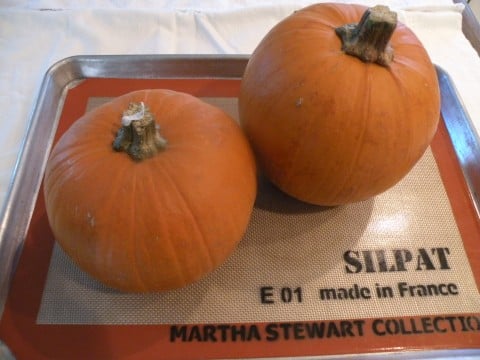
When I need fresh pumpkins for pies, breads, or various other desserts I look for sugar pumpkins in the supermarket or farmer’s market. You can always use your left-over pumpkins from your Halloween decorations as well! When using the roasting method I tend to like the deep caramelizing flavor that develops within the pumpkin, rather than the boiling or steaming method. The difference between roasting the fresh pumpkin versus the canned pumpkin is night and day. The pie from the fresh pumpkin can be described as having a lighter texture and a much smoother silken taste . Over the years we have become so accustomed to the fresh smooth taste from these pumpkins, it’s very hard to go back to the canned. Try it for yourself and you be the judge. I use this pumpkin puree for our family pie recipe, as well as for my pumpkin bread.
Note: One 2 1/2 – 3lb. sugar pumpkin = approx. 2 cups pumpkin puree (one 15 oz. can of pumpkin= 1 1/2 cups pumpkin puree)
Materials for roasting: One sheet pan
A Silpat or foil for pan
A strainer for pureed pumpkin
A hand blender, blender, or food processor
Pre-heat the oven to 350 degrees.
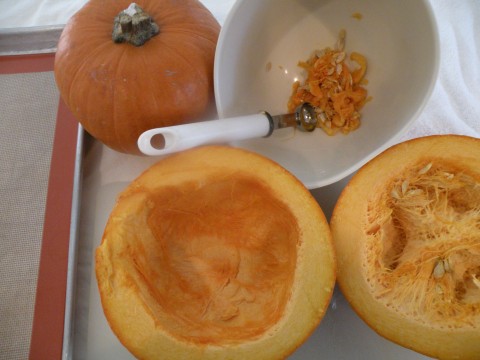
Cut pumpkins in half and scoop out seeds and all stringy pulp.
I use a melon scoop to do this job.
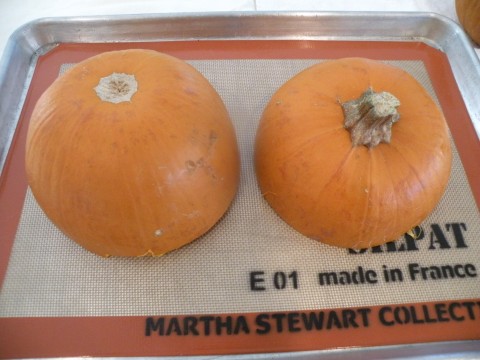
Place the pumpkins cut side down on the sheet pan. Do not peel.
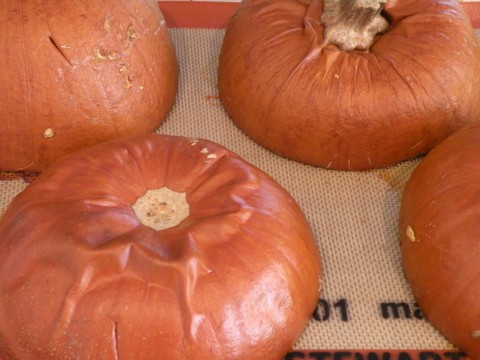
Bake for 45 -60 minutes until soft. Test with knife, ready when knife easily slides in.
Sugar pumpkins are small and need less time, about 45 minutes.
Larger pumpkins need one hour or more.
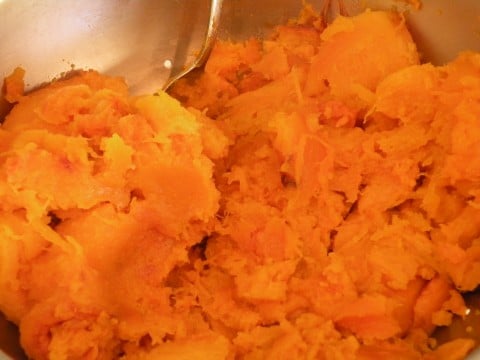
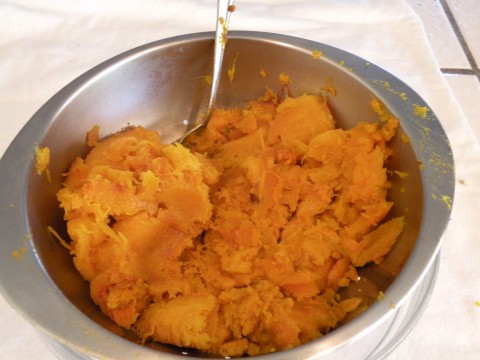
Scoop out flesh with a large spoon into a bowl. Be careful not to include the skin.
Place the pulp in a strainer, or cheesecloth and place over bowl to drain any excess liquid.
(This can be done overnight in the refrigerator).
You may get up to a cup or more of liquid. Discard liquid.
It is important to drain your pumpkin before adding it to any recipe.
If you do not have a strainer, use a cloth towel and place the pulp in the middle of cloth
and gather the towel around the pulp and hand squeeze the juice out.
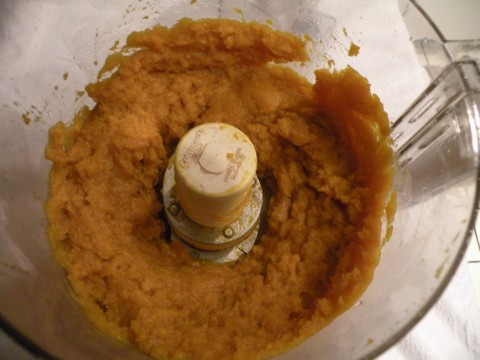
Place the pulp in a food processor and blend until smooth.
This can also be done with a hand blender, or in a Vita-Mix blender.
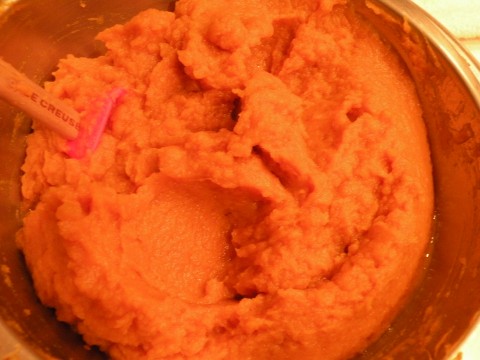
The pulp is ready to use for your pie, or any other desert.
This can be made ahead and frozen. I like to freeze my pulp in one cup portions.
Or keep in the refrigerator covered for up to a week.
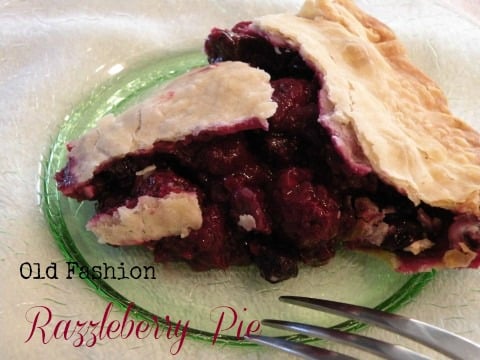
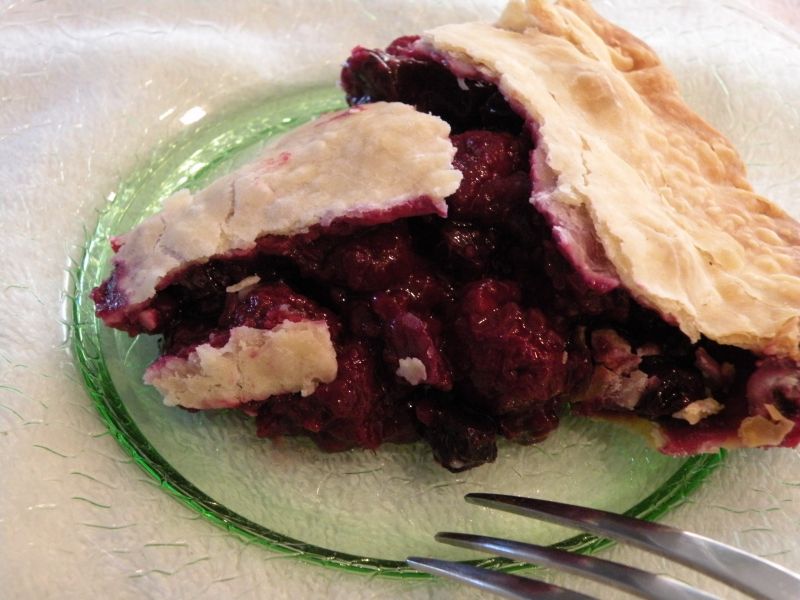
This is our family’s Razzleberry Pie you will never forget! For years we’ve been making pies for the holidays, and this is definitely not your traditional Greek baklava! Our mother Helen was the pie baker in the family and with three boys she was then crowned the Queen of Pies! I have taken on the responsibilities for the family with my own family of three. This Razzleberry pie has been a standard at our Thanksgiving table for many years. The one takeaway I did learn is to be ready for blueberry season and start making the crust ahead of time and placing them in the freezer for future pies. For a shortcut, you can use My Favorite Crust recipe below from Bon-Appetit, or buy it premade in the refrigerator section of your supermarket.
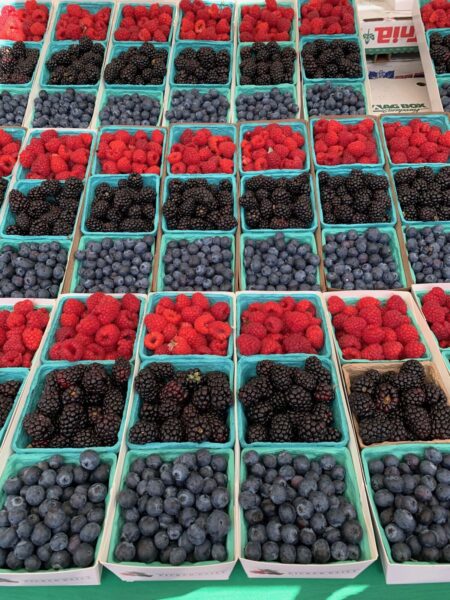
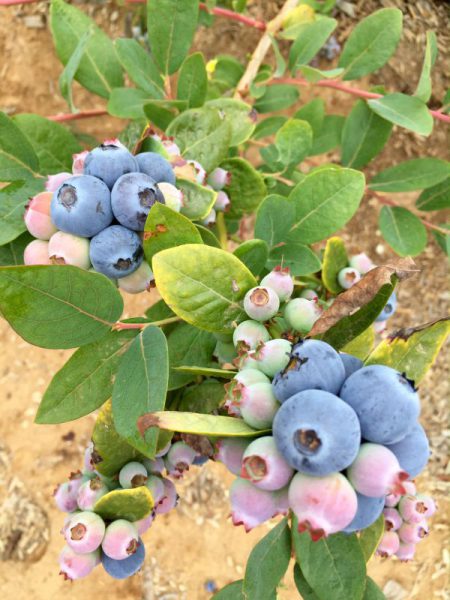
Both berries are in season at the same time! Farmer’s markets are a wonderful place to find fresh berries. If you’d like to find your local farmer’s market check with The Farm Bureau in your area. They should have a listing on their website. If you feel adventurous you can mix your berries by adding strawberries or blackberries!
J.R. has been a long time friend of mine and an amazing floral designer! I wanted to share his special talents with all of you this Thanksgiving season. Together we have worked on many projects from unique weddings to memorable events throughout the county. So I had a challenge for J.R. this season, and that was to come up with a unique table scape for my blog. The actual table setting was auctioned off for charity, but the horn of plenty was J.R.’s original idea!
Materials you will need:
A horn of plenty
A block of Styrofoam to fit the inside of the horn.
Dry leaves
Fresh tomatillos, f rom the supermarket.
Toothpicks
I bought all my materials at Michael’s Craft Store.
Here is the side view.
Place the styrofoam in the horn so it’s snug.
Peel away some of the peel of the tomatillo or leave as is. We peeled it slightly to show the flesh.
Insert a toothpick at one end of the tomatillo and insert in the block. Start at the top and move downward.
Once the horn is filled with tomatillos, place the dry leaves around the perimeter of the horn.
Any extra leaves can be scattered around the table.
Afterwards, you can make a wonderful salsa from the tomatillos.
Enjoy your centerpiece and have a wonderful Thanksgiving!
Hello from California Greek Girl. I’m the owner of Ethos Culinary located in the beautiful city of Carlsbad. Join me as we explore California’s bounty of foods, farmlands, and culinary experts. I’m looking forward to bringing you Greek, Mediterranean and Plant-Forward Cuisines. OPA!











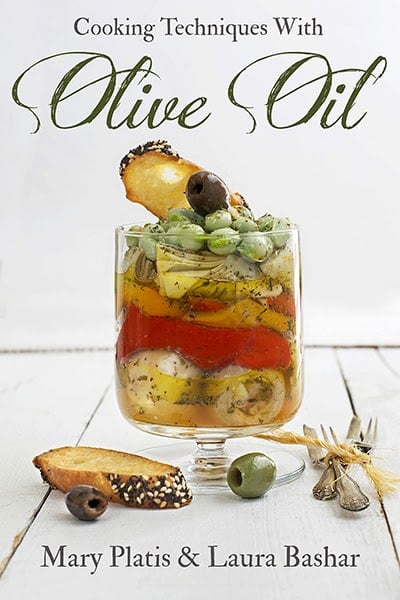
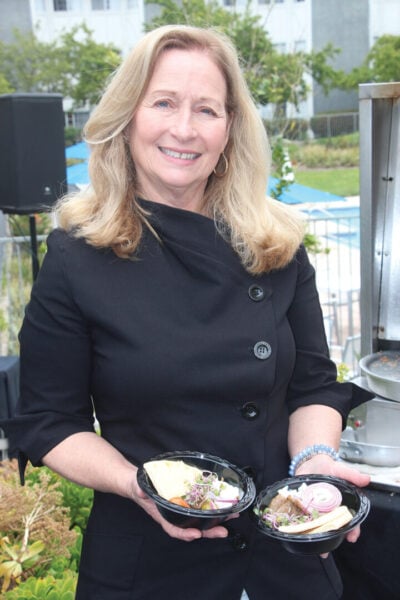 Hello from California Greek Girl. I’m the owner of Ethos Culinary located in the beautiful city of Carlsbad. Join me as we explore California’s bounty of foods, farmlands, and culinary experts. I’m looking forward to bringing you Greek, Mediterranean and Plant-Forward Cuisines. OPA!