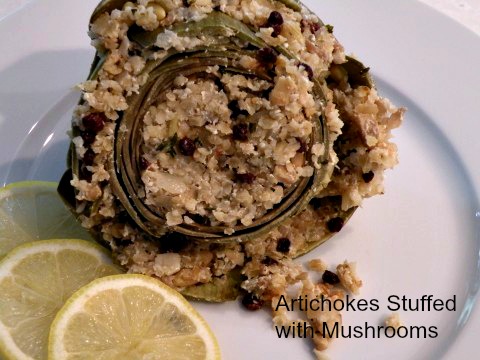
Stuffed Artichokes is a popular dish within the Greek cuisine. Grown in family gardens, they are very popular in restaurants across Greece. This recipe stuffed with bulgur and mushrooms is new and improved from the traditional bread crumb stuffing to a more healthful bulgur grain. Greeks love to stuff everything! We stuff tomatoes, eggplant, squash, so I decided to stuff artichokes. Artichokes are grown along our coastal region of Monterey California, producing nearly 100% of the artichokes. They are a great source of vitamin C, foliate, and potassium. For information on the artichoke festival see this site, California Artichoke Board. One last note; when buying artichokes look for a nice green color, and with leaves that are closed, not open. Visit the Cooking Technique for this recipe for more detailed pictures.
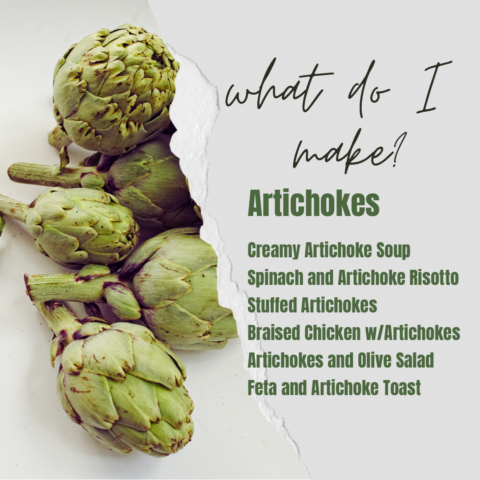
A quick list of other artichokes dishes to make.
In the Greek Diet we do love to stuff our vegetables when we can. You can use rice, bulgur, or breadcrumbs with herbs to do this. Many time we will add a sauce or egg-lemon sauce to finish off a dish like this.
Artichokes Stuffed with Bulgur and Mushrooms – “Anginares”
Ingredients
- 4 large globe artichokes, trimmed and center removed
- 1 cup bulgur
- 2 cups water
- 1 teaspoon salt
- 8 oz. 1 small package of mushrooms, finely diced
- 1 onion, finely diced
- 4 garlic cloves, crushed
- 1/2 cup toasted pine nuts
- 2 tablespoon chopped parsley
- 1 teaspoon chopped sage
- 2 teaspoons chopped thyme leaves
- 2 lemons, juice and zest of 1 lemon for filling, juice of 1/2 lemon for water
- 1/2 cup currants
- 1 teaspoon salt
- 1/4 teaspoon pepper
- 5 tablespoons olive oil or water, 3 Tbls. for saute, and 2 Tbls. for filling
- 1 cup Mixithra Greek cheese, or grated Parmesan
- 2 cups white wine or sherry
Instructions
-
Bring 2 cups of water to a boil. In a medium bowl add 1 cup of bulgur and add the boiling water. Add 1 teaspoon salt and cover. Let stand for 30 minutes.
-
In the meantime, place three tablespoons of olive oil in a large skillet and saute mushrooms, onions, garlic, pine nuts, parsley, sage, thyme, zest of one lemon, lemon juice of 1 lemon, currants, salt, pepper.
-
Remove from stove and allow to cool for 30 minutes.
-
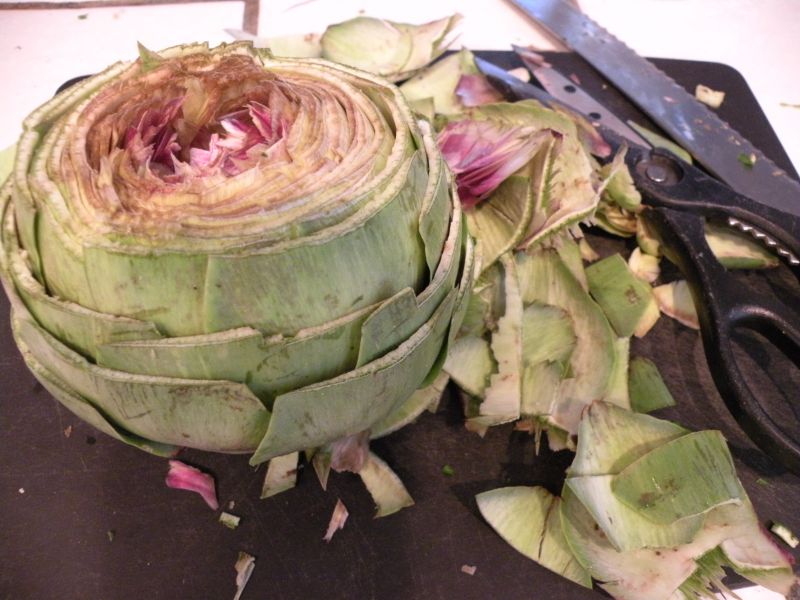
Clean artichokes using a serrated knife cut off 1/3 of the top of the artichoke. Take off one row of bottom outside leaves. With scissors trim the leaves in half all the way around the artichoke. Cut off the stem, all but 1/2 inch to allow artichoke to stand in the cooking pan. Using a corer, a spoon, or your fingers pull out center of artichoke until all thistle and yellow leaves are gone, leaving the heart in place.
-
Place artichokes in a bowl of water with the juice of 1/2 lemon , to keep the artichokes from turning brown.
-
Squeeze any excess of liquid out of the bulgur, using a paper towel or a sieve.
-
Add bulgur, cheese and 2 tablespoons of olive oil to the stuffing mixture, so it becomes paste-like.
-
Stuff the inside of each artichoke and divide remainder of stuffing among the four artichokes. Stuff one layer of leaves from each artichoke.
-
Add a drizzle of olive oil on top of each artichoke. Place the artichokes in a large deep sauce pan or dutch oven and add the wine and cover.
-
Bring to a boil and reduce heat to a simmer. Cook on the stove top at a simmer for one hour. Check occasional to see if more liquid is needed.
-
Let cool for 10 minutes before serving. Drizzle any cooking juices on top. Serve warm.
You may want to try my other recipes using artichokes below:
Thyme Infused Artichokes with Pesto
Lamb Stew with Artichokes and Gigante Beans
Braised Greek Lemon Chicken with Artichokes
Arugula Salad with Fava Beans and Artichokes
Thank you for stopping by and get healthy!

{ 3 comments }


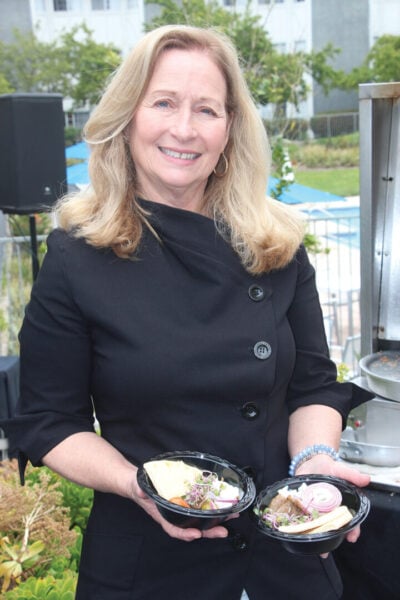 Hello from California Greek Girl. I’m the owner of Ethos Culinary located in the beautiful city of Carlsbad. Join me as we explore California’s bounty of foods, farmlands, and culinary experts. I’m looking forward to bringing you Greek, Mediterranean and Plant-Forward Cuisines. OPA!