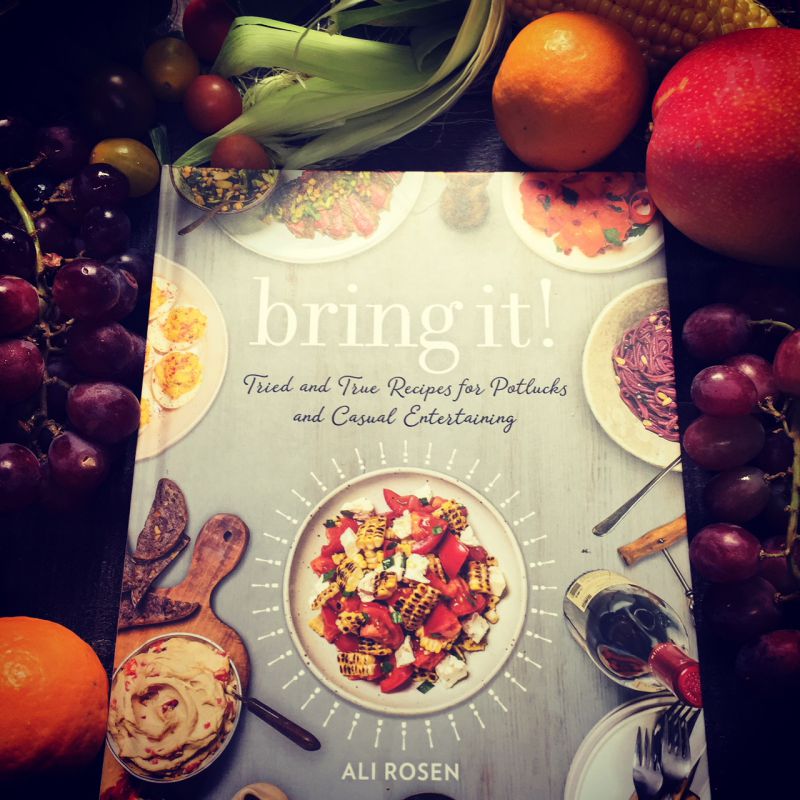
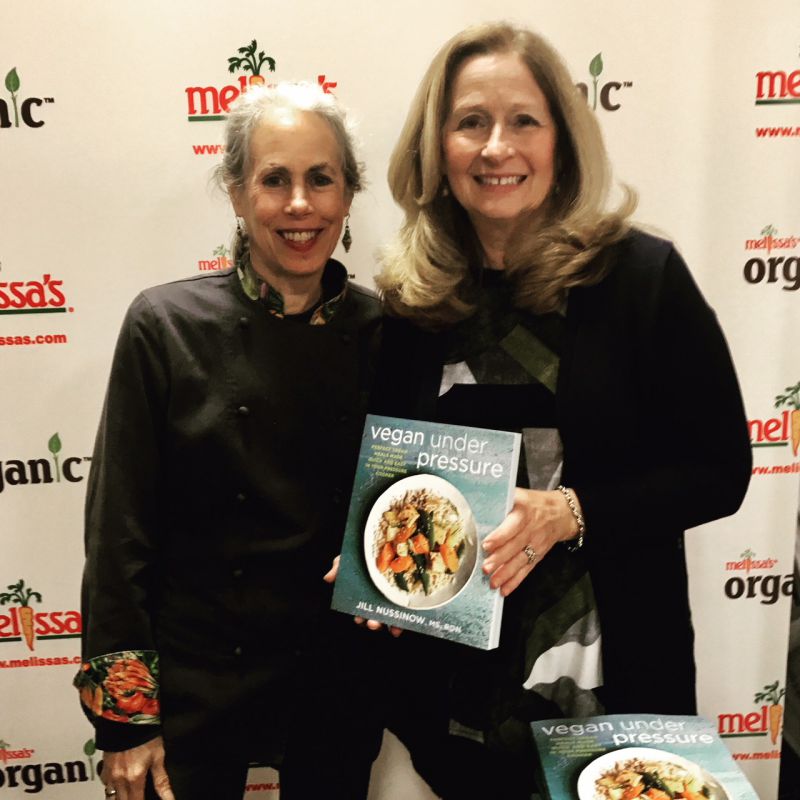
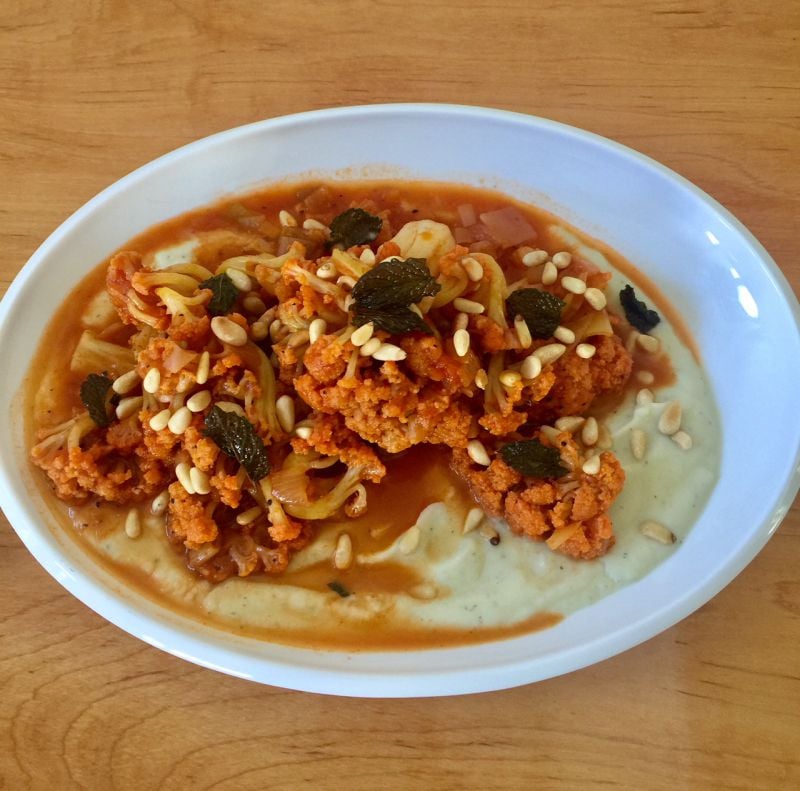
Bring It! A new cookbook from Ali Rosen, one you need for quick and delicious dishes for your next potluck or casual dining. She developed these recipes to be made ahead, made in stages and composed with regular grocery store-caliber ingredients. Expect dishes that come together easily, hold well, travel beautifully, and are custom designed to invite compliments by the dozen. As you can see from the pictures at the Melissa’s event, it was difficult to select just one dish to feature on my blog. I chose the Roasted Corn, Tomato and Feta Salad for its corn charred flavor and of course the luscious feta topping.
Ali includes a sensitive timetable for preparing these dishes, to help you in determining the time you have to prepare and complete the dish before an event. They are divided in three categories:
- Fridge to table – room temperature dishes, and the dish does not need to be served cold.
- One day ahead – made on your own time and can be held overnight.
- Thirty minutes – recipes on the quicker side.
All these dishes of course can be made at any time, but it helps to know the prep time involved.
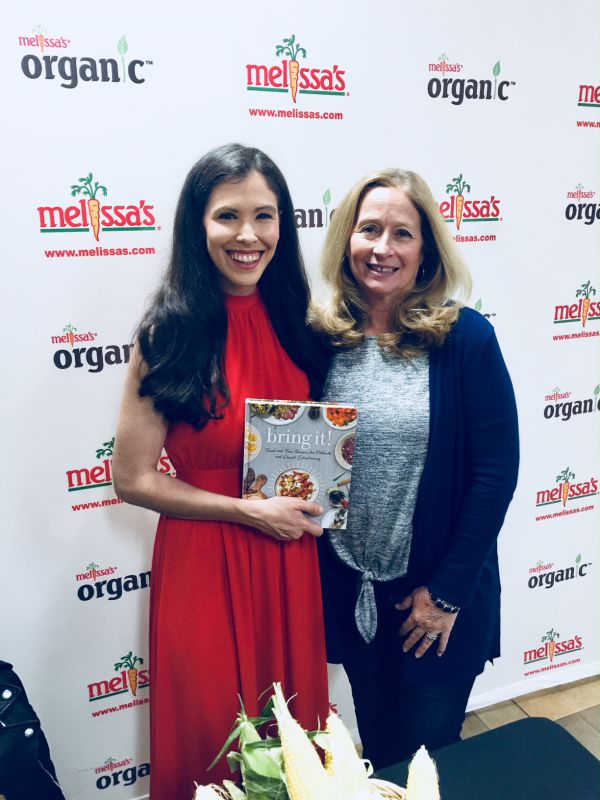
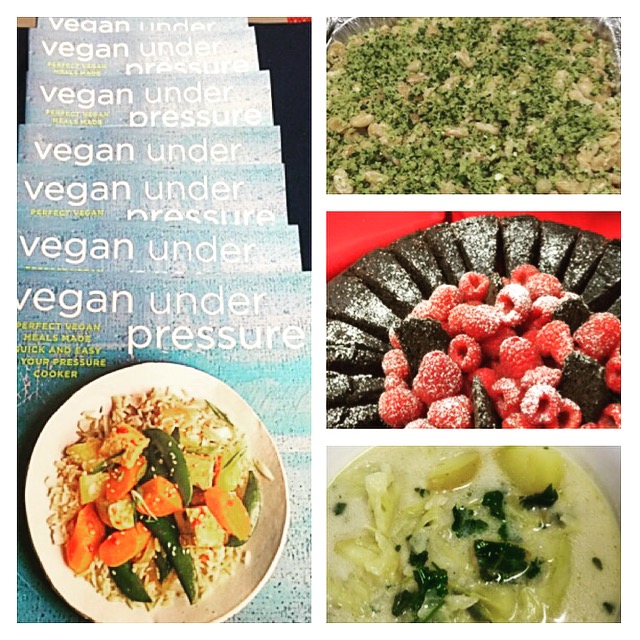
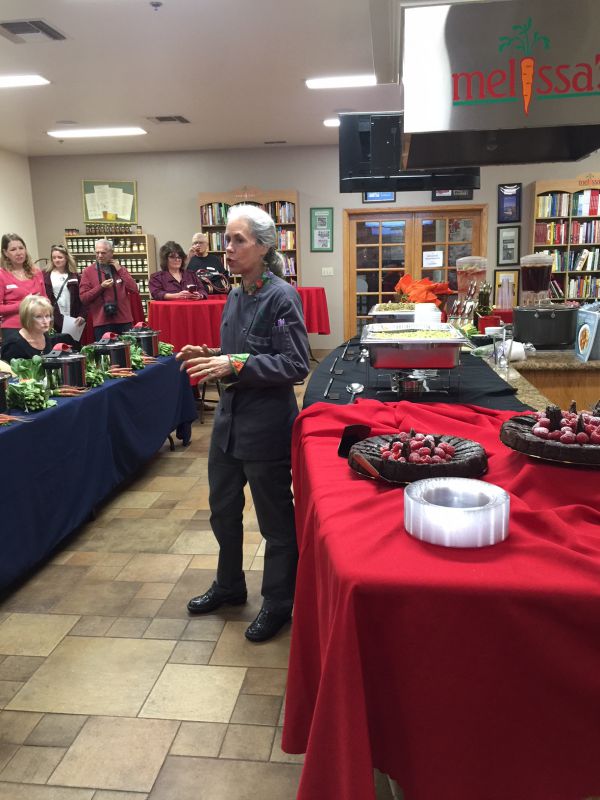
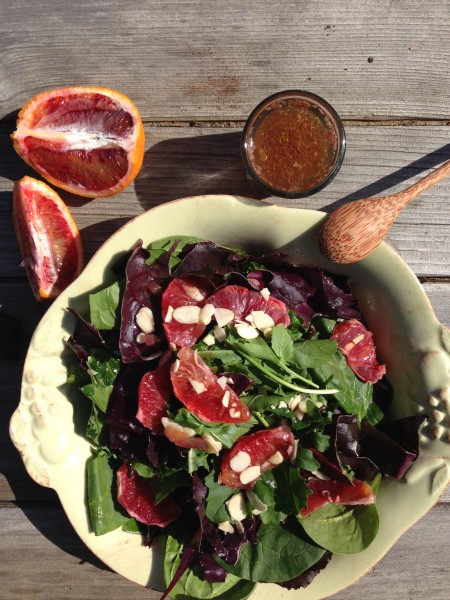
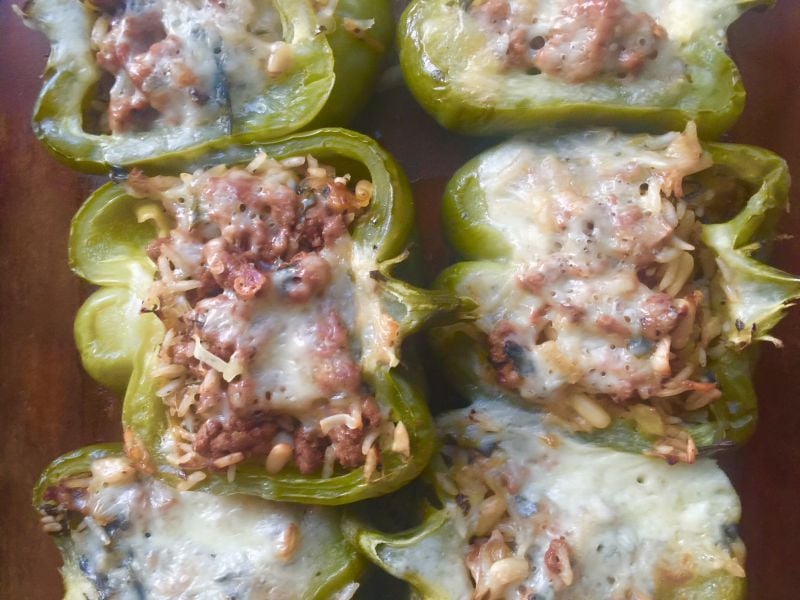
Melissa’s Produce invited the author as their guest speaker and the menu they had chosen was just as special. With a buffet worth recreating the author chose to have an array of dishes you may want to bring to your next event. From Deviled Eggs with Shrimp to Snowy Chocolate Cookies. Along with her Stuffed Mushrooms, Prosciutto Wrapped Asparagus, Snap Pea Soup and her Most Flavorful Bolognese there is no excuse for not bringing a dish or entertaining at home.
Here are some great tips from her cookbook:
- Start with a more casual mindset. Bring the dish complete to a potluck.
- Consider all the various diet preferences, when entertaining at home.
- Before you get your heart set on a dish, consider the location, outside or indoors.
- Keep themes broad so everyone can participate in bringing a meal.
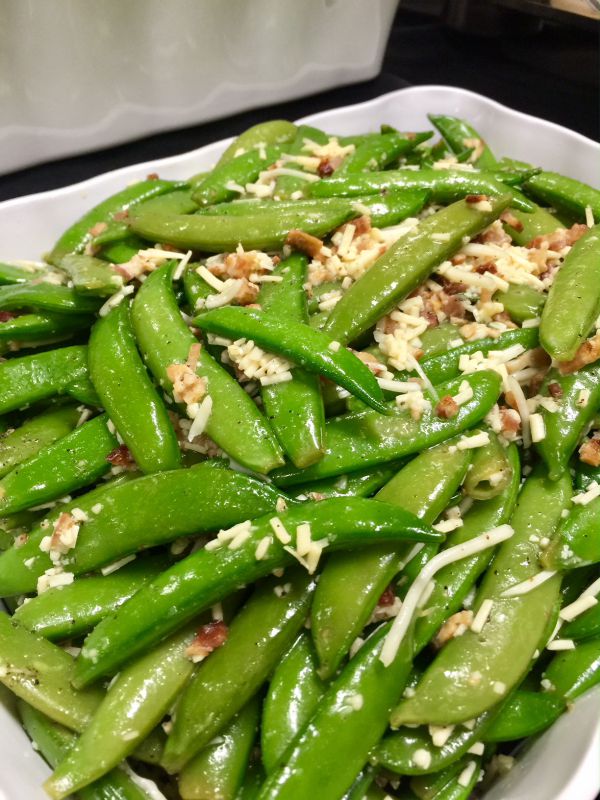
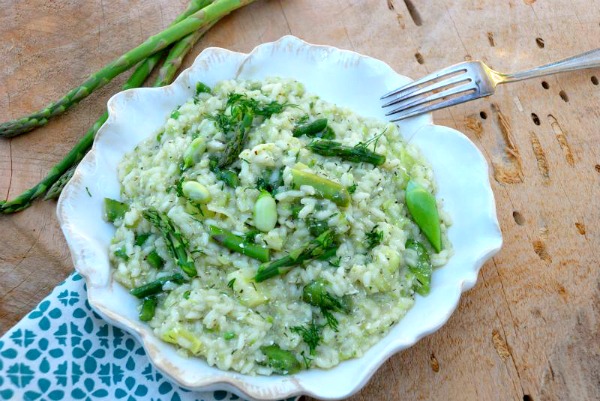
Snap Pea Salad with Parmesan and Bacon
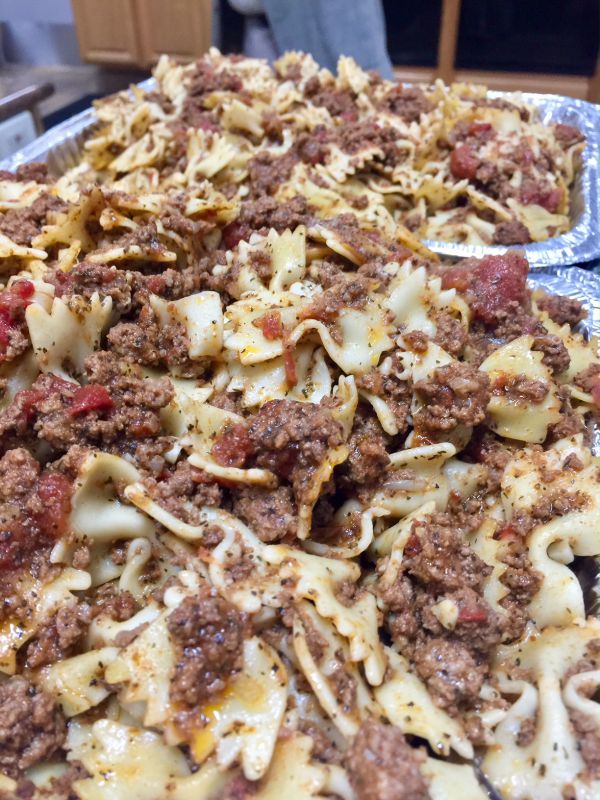
The Quickest, Most Flavorful Bolognese
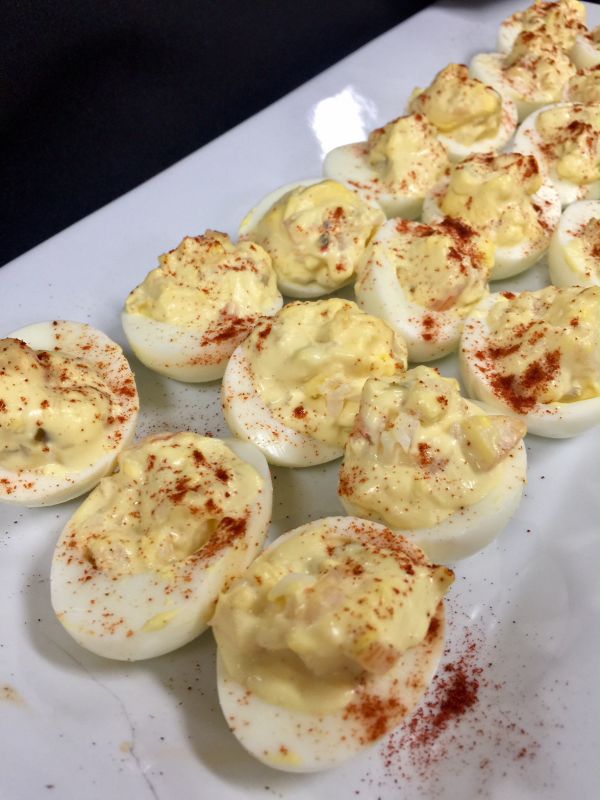
Deviled Eggs with Shrimp
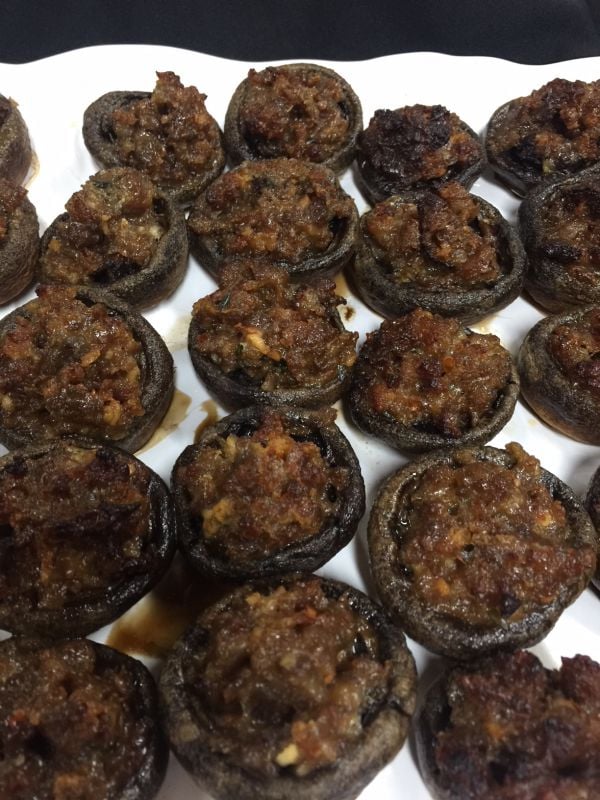
Stuffed Mushrooms
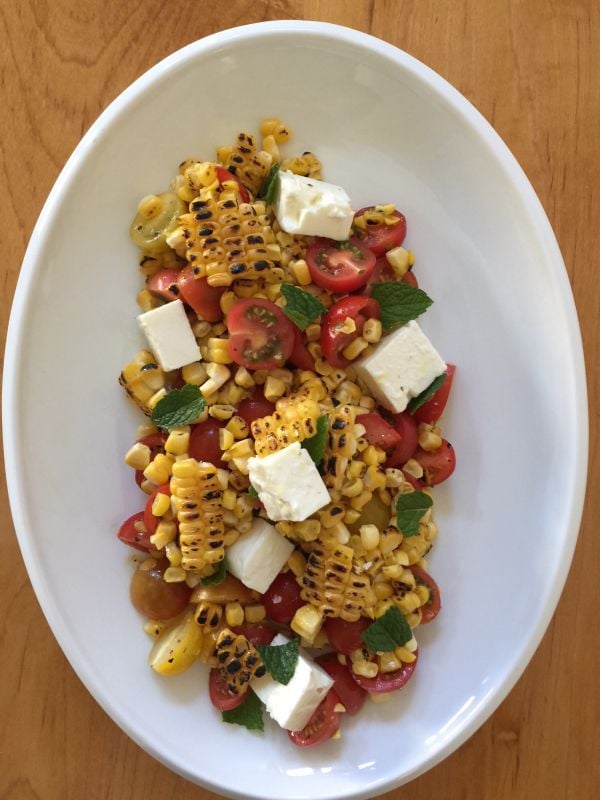
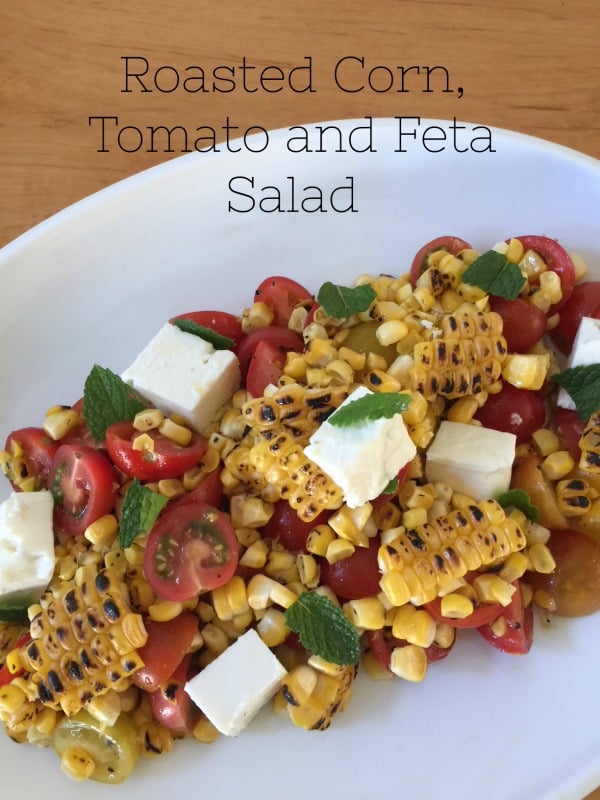
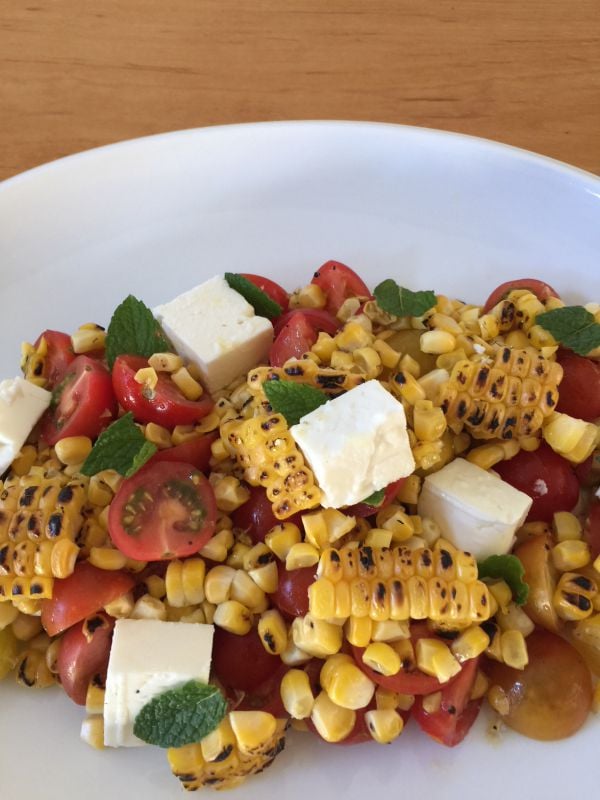
Roasted Corn, Tomato and Feta Salad – I chose this salad for its freshness and flavors from the roasted corn. And what recipe would be complete without feta for a little bit of saltiness.

Roasted Corn Salad with Tomato and Feta
This is a refreshing and easy salad to take to any party! Don't skip the roasting of the corn; just roast the ears over a gas burner, use a BBQ or roast in a cast iron pan. Perfect for the outdoor potluck as well.
Ingredients
- 3 ears corn (about 2-1/2-3 cups kernels)
- 2 cups fresh tomatoes or cherry tomatoes (2 pounds or 2 large)
- 1/2 cup crumbles feta
- 1/4 cup diced fresh basil
- 2 tablespoons fresh lemon juice, about 1/2 a lemon
- 2 tablespoons extra virgin olive oil
- dash of salt and freshly ground pepper
Instructions
-
If you have a gas oven, turn a stovetop burner to medium heat. Place the corn directly on top and turn approximately every minute until corn is charred all the way around. If you do not have a gas stove, you can place the corn under the broiler in your oven, but be sure to turn it every 10-20 seconds or so to avoid overcooking it.
-
Allow the corn to fully cool and then cut the kernels from the cob.
-
Combine all the tomatoes, feta, basil, lemon juice, olive oil, salt and pepper with the corn and serve.
Recipe Notes
I used fresh mint from my garden in my recipe.
Happy Entertaining,

{ 0 comments }


 Hello from California Greek Girl. I’m the owner of Ethos Culinary located in the beautiful city of Carlsbad. Join me as we explore California’s bounty of foods, farmlands, and culinary experts. I’m looking forward to bringing you Greek, Mediterranean and Plant-Forward Cuisines. OPA!