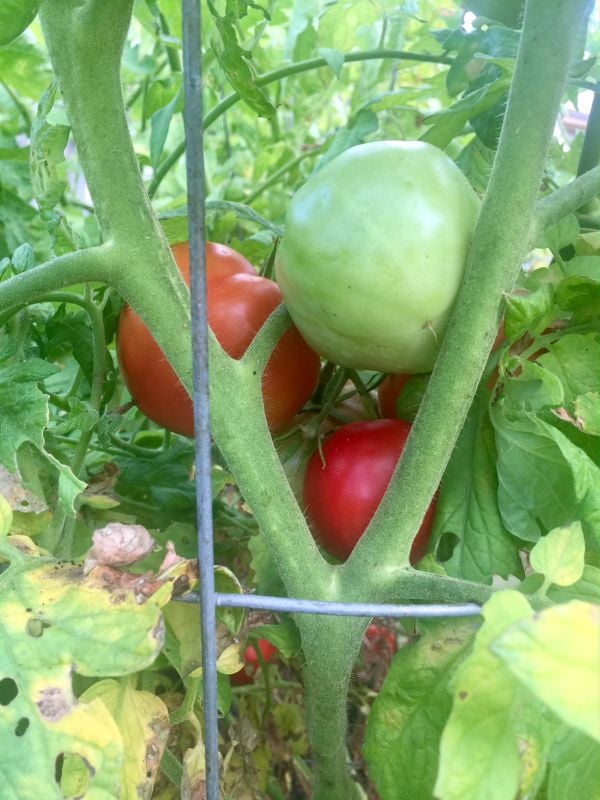
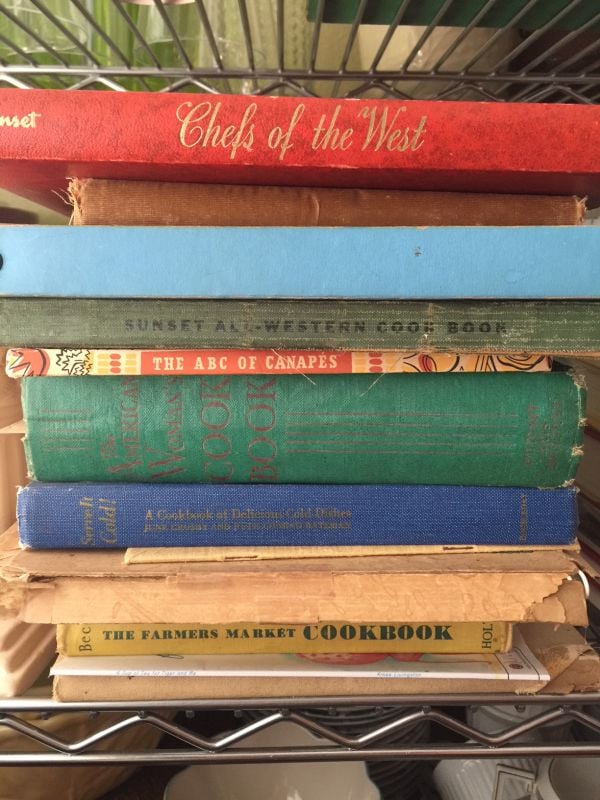
This clafouti is the perfect quick dessert, that delivers the flavors of Fall along with a small touch of brandy goodness. All you have to do is have a pie plate ready, learn to make this simple batter, and you can have a wonderful dessert in no time. Have no pears on hand, then you can substitute apples, bananas, peaches, and even strawberries. Here are two of my recipes you may want to use in the future: Blueberry Clafouti, and Strawberry Clafouti.
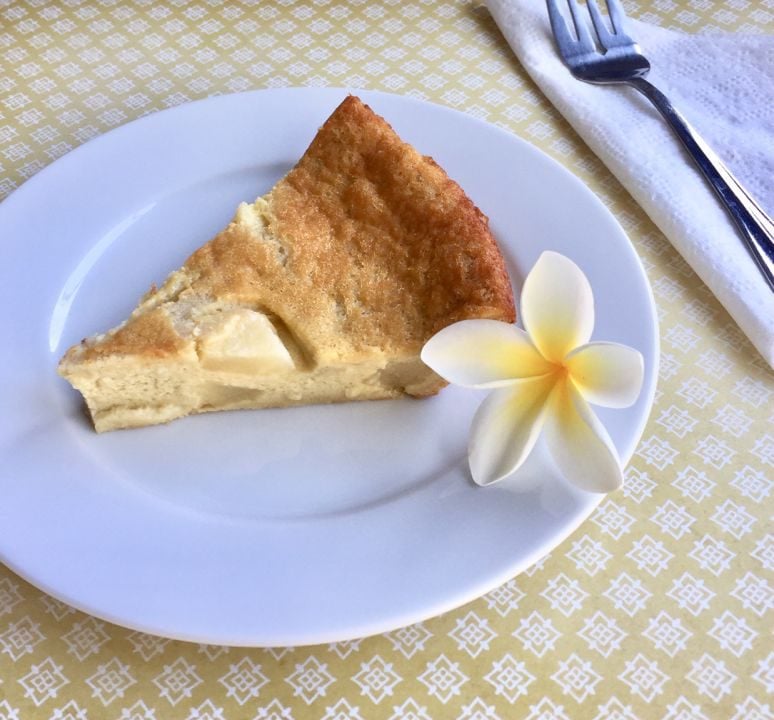
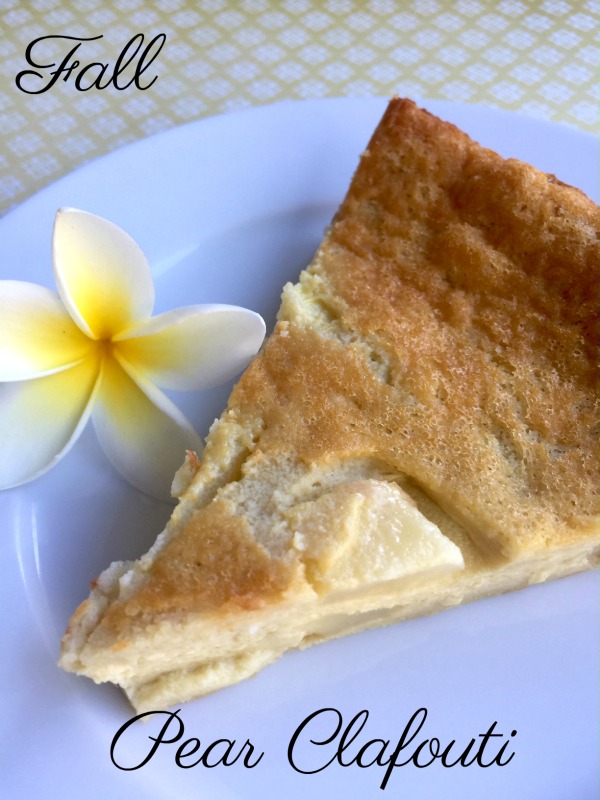
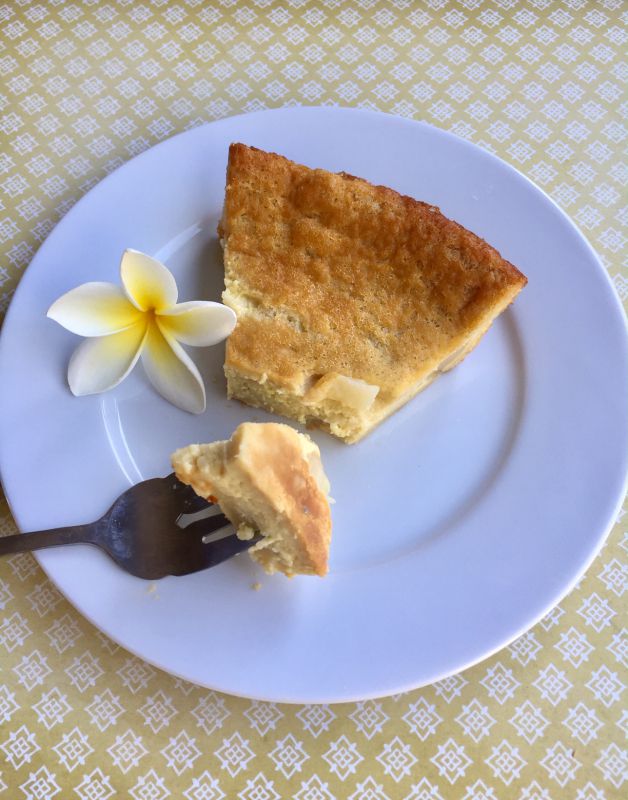
A “Clafouti” often called a fruit flan, is a traditional peasant dish from the area of Limousin area of France, known for famous seasonal cherry clafouti. It’s perfect for family meals because it’s a simple desert with a pancake batter poured over fruit of your choice. It’s bake in the oven, and eaten warm. Here, I have chosen pears, for the Fall season. You may want to top each slice with homemade ice cream or a dusting of powdered sugar.

Fall Pear Clafouti Dessert
What a better dessert than this simply-made fruit custard. It can be made with seasonal fruit that you may have on hand.
Ingredients
- 5 tablespoons melted unsalted butter, divided
- 4 pears, peeled, cored and cut into slices
- 4 eggs
- 1 cup whole milk
- 1/2 cup sugar
- 6 tablespoons flour
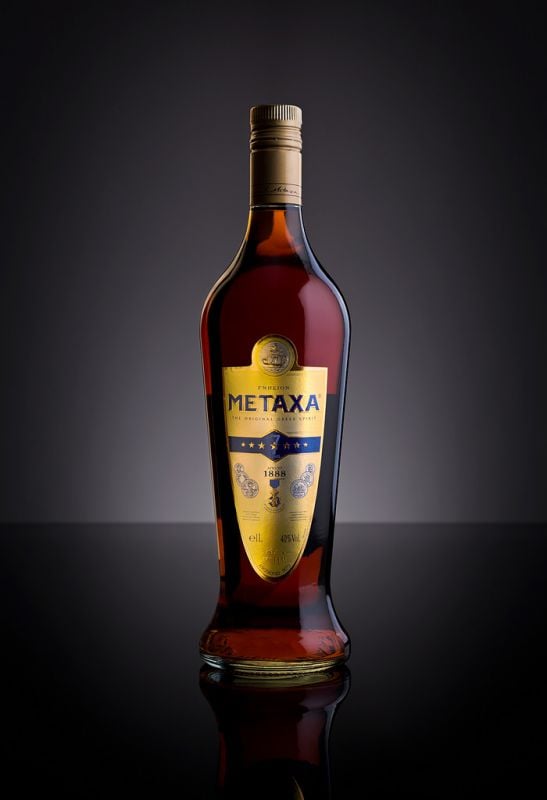
- 2 tablespoons Brandy
- 1 teaspoons grated lemon peel
- 1 teaspoon vanilla
- 1/4 teaspoon salt
- 4 tablespoons melted butter
Instructions
-
Butter a 10-inch glass pie plate. Preheat the oven to 325 degrees.
-
Heat 1 tablespoon of butter in a large saute pan over medium-high heat. Add the pears and saute until slightly browned. Cool the pears.
-
Blend the eggs, milk, sugar, flour, bandy, lemon peel, vanilla and salt in a blender until smooth. Add the remaining melted butter, and mix well.
-
Arrange pears in glass pie dish and pour batter evenly on top.
-
Bake the dish until set and puffed and brown on top, about 55 minutes.
Cool before serving. Can be served warm or at room temperature.
-
You may want to serve this with ice cream or a dusting of powdered sugar.
I serve this dessert to many of my family members and friends and they just love it! I hope you do as well!
Happy Fall!
Mary
{ 0 comments }


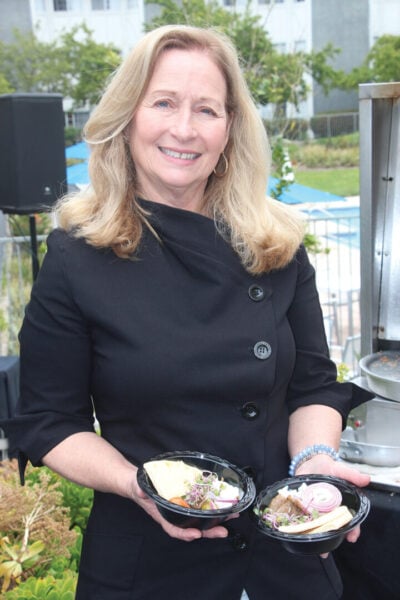 Hello from California Greek Girl. I’m the owner of Ethos Culinary located in the beautiful city of Carlsbad. Join me as we explore California’s bounty of foods, farmlands, and culinary experts. I’m looking forward to bringing you Greek, Mediterranean and Plant-Forward Cuisines. OPA!