What is October #Unprocessed and Why Would I Do This?
This is a food challenge Andrew Wilder from Eating Rules began a couple years ago and now has reached over 3,000 people and still growing. What is it? It’s simply a challenge to eat unprocessed foods for the month of October. During this time you’ll receive a strong support system from bloggers, foodies, and experts in the field who will be guest bloggers on the Eating Rules website with informative articles for you to read daily.You can join us on Twitter daily as well with the hash-tag #Unprocessed. Andrew’s goal is to bring healthy eating to a new level of consciousness, so we all lead a healthier fulfilling lifestyle, even if you change a couple of things in your diet, this is a great beginning!

You have a challenge of not eating any processed foods in the month of October…you know that’s only 4 weeks !
Unprocessed food is any food that could be made by a person with reasonable skill in a home kitchen with readily available, whole-food ingredients.(look for more on his site)

If I’m not eating whole foods now, then what is it I’m eating?
The whole idea, ultimately, is to consider each ingredient in your food: How it’s produced, where it comes from, and whether its benefits outweigh its detriments.(more on this on his site)
But I can’t make everything from scratch!
We don’t expect you to do that either.
The answer is simply to consider every ingredient separately. If you cannot understand the ingredients on the label or there are just too many to list, it’s not a wise choice. (look for his healthy bar comparisons on his site)

Do I ” Not Brake for Restaurants” anymore?
Eating out is absolutely acceptable, we can’t be hermits for the month, or turn down an evening out with friends! But, here are a few suggestions from Andrew!
Find a local, “farm to table” restaurant.
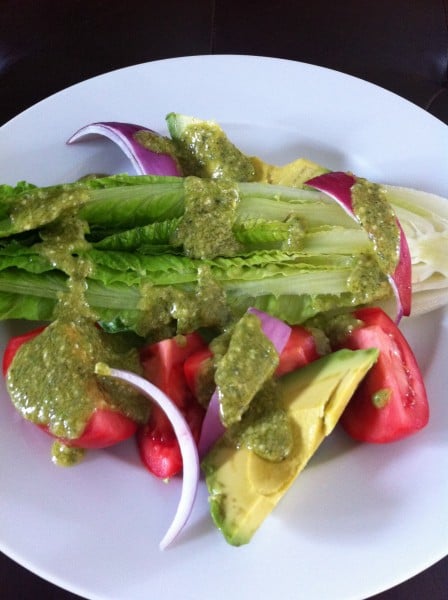
Eat a fresh salad and pasta
Cooked vegetable or tofu
Talk to your waiter, let him know what your doing. (and more on his site!)

I believe this can be a life-changing and satisfying experience as you learn along with us about our food and food systems. Let’s become stronger, healthier, and livelier human beings from the food we eat!
Andrew says ~Remember that this is fundamentally an awareness exercise, and ultimately, you need to do what’s right for you, and what’s going to work for you.

Sign up for the challenge at Eating Rules!
Look for my guest post on The Health Benefits of the Greek Diet to be published in October 2012 on Andrew Wilder’s Blog Eating Rule’s .
In case you missed it:
Time for an Oil Change – October Unprocessed 2011
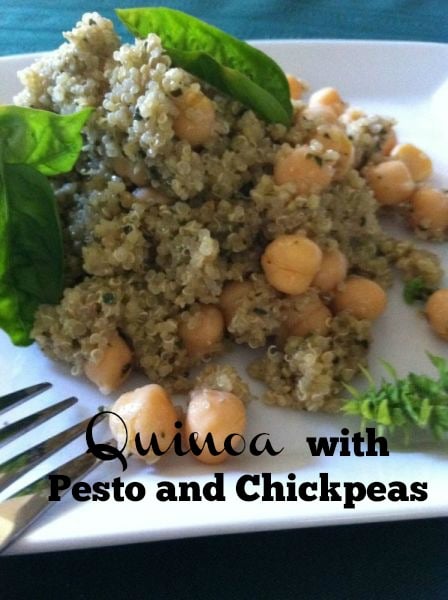
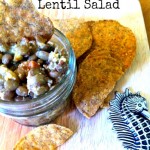
Preparing Dried Chickpeas – October Unprocessed 2010
{ 0 comments }


")
")


")


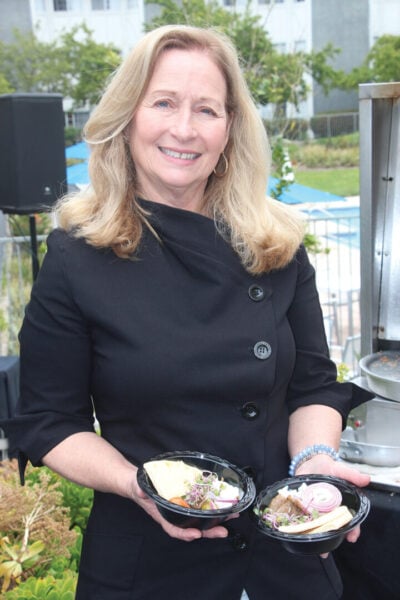 Hello from California Greek Girl. I’m the owner of Ethos Culinary located in the beautiful city of Carlsbad. Join me as we explore California’s bounty of foods, farmlands, and culinary experts. I’m looking forward to bringing you Greek, Mediterranean and Plant-Forward Cuisines. OPA!