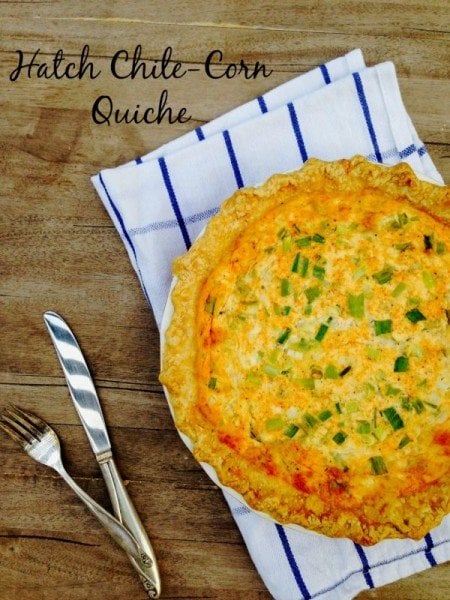
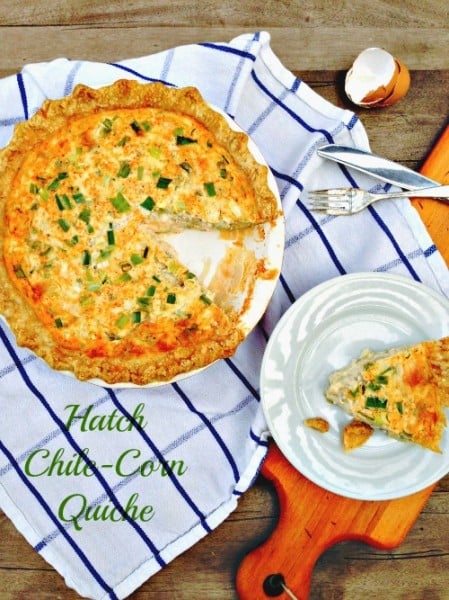
I remember how long the days were when my kids were young and Dad occasionally went out of town. When this happened the kids and I jumped into our often ritual of having breakfast for dinner. They couldn’t wait for those berry-good waffles or the pancakes drenched in syrup. Today, I miss those days. Now that the kids are gone and I still crave those nights. Over the years I have set aside my secret batch of breakfast ideas for nights when I’m alone. I decided a quick quiche was my answer especially with these warm summer nights we have been having. It continues to be Hatch Chile season, and while the next recipe on my radar screen happens to be a Hatch Chile Quiche, I thought I would try it. As I took a bite, the delicate egg flavor takes a hit with an earthy mild heat which compliments the eggs beautifully. This quiche is seasonal, so make it today.
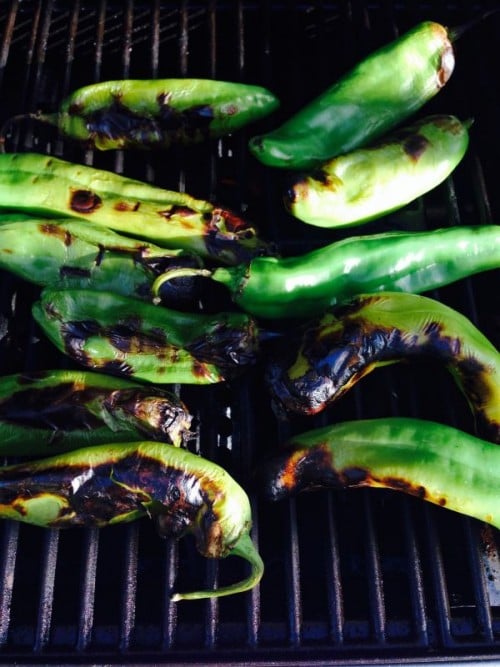
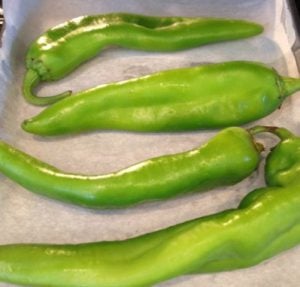
Quick tip: I had my BBQ out, so I roasted the hatch chiles ahead of time, placed them in a plastic bag and refrigerated them for future recipes, You can also cut them up and freeze them in small batches if you like. Defrost them and pat them dry for your next muffin or main dish. Learn how to roast them here: How to Roast /BBQ Hatch Chiles.
Hatch chile season is short. Take advantage of the ample chiles in the markets, but remember to roast and peel them and place in the freezer for future recipes throughout the year!
Course
Breakfast, Brunch or Dinner
Cuisine
American
Keyword
corn, hatch chile, quiche
AuthorMelissa's Hatch Chile Cookbook
Ingredients
1 9-inchprebaked pie crust
3eggs
1cupwhole milk
1/2cupheavy cream
2cupsshredded Jack cheese
1cupcorn kernels
3Hatch Chiles, roasted, peeled, stemmed, seeded and chopped
1/2teaspoonsalt
cracked black pepper
1teaspoonMelissa's Hatch Chile Powder
2green onions, sliced
Instructions
Preheat the oven to 350 degrees.
In a large bowl, combine the eggs, milk and cream.
Whisk until uniform.
Add the cheese, corn, chiles, salt and pepper, and chile powder.
Stir in evenly combine. Pour the mixture into the prebaked pie crust.
Sprinkle green onions over the top of the quiche.
Bake for 40 to 50 minutes or until the filling is puffed and starting to brown.
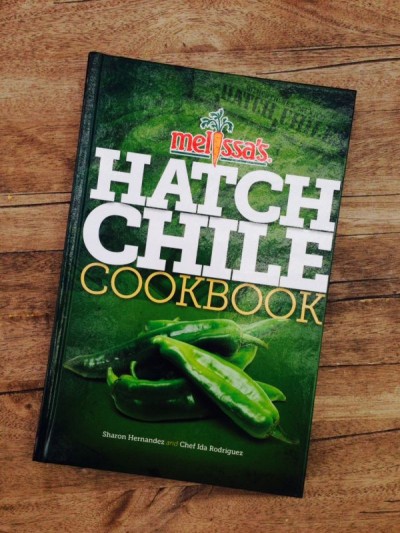
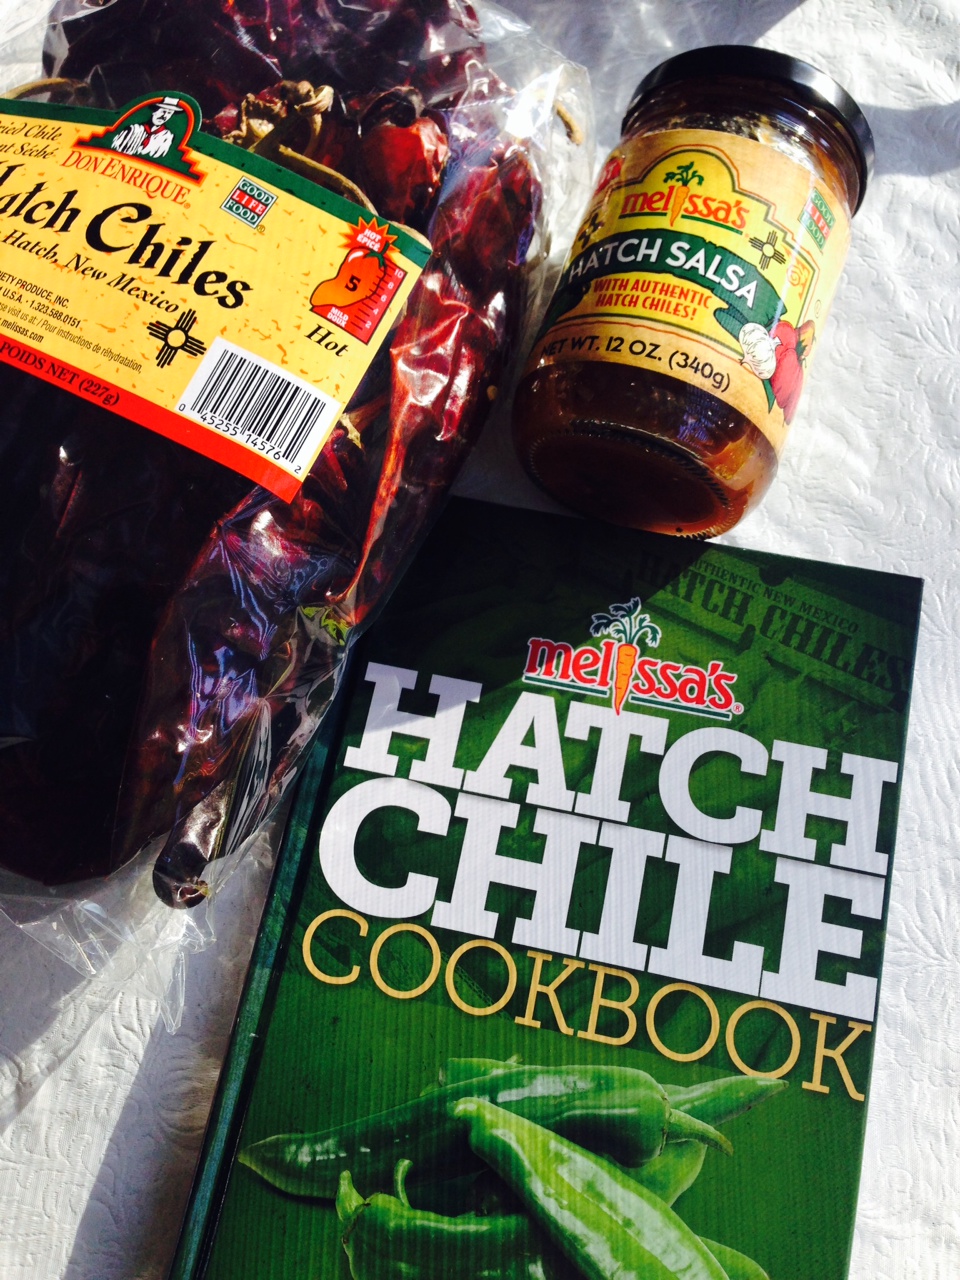
If you have enjoyed these recipes head over to Melissa’s to pick up your copy of their Hatch Chile Cookbook written by Chef Ida Rodriquez and Sharon Hernandez.
Melissa’s Produce was so kind to send me fresh hatch chili’s to use as I please. This recipe is from their new cookbook, Hatch Chile Cookbook.
This post is my story and my original thoughts.
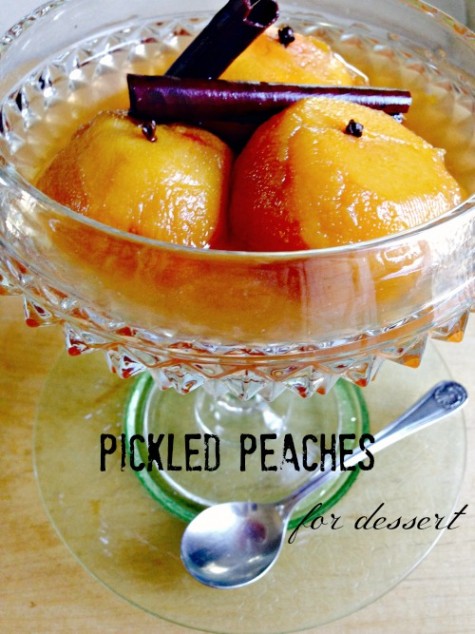
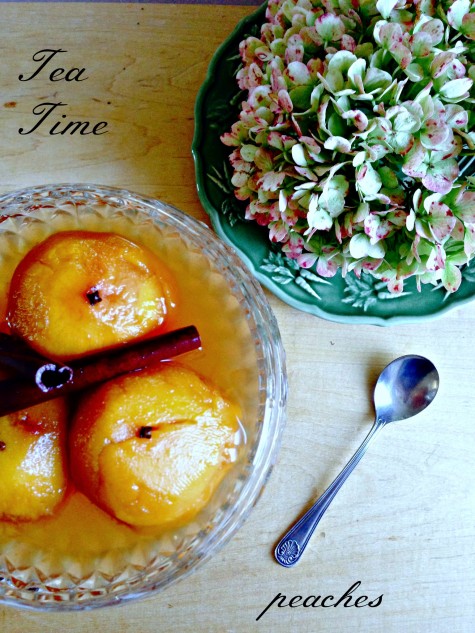
The art of canning is making such a big comeback lately that I wanted to write a post about the techniques of preserving. Ripe fresh peaches are in the markets in late summer, and they are so easy to pickle. Why pickle peaches? Many of you might have overbearing trees at the moment and this is a great way to preserve the sweet flavors of summer for future meals. And if you visit the farmer’s markets like I do, peaches are in all the fruit stands – ripe and ready for you to take home. I decided to make a small batch so I can refrigerate the peaches and skip the canning stage. Feel free to double or triple this recipe for larger batches of fresh peaches you may have gathered.
What do you need to pickle anything:
1 large kettle or large pot for sterilizing the canning jars. (Not necessary for this recipe).
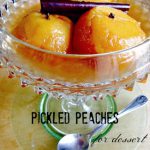
Pickled peaches have a surprising flavor profile. Beautifully spiced, add them to your roasts, yogurt or ice cream. They can add a special touch to your pound cake as well.
Course
Dessert
Cuisine
American
Keyword
pickled, peaches, fruit, dessert
Servings6
Ingredients
6 ripe peaches
water for boiling
1cup sugar
1/2 cuplight brown sugar
3/4 cupapple cider vinegar
1cinnamon stick, cut in half
1teaspoonwhole cloves
Instructions
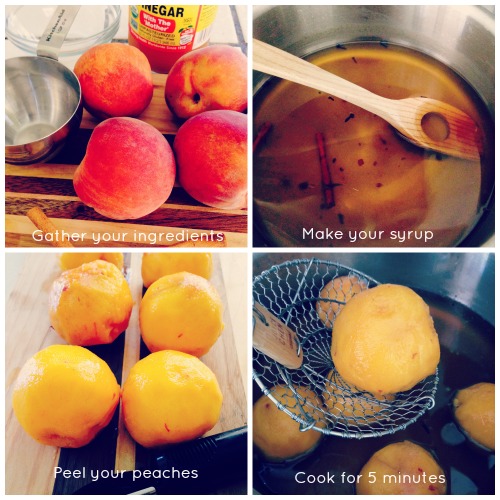
Wash peaches and peel with a serrated peeler. If you don't have a peeler, carefully place a few peaches in boiling water for about 1 minute. Remove and place in a ice bath before peeling. Use a paring knife to peel the peaches.
Place the sugars, vinegar and cinnamon in a non-reactive pot and bring to a boil for 15 minutes.
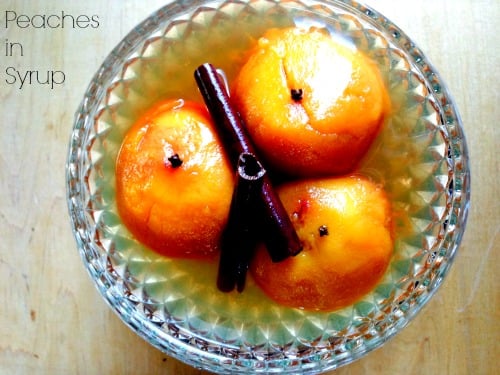
Place one peach one at a time into the syrup until all are added.
Cook for 5-10 minutes until tender. Spoon peaches into hot sterile glass jars, add a few cloves to each jar and fill with hot syrup.
You can refrigerate the peaches or continue to seal the jars using the canning method.
Recipe Notes
This recipe can be doubled or tripled for large batches of peaches.
You may also be interested in my other pickled recipes:
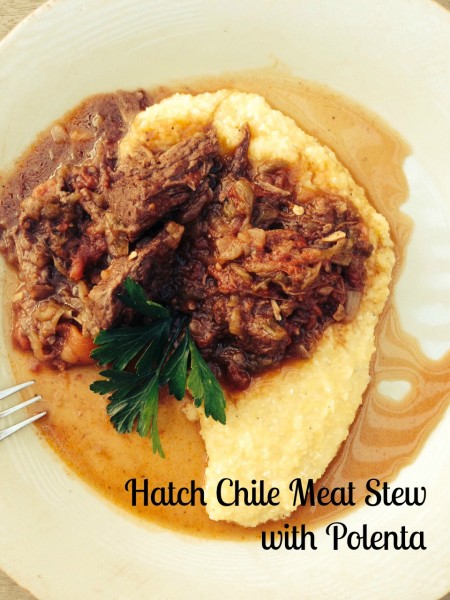
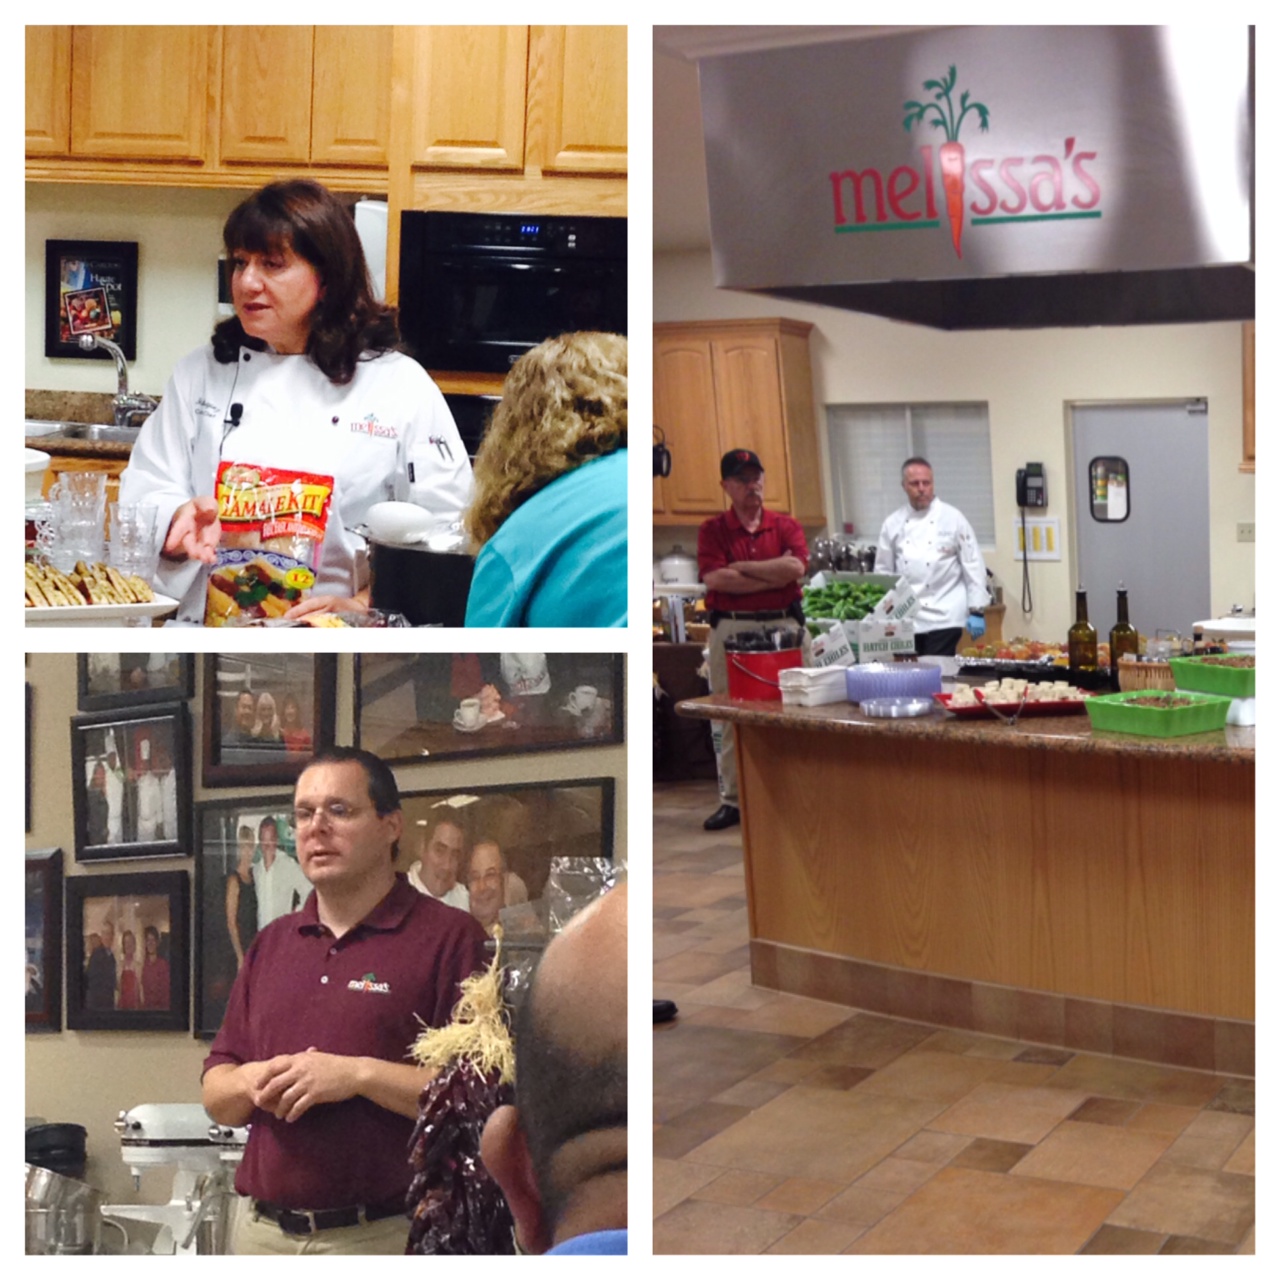
It’s Fall and I’m ready to cook up my Hatch Chile Meat Stew tonight. I must say that I love these mild and hot chiles, especially after attending an incredible luncheon in the kitchen of Melissa’s Produce. Every year the chiles arrive, Robert gathers cooks, writers, bloggers and chile fans to feast on several hatch chile meals prepared by Melissa’s talented chefs. If they can get a Greek girl excited with a chile, they can convince anybody. Until then, I rarely cooked with hatch chiles and now the season can’t come fast enough. Note: hatch chiles need to be roasted to remove their skin.
How to Roast Hatch chilies can be found here on my blog.
Above is Chef Ida Rodriguez with Robert Schuller during their chile presentation. They put out quite a delicious spread from Hatch Chile Pinwheels for an appetizer to Roasted Chile and Cheddar Tamales. The menu also included Honey Mustard Pretzel Crunch, Classic Grilled Cheese Sandwiches,Crab and Grilled Corn Chowder, Spicy Ice Cubes, and for dessert Hatch Chile Chocolate Chip cookies and Easy Hatch Chile Devil’s Food cookies. If you are looking for new ways to use chiles and spice up your meals don’t hesitate and pick up their book. It’s available here.
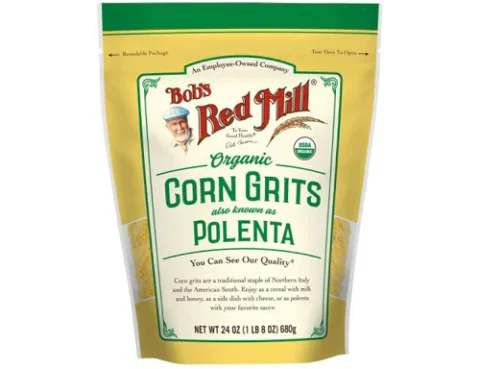
This stew came from the above cookbook published by Melissa’s Produce. I added the warm polenta in place of rice or noodles. All three of these will enhance this stew.
I used Bob’s Red Mill polenta for this recipe, but polenta can be found in any market near you.
Beef stew is updated to this spicy but family friendly beef stew. Serve with rice, noodles, or polenta.
Course
Main Dish
Cuisine
American
Keyword
dinner, hatch chile, stew
Servings6
AuthorMelissa's Hatch Chile Cookbook
Ingredients
3poundsbeef chuck, cut into 1-inch pieces
1/2teaspoonpepper
2teaspoonssalt
2tablespoonsvegetable oil (I used olive oil)
2large white onions, chopped
3clovesgarlic, minced
1tablespoonground cumin
128 oz. can whole tomatoes with juice
12Hatch Chiles, roasted, peeled, stemmed, seeded, and cut into 1/3-inch wide strips
Rice, Noodles, or Polenta( Recipe Below)
Instructions
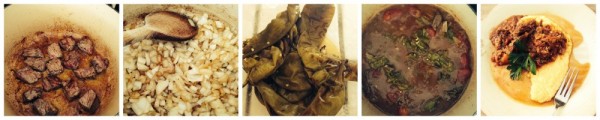
Season the meat with salt and pepper. Heat the oil in a heavy large pot over moderately high heat until hot but not smoking. Cook the beef in 2 or 3 batches, turning occasionally, until browned, 6-8 minutes per batch.
Transfer the batches of browned meat to a bowl and reserve.
Add the onion, garlic to the beef drippings and cook over moderately heat, stirring and scraping up the brown bits, until the onions are softened, about 8 minutes.
Add the cumin and cook, stirring for 2 minutes.
Return the beef and juices to the pot.
Add the tomatoes and stir.
Add 2 cups of water and bring the stew to a simmer.
Add the chiles and continue to simmer gently, uncovered, stirring occasionally to break up the tomatoes, until the meat is very tender, about 3 hours.
Polenta is a hardy side dish to add to your main entrees. It makes a wonderful compliment to many ethnic dishes. Try it with stews, chili, or bean dishes.
Course
Brunch or Dinner
Cuisine
California
Keyword
dinner, polenta, side dish
Servings8
AuthorMary Papoulias-Platis
Ingredients
6cupswater
1teaspoonsalt
2cupspolenta (corn grits) I use Bob's Red Mill
3tablespoonsbutter (optional)
Instructions
In a large deep pot over high heat, bring the water and salt to a boil. Gradually, add the polenta.
Reduce heat to simmer, gently stirring to prevent sticking, about 20 minutes.
Use a wooden spoon to help stir the mixture. Careful, it tends to pop.
Stir in the butter, and taste for additional salt. Serve immediately.
This post is a recipe from Melissa’s Hatch Chile Cookbook. The cookbook and the hatch chiles were sent to me for use on my blog. This post includes my own opinions and facts about the event and recipe. These are two companies that I truly believe make a difference with our food system.
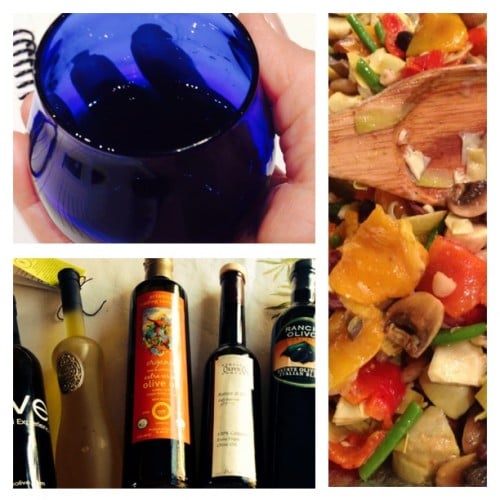
I had the opportunity to attend an olive oil tasting seminar at the U.C.Davis Olive Oil Center several months back. Many of you had a chance to follow me as I was posted pictures of the event on Instagram and Facebook. I must say it was very difficult the first day, as we sampled “rancid” olive oils throughout the afternoon – ugh! Who knew there were so many facets of bad olive oil. After the two-day seminar I can now say-that I can confidently select rancid oils which was the goal of taking the class in the first place. Once you learn the bad attributes of love oil, the job becomes easier tasting the finer olive oils available on the market.
This cooking class I designed for you, will teach you the necessary current facts for selecting and storing oils as well as debunking the myths around cooking with olive oil. I will demonstrate the several uses of olive oil using techniques such as poaching, marinating, baking and preserving in my recipes during class. Come join us for an adventure in exploring the world of Olive Oil. Please sign up through Great News Cooking School. So prepare your taste buds and join us for an evening discussion around the kitchen table!
The Essence of Olive Oil
When: August 11th at 6:oo p.m.Where: Great News Cooking School in Pacific BeachClass Tasting Menu
Crostini with Oven-Dried Tomatoes in Olive Oil and Grilled Halloumi Cheese
Herb-Marinated Summer Vegetables in Olive Oil
Olive Oil Poached Salmon Fillet with Greens
Heirloom Tomato Salad with Basil Oil and Buratta Cheese
I would like to introduce you to Dr. John Westerdahl and his Health and Longevity radio show on Live Talk Radio. He has chosen to interview three guests on the Mediterranean Diet, Dr. Michael Ozner M.D. and Debbie Metenopoulos and me. As you can guess, I had a small part in this interview discussing the health benefits of olive oil. I have been interviewed in the past about olive oil with Dr. Westerdahl and he thought I could add a few tidbits on the subject. I feel very honored to be part of this interview along with Dr. Michael Ozner and Debbie Metenopoulos.
Dr. Michael Ozner M.D.
Debbie Metenopoulos
Mary Platis
Featured Guests: Michael Ozner, M.D. – Board-Certified Cardiologist and Author of The Complete Mediterranean Diet : Everything You Need To Know To Lose Weight And Lower Your Risk Of Heart Disease; Debbie Matenopoulos – TV Host, Journalist and Author of It’s All Greek To Me: Transform Your Health The Mediterranean Way With My Family’s Century-Old Recipes; Mary Platis – Greek Chef, Cooking Instructor, Expert on Organic Extra Virgin Olive Oil and Author of Cooking Techniques With Olive Oil
The show will air nationally this Sunday at 12:00 pm noon (California Time) on over 70 stations on the LifeTalk Radio Network.
Check out Debbie’s new cookbook with her special family recipes.
Modern science is catching up to what Greeks have known for millennia: health comes from eating natural, whole-food ingredients that haven’t been processed or pumped full of hormones, antibiotics, or preservatives. In It’s All Greek to Me, Debbie shares 120 of her family’s traditional Greek recipes and adds her own touch to make them even healthier and easier to prepare.
If you missed the show, visit the Health and Longevity website to listen to the show and many other educational interviews.
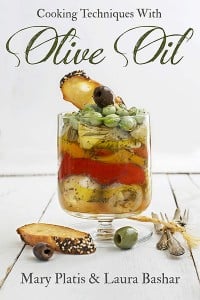
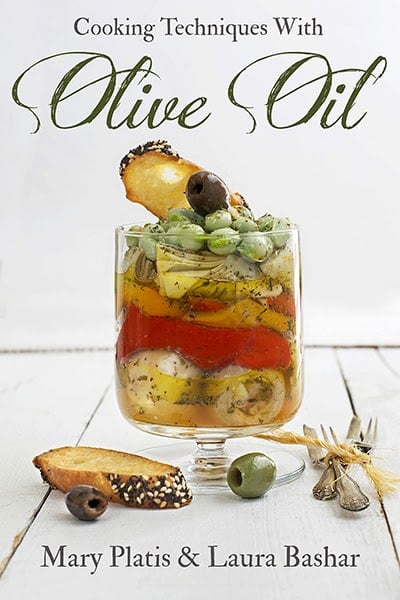
You may also want to purchase my olive oil cookbook and learn to cook and preserve with olive oil.
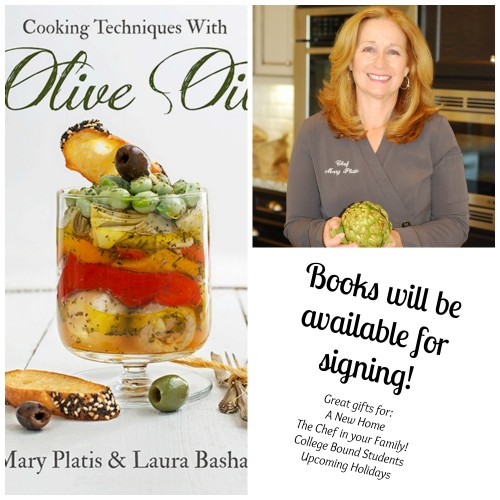
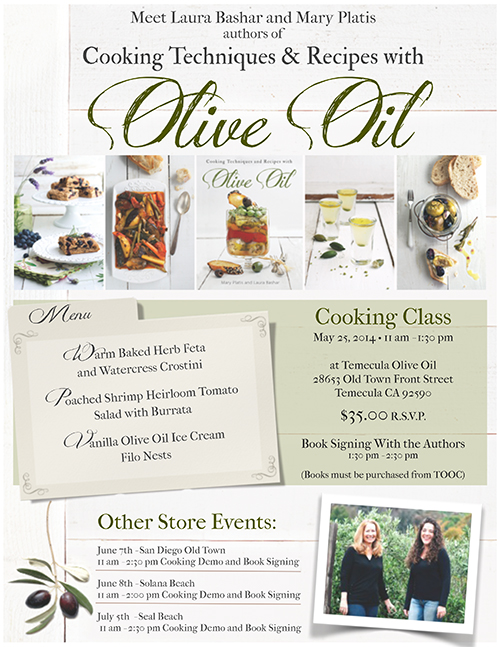
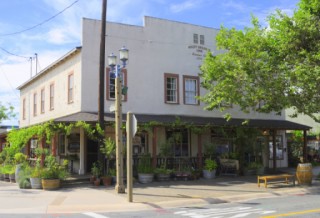
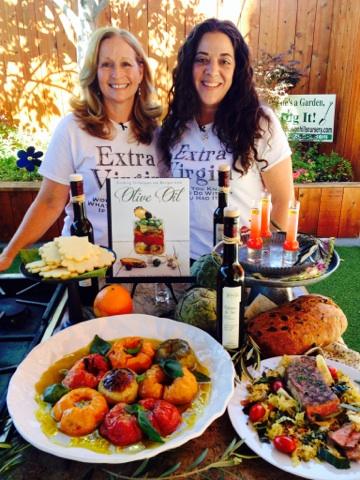
Our book has arrived and we are looking forward to meeting all of you soon at our book signing events. We are starting off with our local olive oil farm, Temecula Olive Oil and their four store locations. Our first event will be a Cooking Class and Book Signing at the Temecula Location on May 25th.
Mark your calender, we are so looking forward to meeting “olive” you. Come by and spend the afternoon with us, starting off with a lovely lunch and an olive oil tasting bar in this historic downtown area. If you are unable to make Sunday the 25th, please visit us at the other locations for a Demo and Book Signing.
Sunday, May 25th
in the Temecula Location
Join us for a
Summer Mediterranean Lunch
Menu
Warm Baked Herb Feta Cheese and Watercress Crostini
Poached Shrimp with Heirloom Tomato Salad with Burrata
Vanilla Olive Oil Ice Cream Filo Nests
Class is $ 35.00 R.S.V.P.
Demo and Book Signings
San Diego Old Town – June 7th
Solana Beach – June 8th
Seal Beach – July 5th
If you would like to learn more about olive oil you may want to purchase my cookbook!
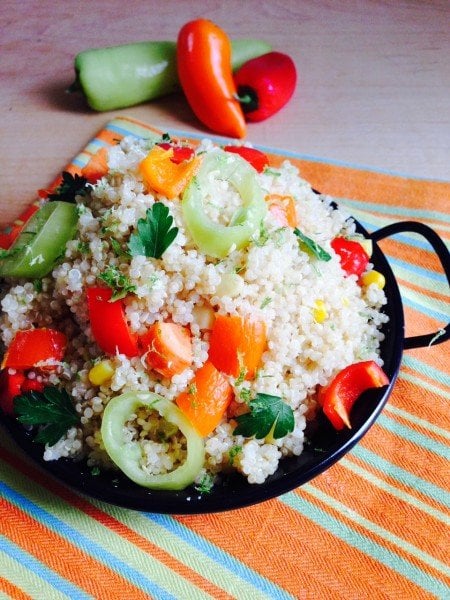
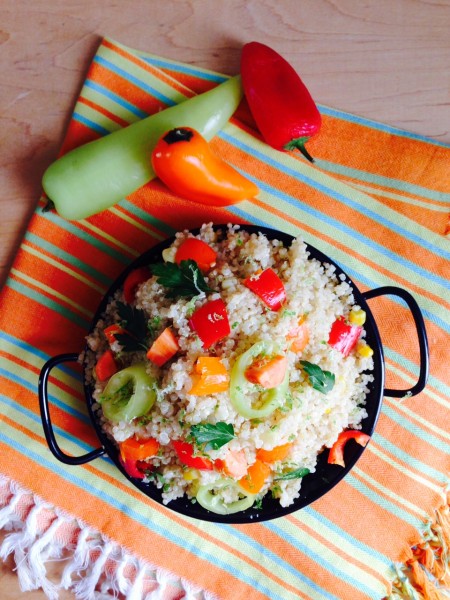
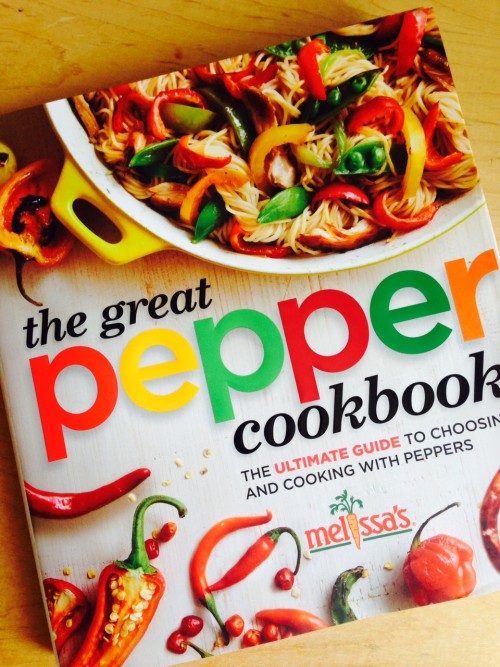
After attending Melissa’s Produce Pepper Event, I became inspired to start cooking and making this Cinco De Mayo Vegetable Quinoa recipe. This recipe came from their new book, The Great Pepper Cookbook” which is available on their website. The brightly colorful photographs along with the helpful pepper tips, help you identify the vast varieties of peppers, making your recipe easy to follow. Enjoy this quinoa salad with a hint of pepper flavors and feel free to substitute whatever is handy in your kitchen. I love the new corn for the season, so I added fresh corn to the recipe. This is also a tasty and a quick meal for your Meatless Monday dinner.
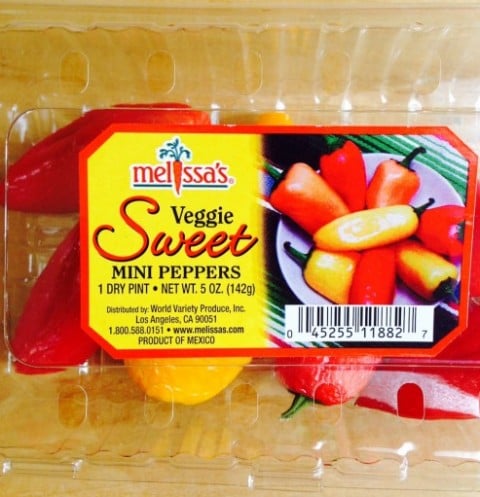
This dish is made with fresh Banana Wax Chiles, which has a mild to medium heat level. You can find this year around pepper through Melissa’s Produce or at your local grocery store. This is a narrow, about 4-7 inches in length, with a light translucent creamy yellow exterior. Choose firm, yellow, glossy chiles. I also added Melissa’s mini sweet peppers to the dish.
Quick and easy- this healthy quinoa salad can be made ahead, adding the vegetables before serving.
Course
Main or Side Dish
Cuisine
Mexican - from "The Great Pepper Cookbook"
Keyword
dinner, quinoa, vegetables
Servings8
AuthorMary Papoulias-Platis
Ingredients
1 8-ouncepackage quinoa
2tablespoonsextra-virgin olive oil
2sweet onions, finely diced (about 1 cup)
2fresh banana wax chile peppers, stems and seeds removed, sliced into rounds
1fresh red bell pepper, stems and seeds removed, diced (about 1/2 cup)
1/2carrot, diced (about 1/4 cup)
1/2zucchini, diced (about 2/3 cup)
1/2yellow squash, diced (about 2/3 cup)( I substituted corn)
2garlic cloves, minced
salt
freshly ground pepper
Instructions
Prepare the quinoa according to the package directions.
Heat oil in a large skillet over high heat. Add onion and next 5 ingredients (through squash) cook, stirring occasionally, 5 minutes.
In a bowl, combine quinoa and vegetable mixture, stir in salt and black pepper to taste. Serve.
Recipe Notes
Quinoa can be made ahead of time and refrigerated. I add a little extra virgin olive oil to keep the grains from sticking.
This cookbook is available through their website here.
I can’t live without peppers, do try them!
Mary
Discolsure: Melissa’s was kind enough to send me the peppers for my post. The recipe comes from the new cookbook, The Great Pepper Cookbook. I was not compensated for this post. I post recipes I have tested and enjoyed.
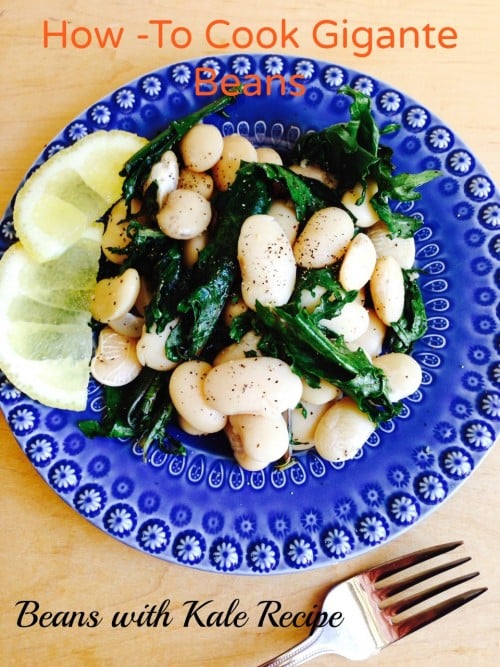
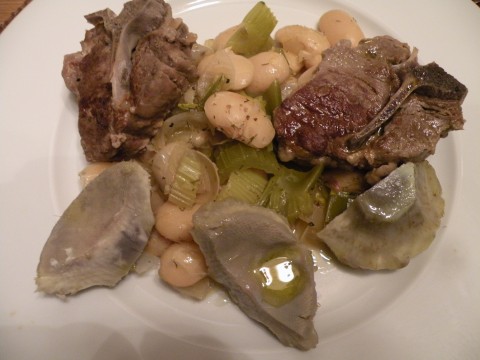
This post on How-To Cook Gigante Beans has been requested by many of my followers and way overdue. Beans are a common staple in the Greek Diet, and are eaten at least once a week in the Greek household. These are the most popular bean, and are often the item brought home from a visit to Greece.
Gigante are also known as “broad beans”. They are large flat, cream colored beans about 1 inch in length. Because of their size, I recommend that they are soaked overnight. The emergency boil method can be used but cooking time is longer. Make sure you use the three bean rule- taste three beans for tenderness. Their smooth interior lends them to a nice puree as a side. Can be used in soups, casseroles, and on rice or your favorite grain. If you cannot find these beans in your natural food stores, they can be purchased online here.
I chose this simple method with our favorite high nutritional green kale, but you can substitute spinach, cabbage, or a green of your choice. Nutritionally, they have a rich source of Potassium.
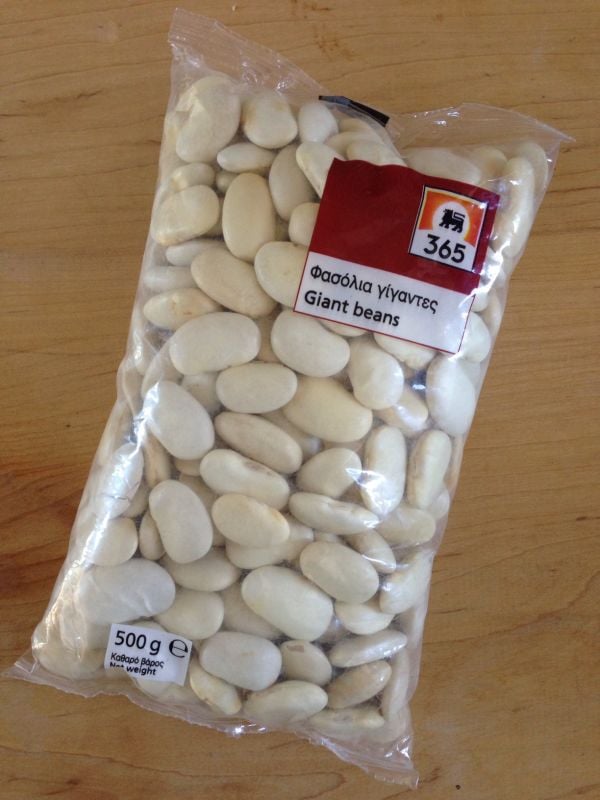
This is how they are packaged and you must measure before adding them to your recipe.
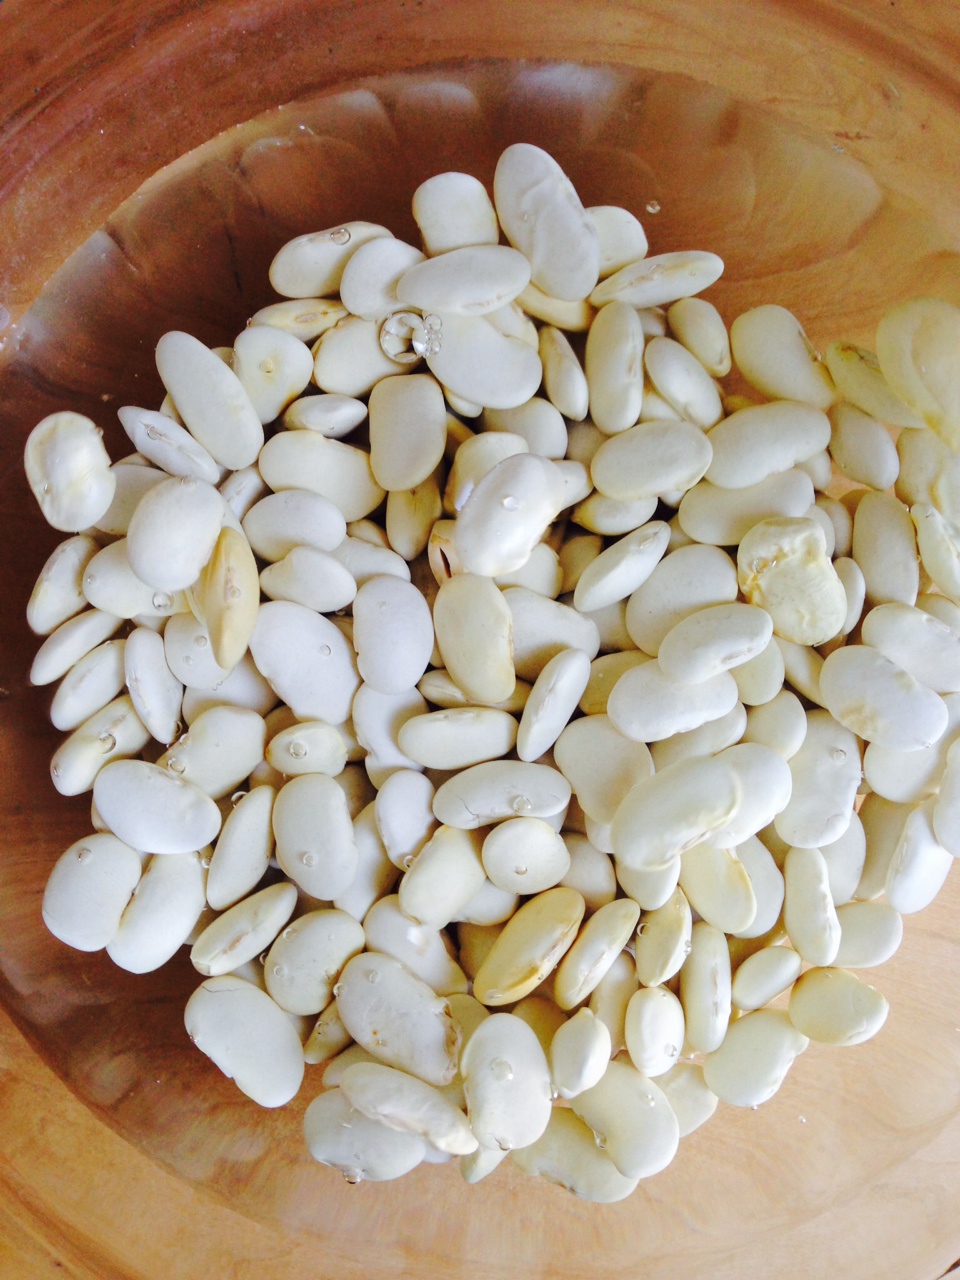
Soak your beans overnight in cold water and check water level often to make sure they are totally immersed.
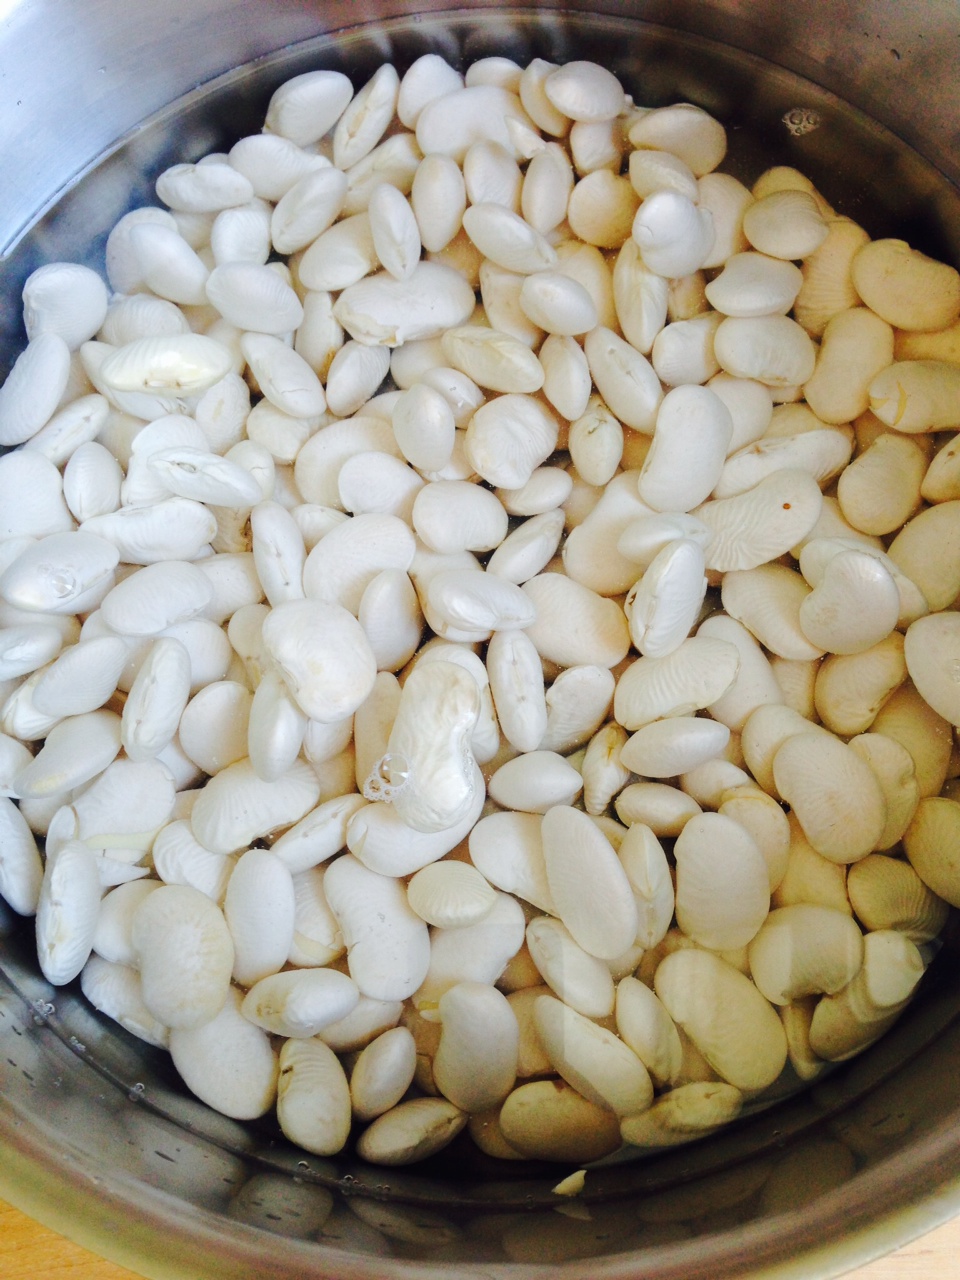
Place the beans in a large pot of cold water, leaving room for the beans to expand.
Take the three bean check before turning off the stove to ensure that all the beans are tender.
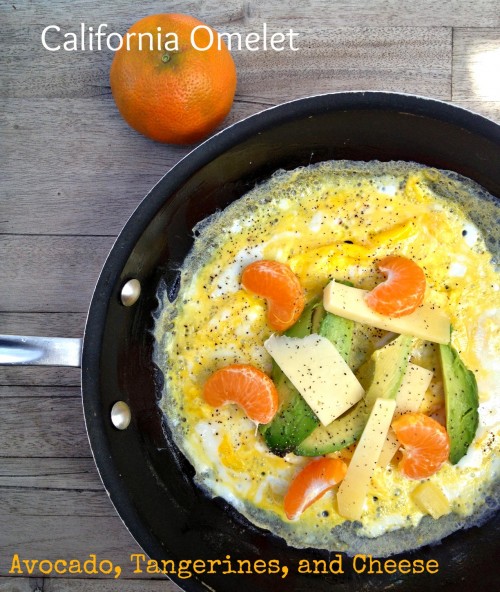
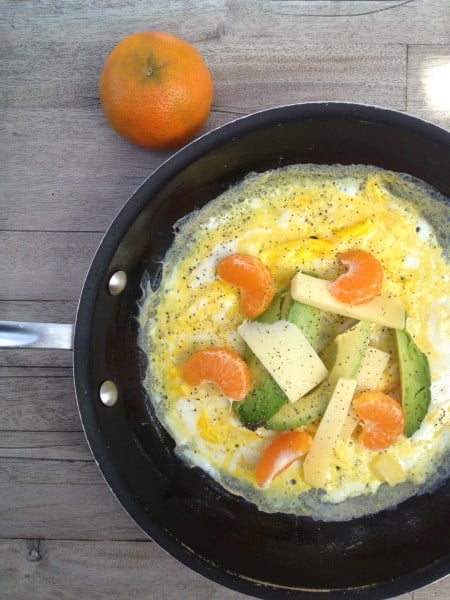
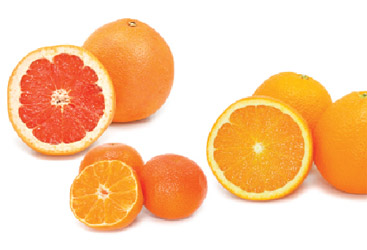
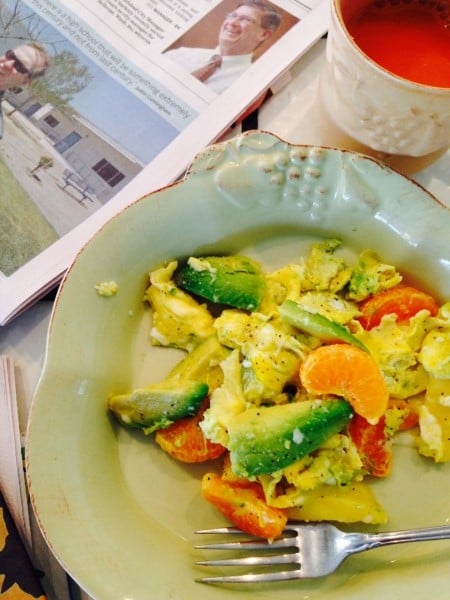
When I think of a California omelet in the Springtime, I imagine a fresh citrus to help brighten the egg flavors. I know it sounds strange, but I enjoy a burst of tartness in a morning meal. Adding it to your eggs enhances the dish with an added crisp finish . So with a little imagination I combined these flavors for a new recipe for my family, my California Omelet with Avocado, Tangerines, and Cheese. In California, citrus production began early in this state and continues to be one of our leading crops. We are so fortunate to have the type of climate necessary to grow everything from grapefruit, oranges, lemons, to limes. I actually have several citrus trees in my backyard, and they are currently blooming, filling the morning air with their sweet scent.
1769 While building the California missions, Father Junipero Serra also plants the first citrus seeds.
1840 Frontiersman William Wolfskill plants lemon and orange seedlings in what is now downtown Los Angeles. California’s citrus business is born!
1870s Riverside couple Eliza and Luther Tibbets receive navel orange cuttings from Brazil. The trees thrive and word quickly spreads about the sweet, seedless fruit.
1877 The completion of the transcontinental railroad helps satisfy a national demand for navels and other California-grown citrus.
1893 Needing an effective way to market their citrus, farmers form the Southern California Fruit Exchange—a cooperative now known as Sunkist Growers.
1906 Farmers lobby for a research facility to help them grow a better crop. The Citrus Experiment Station becomes the foundation of the University of California, Riverside.
Today California’s more than $1 billion annual citrus business ranks second in the U.S., producing a significant share of the nation’s navels, valencias, lemons, grapefruit and tangerines.
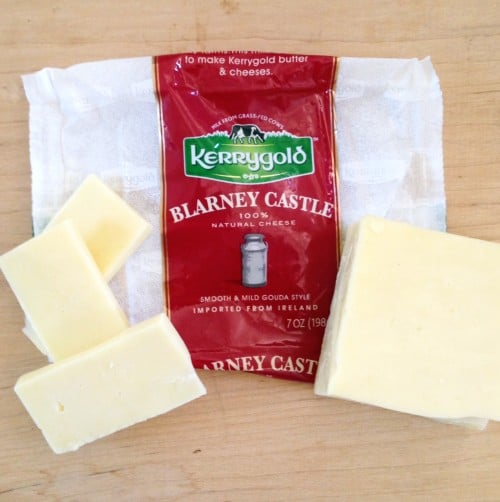
And as you know, I cannot live without a California Avocado somewhere on my plate for breakfast, lunch or dinner. To top it off, I used a Kerrygold Cheese that I felt would work great in this dish, with a soft and mild flavor.
Kerrygold kindly shipped me lovely cheeses for Grilled Cheese Month. I chose to add “Barney Castle” to this recipe and it was incredibly smooth blending beautifully with the citrus. The texture is smooth and mild similar to a gouda. The distinct flavors of all the Kerrygold Cheeses, comes from the care and importance of grass -fed cows on family farms in Ireland.
Hello from California Greek Girl. I’m the owner of Ethos Culinary located in the beautiful city of Carlsbad. Join me as we explore California’s bounty of foods, farmlands, and culinary experts. I’m looking forward to bringing you Greek, Mediterranean and Plant-Forward Cuisines. OPA!


 Hello from California Greek Girl. I’m the owner of Ethos Culinary located in the beautiful city of Carlsbad. Join me as we explore California’s bounty of foods, farmlands, and culinary experts. I’m looking forward to bringing you Greek, Mediterranean and Plant-Forward Cuisines. OPA!