Often times I take a moment and look through my family’s recipe box and while doing so, I came across this little gem of a recipe. I remember enjoying this broccoli salad on a cool breezy day at my mother in-law’s house. She gathered the family on her outdoor deck for long dinners and conversation. She loved entertaining.
My mother-in-law was a caterer for many years and came across many recipes in her time. For some reason this one hits a cord with me. Perhaps because she loved vegetables so much and tried to serve it in so many forms. It was also a quick way to bring broccoli into a meal for nutritional reasons. My mother in-law was serious about her cooking, and in doing so swam laps weekly to keep her great figure. Her famous saying was “I swim so I can eat the way I do.”
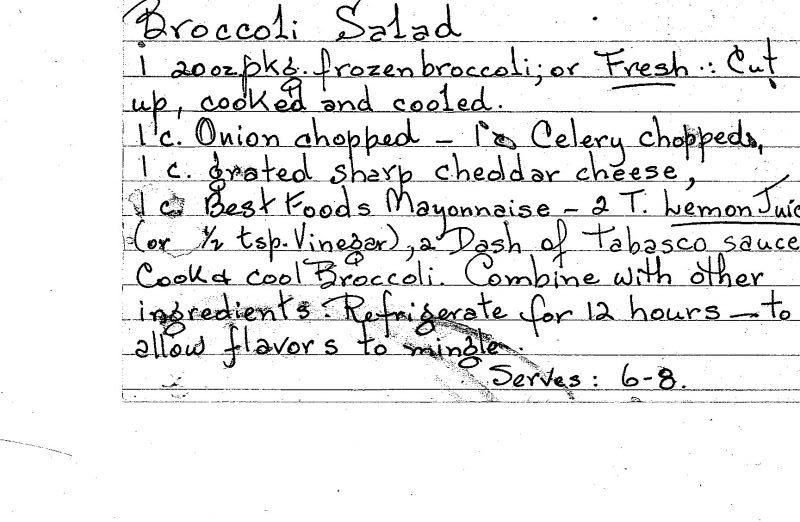
As you can see on this recipe card it is the original recipe, using mayonnaise and cheddar cheese with all the other ingredients remaining the same. I wanted to bring it more up to date by exchanging Greek yogurt, Parmesan and a little of EVOO for the above ingredients.
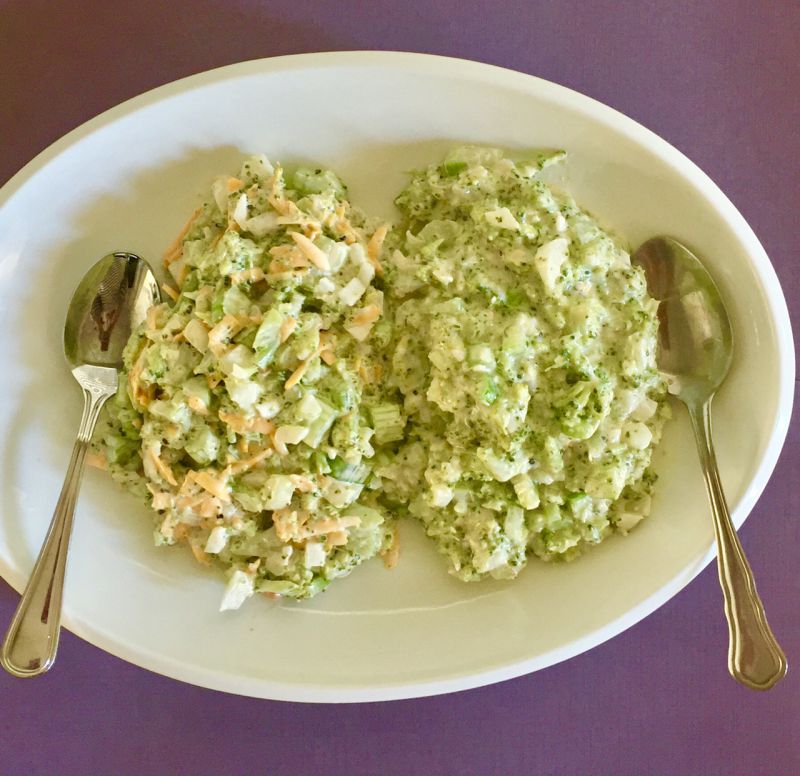
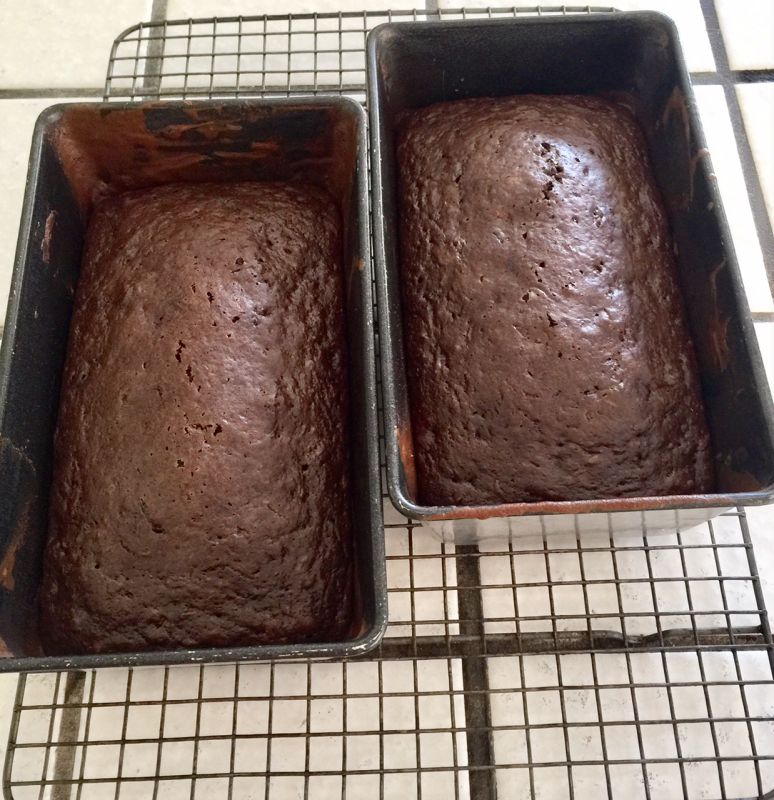
It was a toss up at the end. Family members liked them both for different reasons. By changing these few ingredients, it changed the profile quite a bit. And now you need to decide.

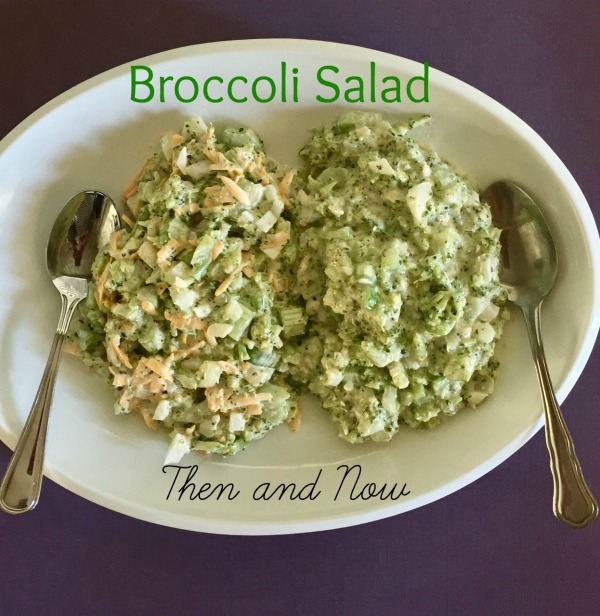
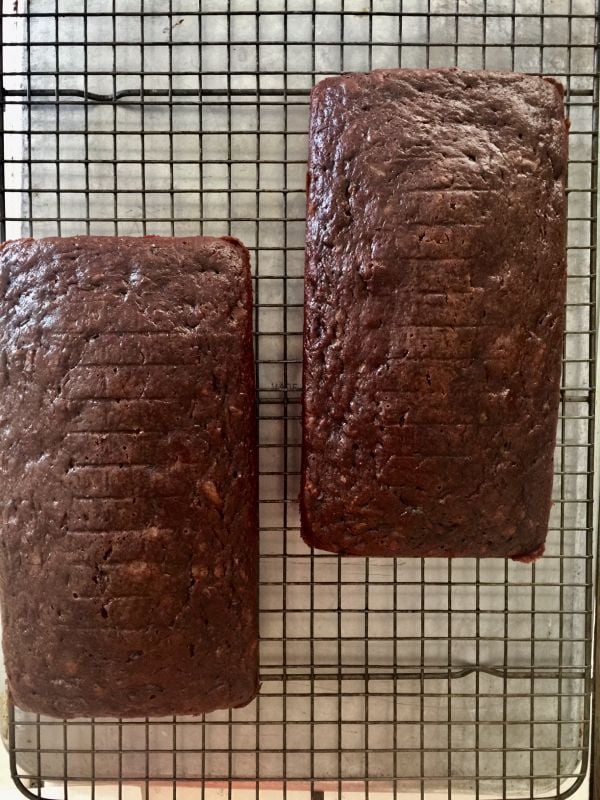
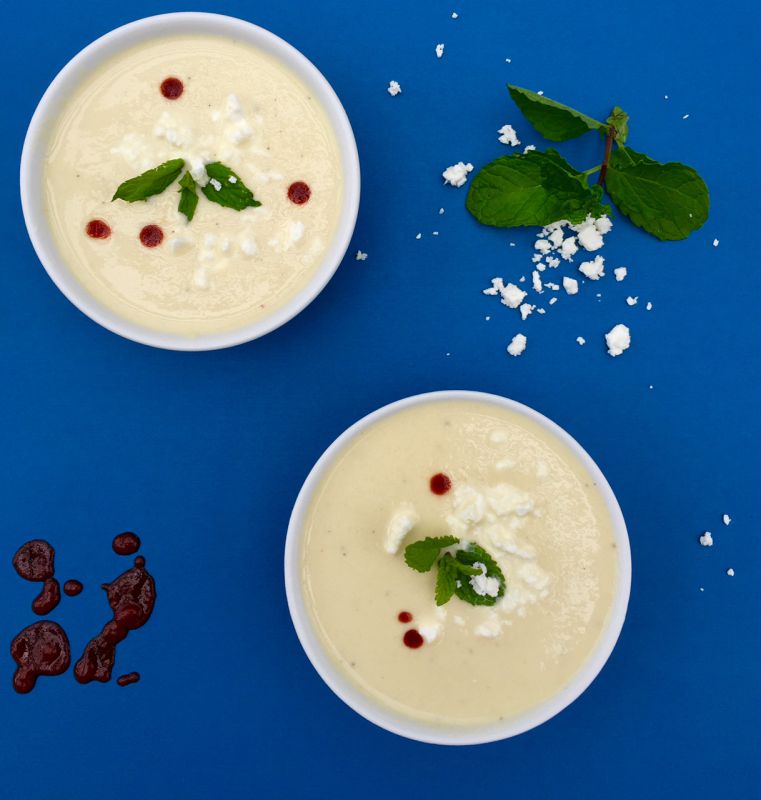
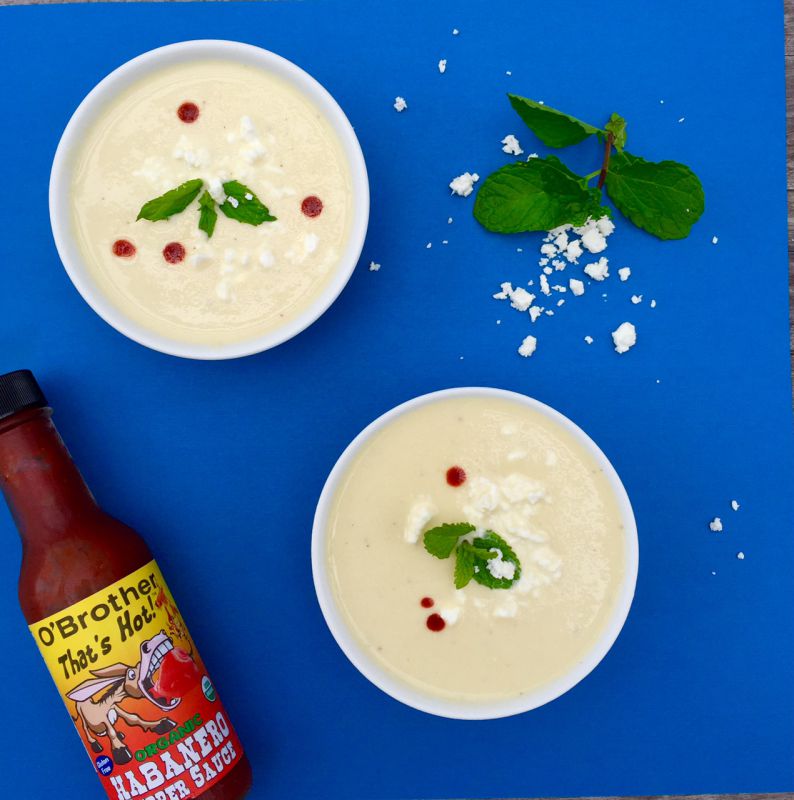
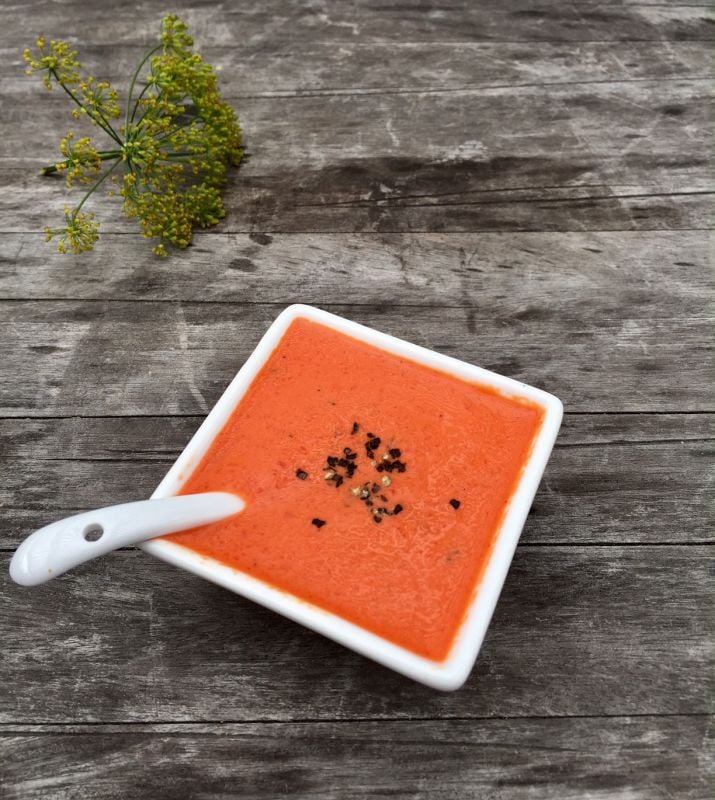
The original is on the left and the updated version on the right! This recipe is best made the night before so the flavors can mingle.

Broccoli Salad Then
Try this fresh and easy recipe throughout the year as a nutritional side dish. I served this to my kid's and they loved it.
Ingredients
- 1 bunch (4 cups) of fresh broccoli
- 1 cup chopped onion
- 1 cup chopped celery
- 1 cup grated sharp cheddar cheese
- 1 cup mayonnaise
- 2 tablespoons lemon juice or 1/2 teaspoon vinegar
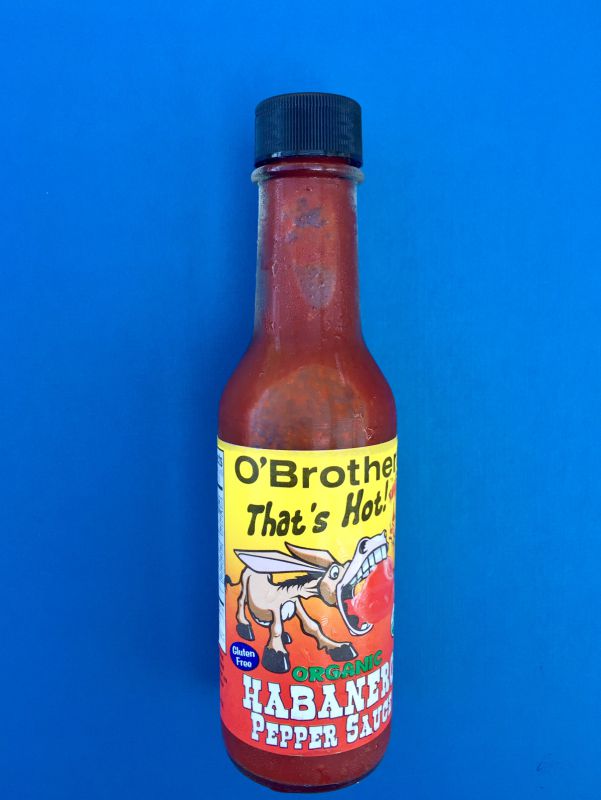
- 2-4 drops of Tabasco sauce
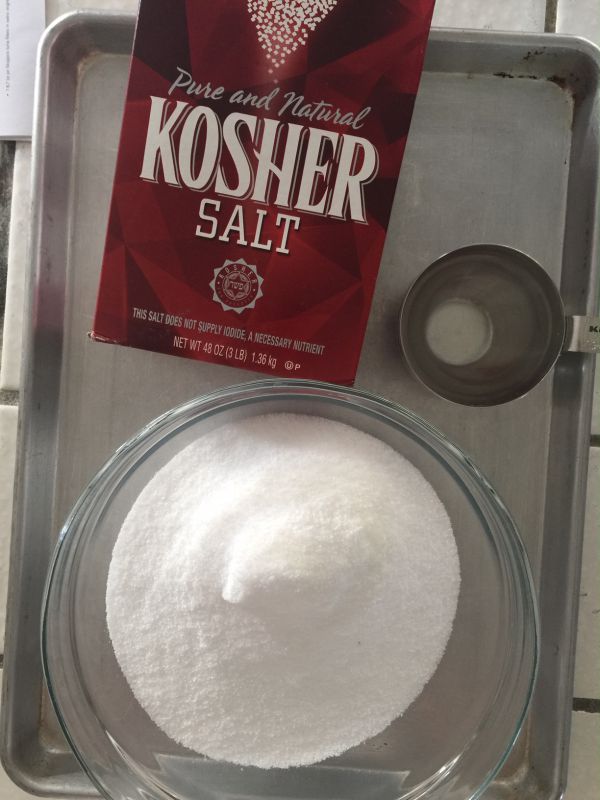
- salt and pepper to taste
Instructions
-
In a double boiler bring water to a boil and steam broccoli until tender. Drain and place in an ice bath. This keeps the beautiful green color of the broccoli from turning gray.
-
When ready chop broccoli roughly into 1/4-1/2 inch pieces and set aside.
-
In large bowl combine the onion, celery, cheese, mayonnaise, lemon juice, Tabasco, salt and pepper. Add the chopped cooled broccoli and stir in gently.
-
Refrigerate for at least 3-4 hours before serving or up to 12 hours, to allow flavors to mingle.
-
Note: I like it best the following day!
Broccoli Salad Now
Enjoy this new version with a healthier twist. Just as delicious, now you make the decision.
Ingredients
- 1 bunch (4 cups) fresh broccoli
- 1 cup chopped onion
- 1 cup chopped celery
- 1 cup grated Parmesan cheese
- 1 cup Greek yogurt
- 2 tablespoons lemon juice or 1/2 teaspoon vinegar
- 2-4 dashes Tabasco sauce
- salt and pepper to taste
- 2-3 teaspoons extra virgin olive oil
Instructions
-
In a double boiler bring water to a boil and steam broccoli until tender. Drain and place in an ice bath. This keeps the beautiful green color of the broccoli from turning gray.

-
When ready to add the broccoli, chop roughly into 1/4-1/2 inch pieces, add set aside.
-
In an large bowl, combine the onion, celery, cheese, yogurt, lemon and Tabasco sauce. Add the chopped cooled broccoli and stir gently. Add the olive oil, salt and pepper. Combine well.
-
Refrigerate for at least 3-4 hours before serving or up to 12 hours to allow the flavors to mingle.
-
Note: I like it best the following day!
Have fun with this one!
Mary
{ 0 comments }


 Hello from California Greek Girl. I’m the owner of Ethos Culinary located in the beautiful city of Carlsbad. Join me as we explore California’s bounty of foods, farmlands, and culinary experts. I’m looking forward to bringing you Greek, Mediterranean and Plant-Forward Cuisines. OPA!