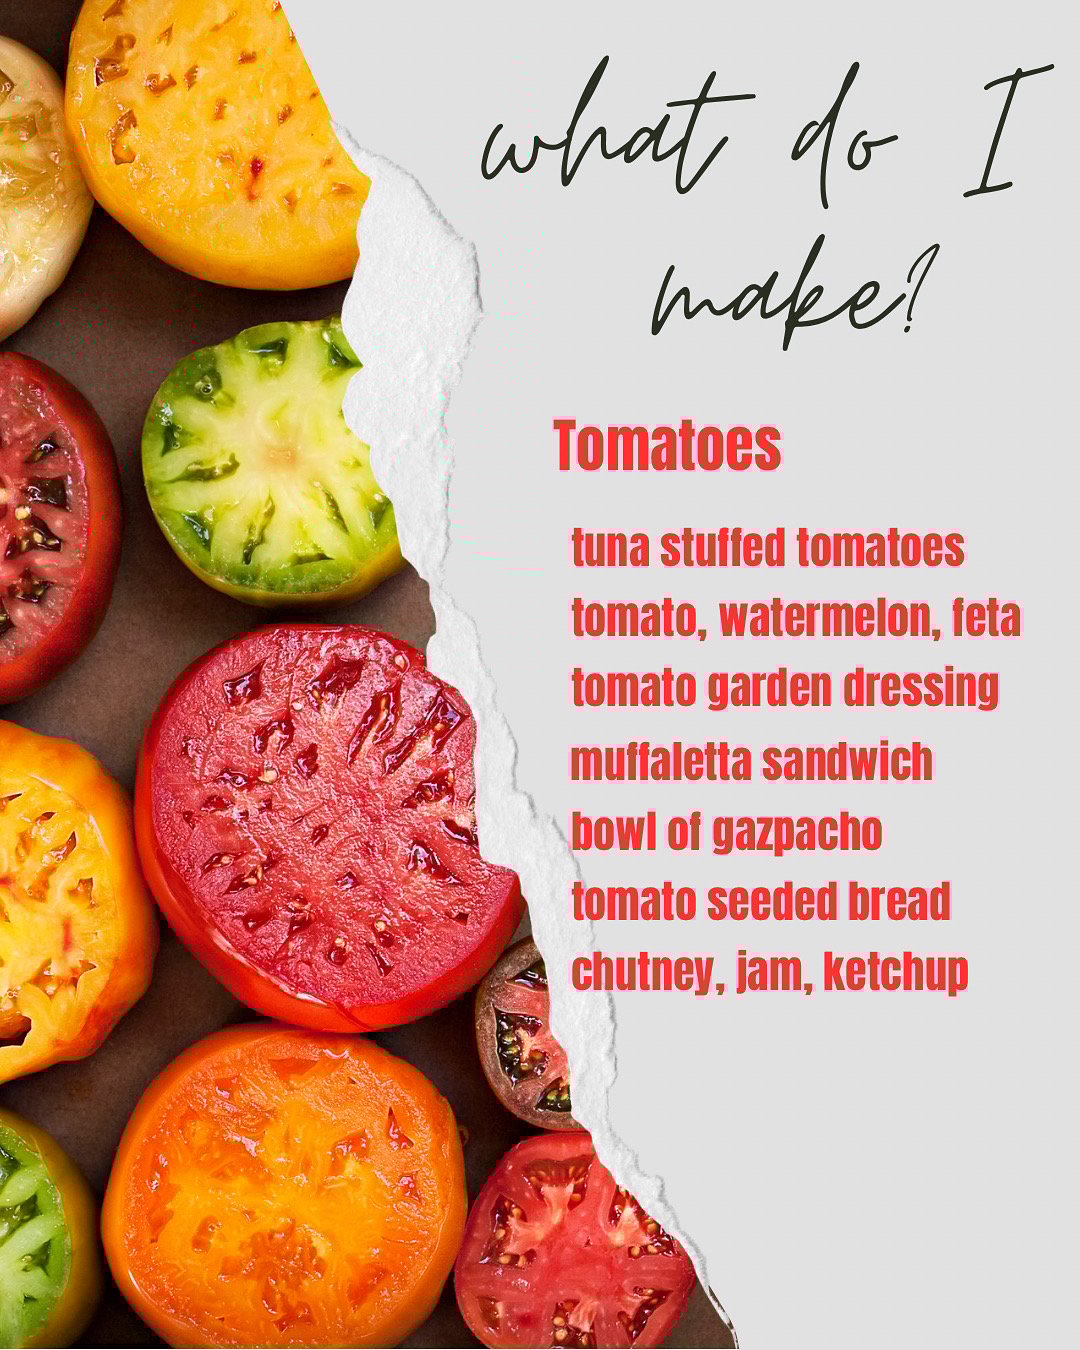
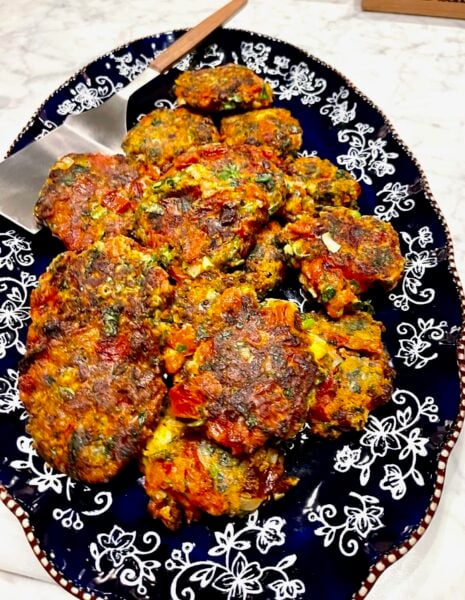
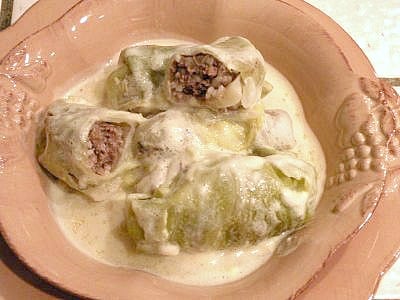
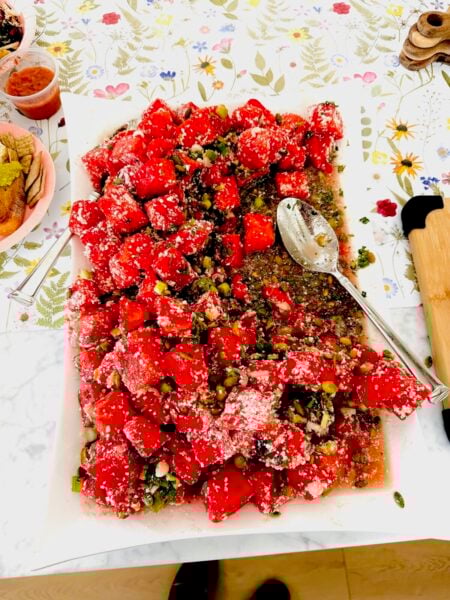
When it’s summer season and tomatoes are abundant, in the stores and farmer’s markets, sometimes it’s overwelming just thinking about what to cook or how to store them once you bring them home. One quick tip I learned, is that tomatoes should be stored on your countertop, and not in the refrigerator, so try and buy just what you need, for in hot weather tomatoes can spoil quickly. One quick solution if you have a big crop or bag of tomatoes, freeze them until you are ready to use them. How? Slip your tomatoes whole in resealable plastic freezer bags and freeze them for another use. When ready, place them in boiling water, and their skins will slip off instantly. I have listed a few ways to use up your tomatoes above in the photo, and as you know they all don’t come in all at once in your garden. So, I outlined a few more tips below, for you to follow for quick preserving your fresh tomatoes at home. To purchase organic heirloom tomatoes and more, here is the link for your local farmer’s markets in your area, Farmer’s Market Programs.

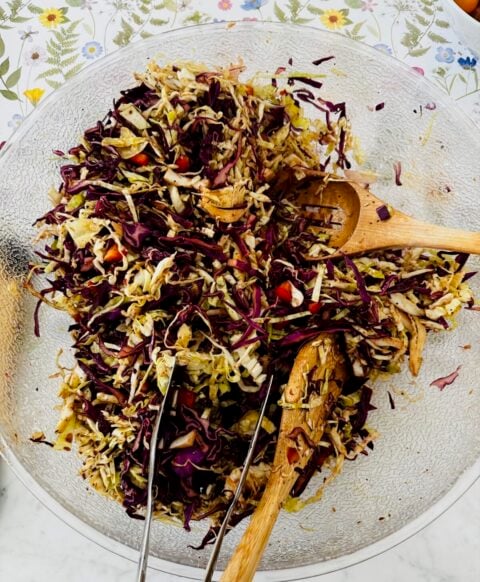
Here are a few tips to use up your tomatoes!
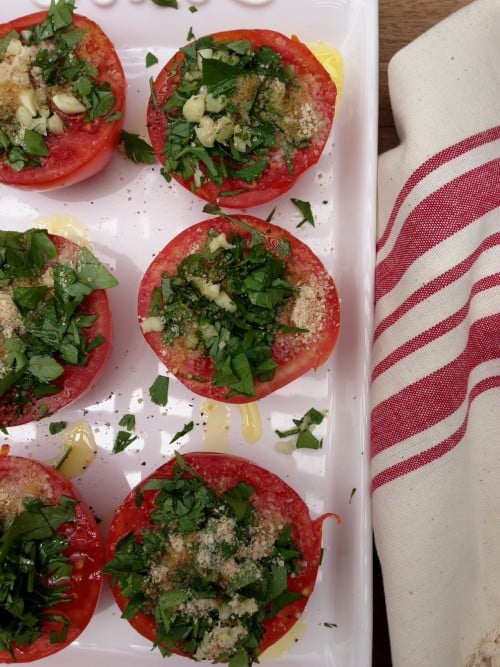
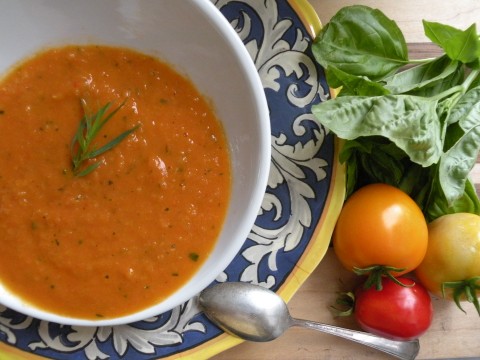
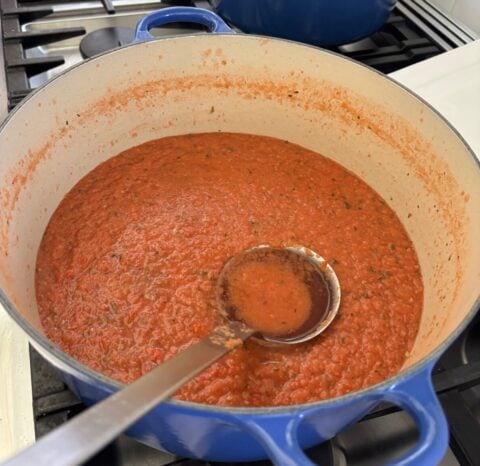
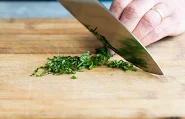
Make a Tomato Coulis – This is a lightly cooked tomato sauce for topping pasta, pizza, fish or grilled vegetables.
3 tablespoons EVOO
2 garlic cloves, minced
1 pound ripe tomatoes, peeled and seeded
2 basil sprigs, pinch of salt and sugar
In a heavy saucepan, heat the oil over low heat and saute the garlic until fragrant, about 1 minute.
Add the tomatoes, basil, salt, and sugar, increase the heat to high. Cook, stirring frequently, until the tomatoes begin to soften, about 2 -5 minutes. Remove from the heat, and discard the basil. Press the tomatoes through a sieve into a bowl. Let cool. Can be covered and refrigerated up to 4 days. Makes 2 cups.
Tomato Water – This is a clear tomato juice, often used in soups, and sauces to intensify flavor .
1 pound ripe tomatoes, chopped
Place the chopped tomatoes in a sieve set over a bowl and let drain for about 2 hours, or until tomatoes have no more dripping. To further clarify the juice place through cheesecloth. Makes about 1/2 cup. Use the remaining tomatoes for a sauce.
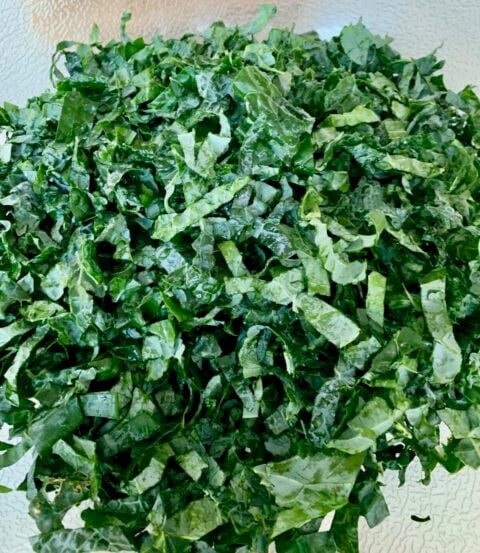
Oven-Dried Tomatoes-
Use your ripest tomatoes to oven-dry them. They become intensified in flavor for your salads, pastas, and stews.
2-3 pounds of cherry or plum tomatoes or 5 pounds of full-sized tomatoes
salt
olive oil
Cut the cherry or plum tomatoes in half. Salt them lightly on cut side. Arrange them cut-side down on a oiled baking sheet. If using full size tomatoes cut them into thin slices, salt them lightly. Preheat the oven to 150 degrees F. Cook the tomatoes in the oven until their color darkens and they feel dry to touch, about 6-8 hours. Store them in a cool, dark place in glass jars or plastic. Makes 1 quart.
Here are a few of my favorite recipes from my blog and search above for many more recipes.
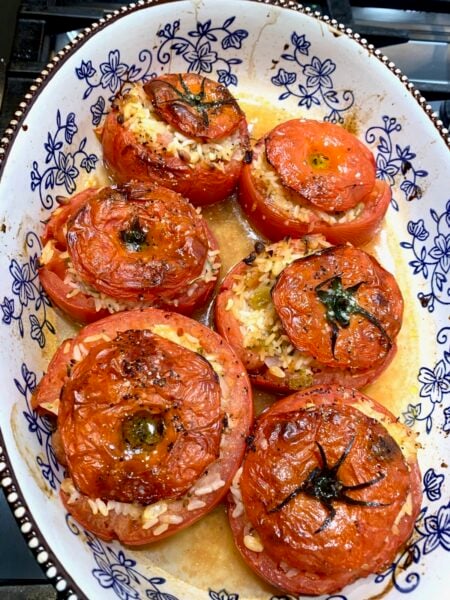
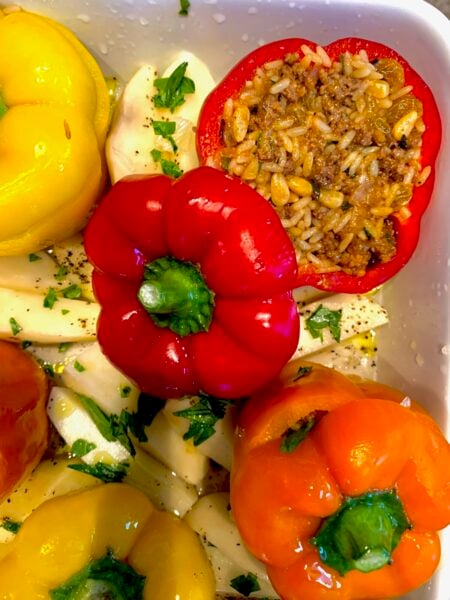
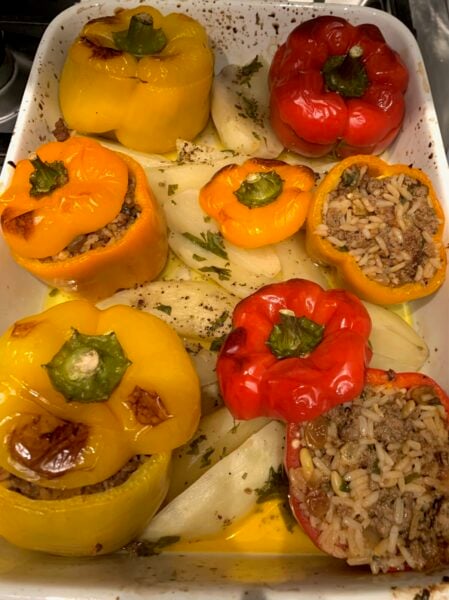
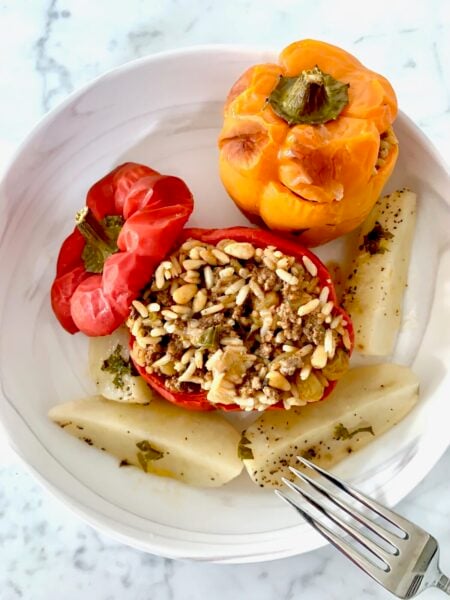
Greek Stuffed Tomatoes with Rice
Cold Tomato and Zucchini Soup with Ginger
I hope you have an abundance this season and enjoy your harvest,

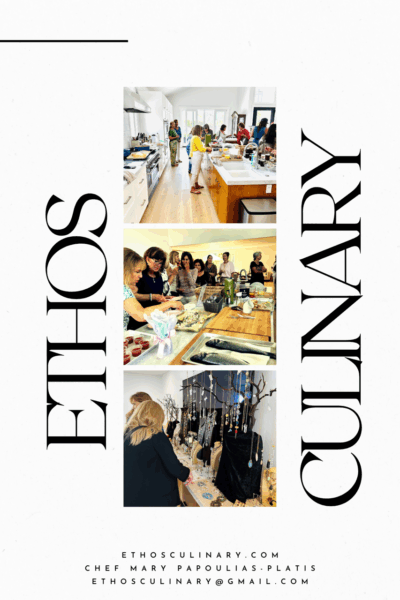
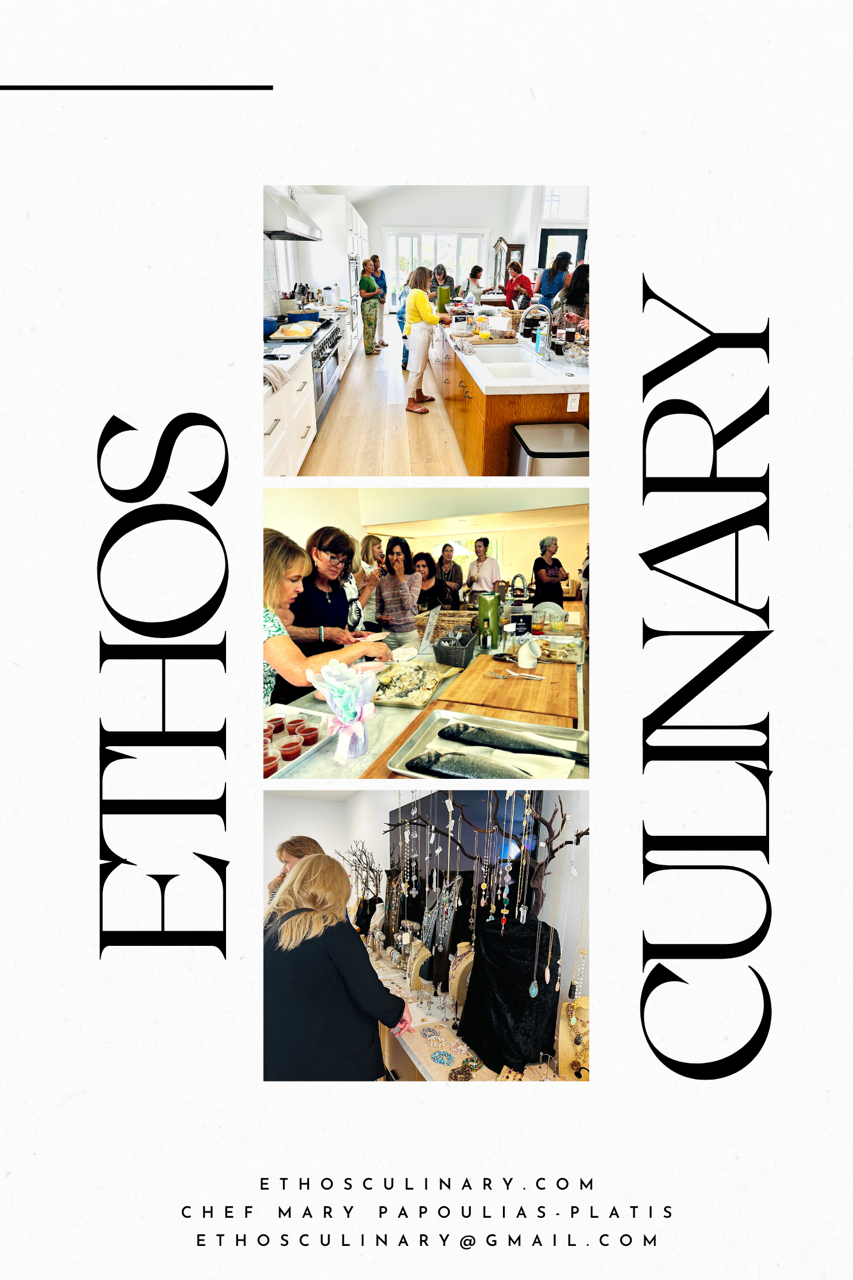
Don’t forget to head over to my culinary school at Ethos Culinary. We have culinary classes, team-building and private events, for you and your friends to enjoy as a special occasion. And please sign up for my newsletter above and get the latest news and classes/events sent to you. Thank you.
{ 0 comments }


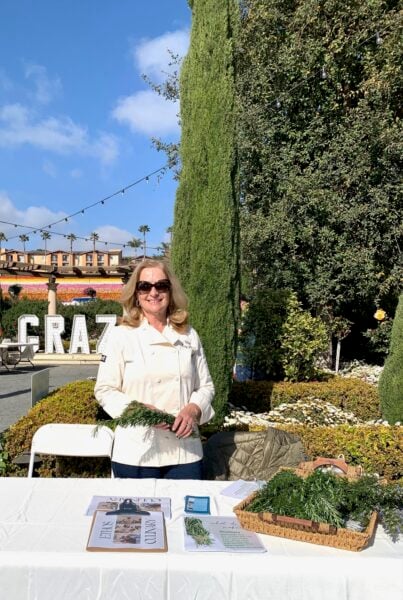


 Hello from California Greek Girl. I’m the owner of Ethos Culinary located in the beautiful city of Carlsbad. Join me as we explore California’s bounty of foods, farmlands, and culinary experts. I’m looking forward to bringing you Greek, Mediterranean and Plant-Forward Cuisines. OPA!