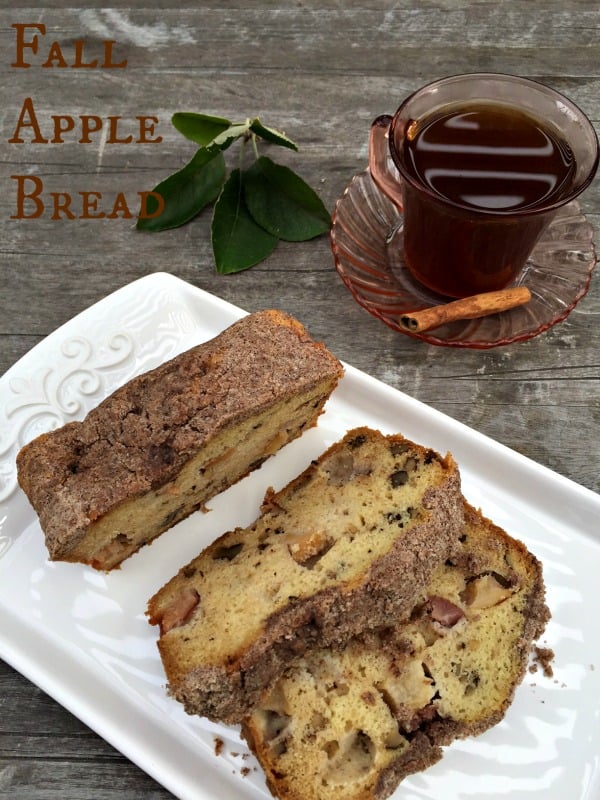
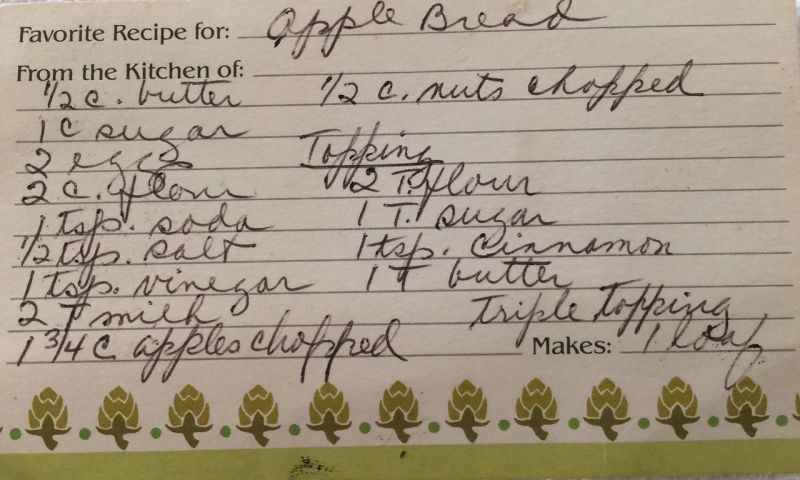
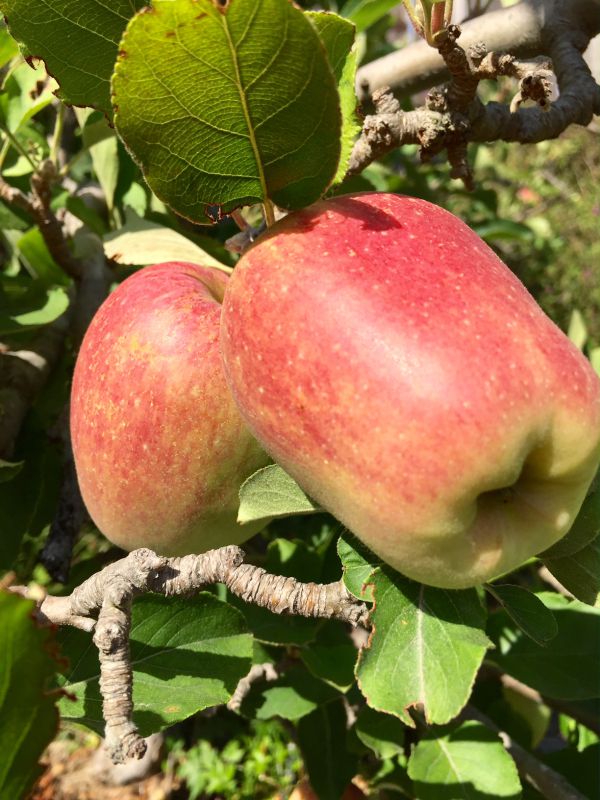
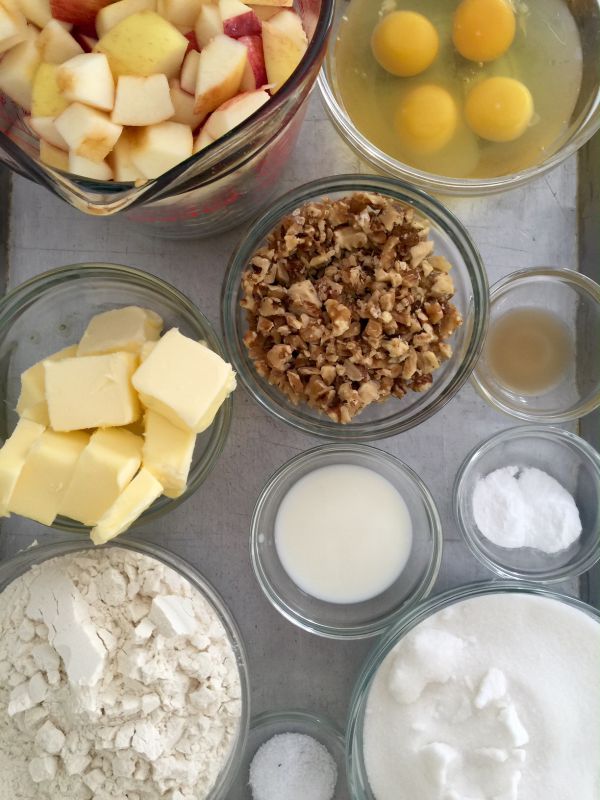
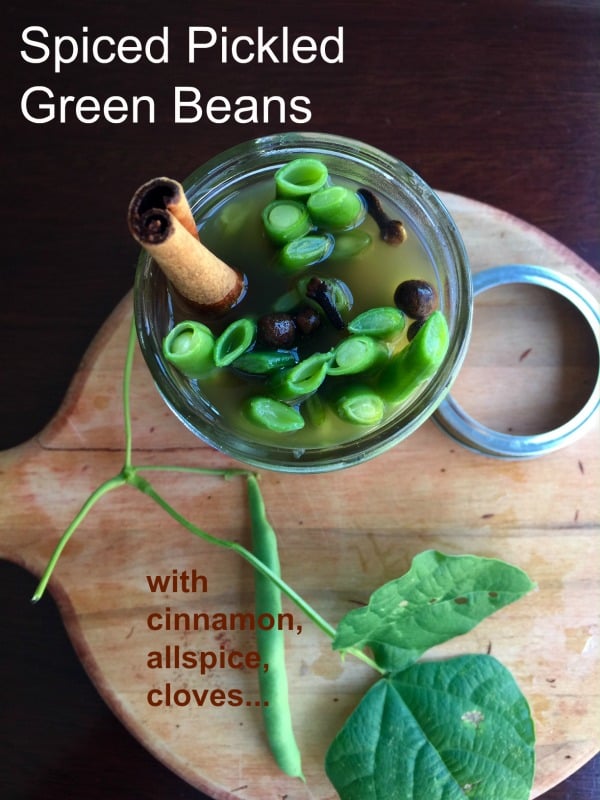
-
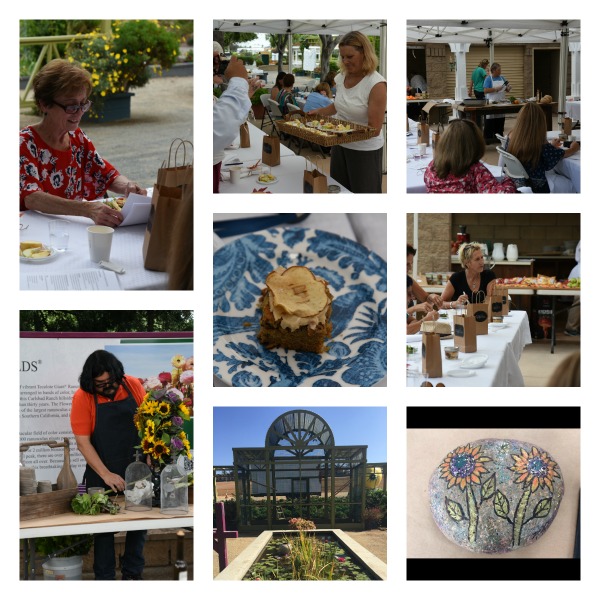
On Tuesday, we had our kickoff event at the Kitchen Gardens with the media and food professionals. We set up the area with tents and tables for our guests. We offered a walking tour, demos from our artisans, and a Fall Apple Menu.
Our facility was outdoors among beautiful gardens and shaded trees. Hats off to our volunteers as they worked in 90 degree weather. This was so unusual weather for the North County area. But they came through for us.
During the event we had local artisans showcasing their talent, which was quite fun for our guests. And a big thank you to our sponsors that came out and supported our efforts in getting the word out.
Take a look at our Culinary Events starting in October here on Eventbrite.
We had several main sponsors display their local products along with one artisan and one floral designer who joined us as well.

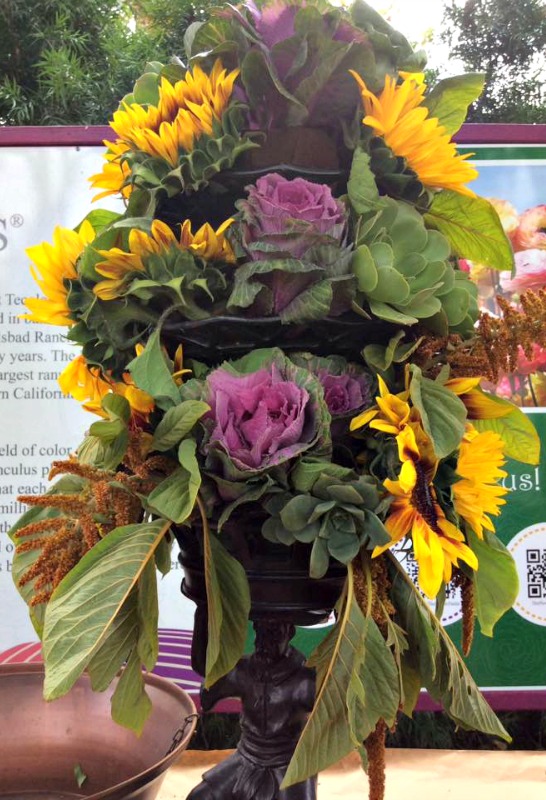
JR Designs produced a live floral centerpiece using Fall flowers and foliage from our local floral producer Melano and Company.

He offered tips and suggestions on creating his stunning tablescape. JR’s creations takes us by surprise each and every time!
Debra from Art with Debra had a creative spin on our Fall theme, by providing art instruction on painting on beach rocks! What fun our guests had.
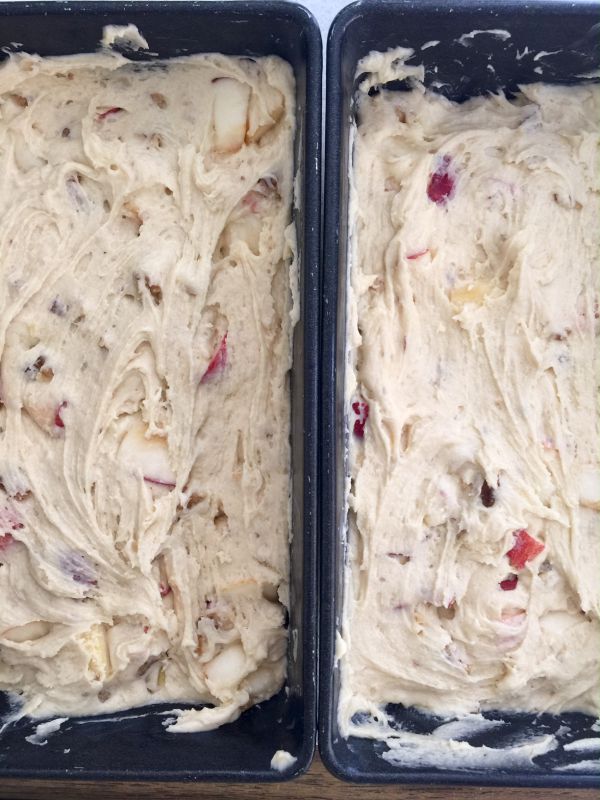
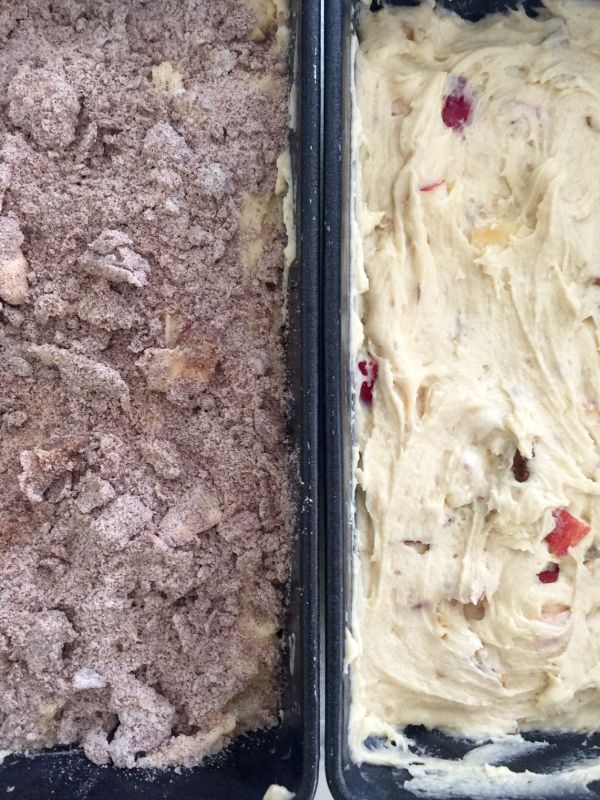
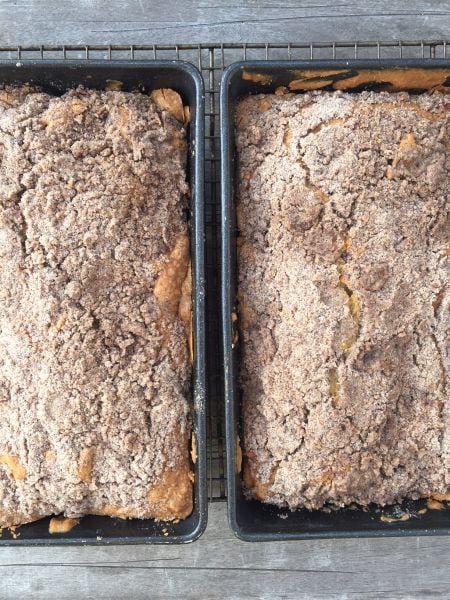
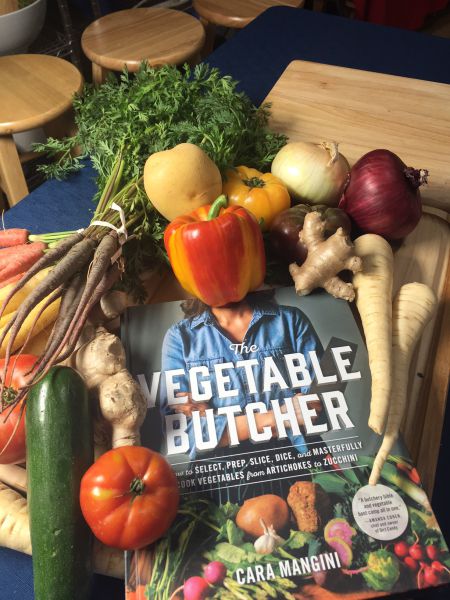
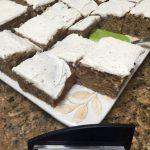
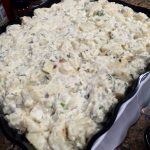
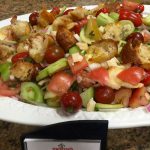
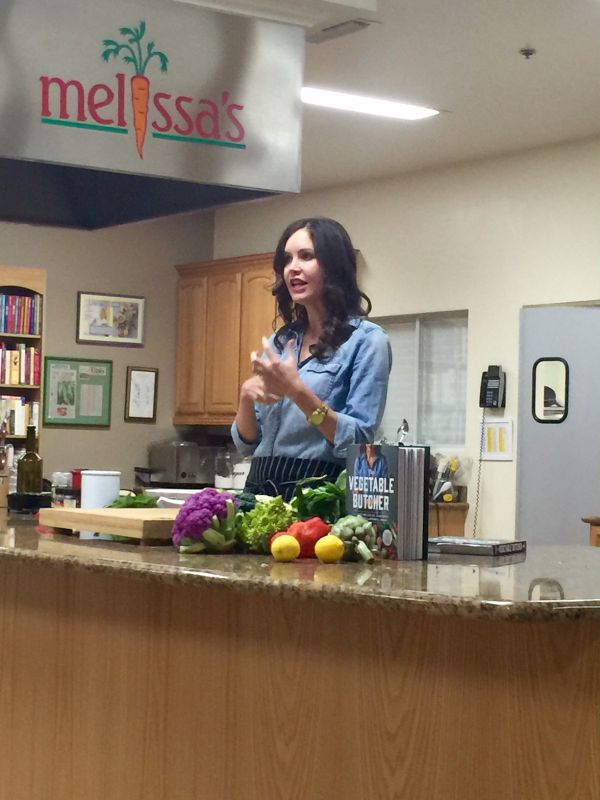
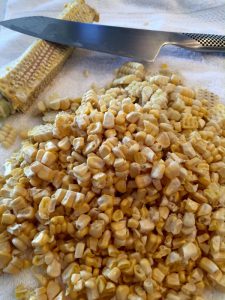
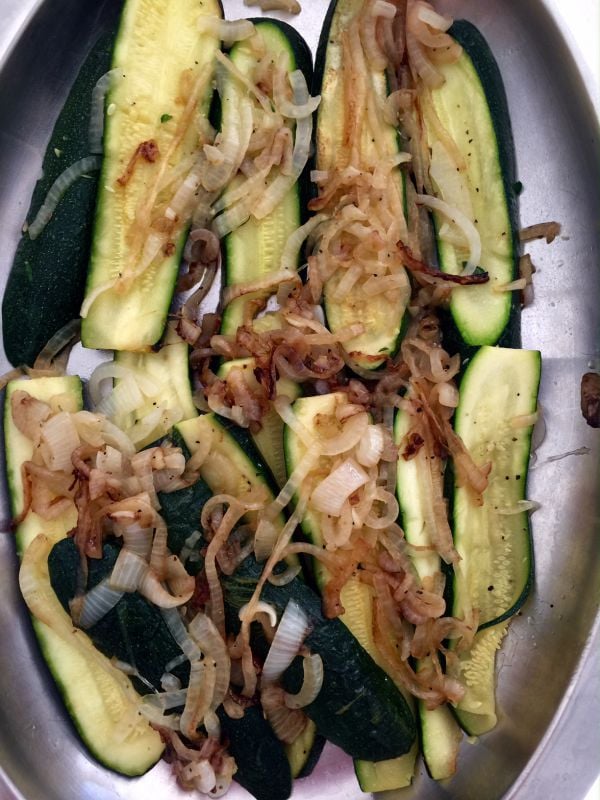
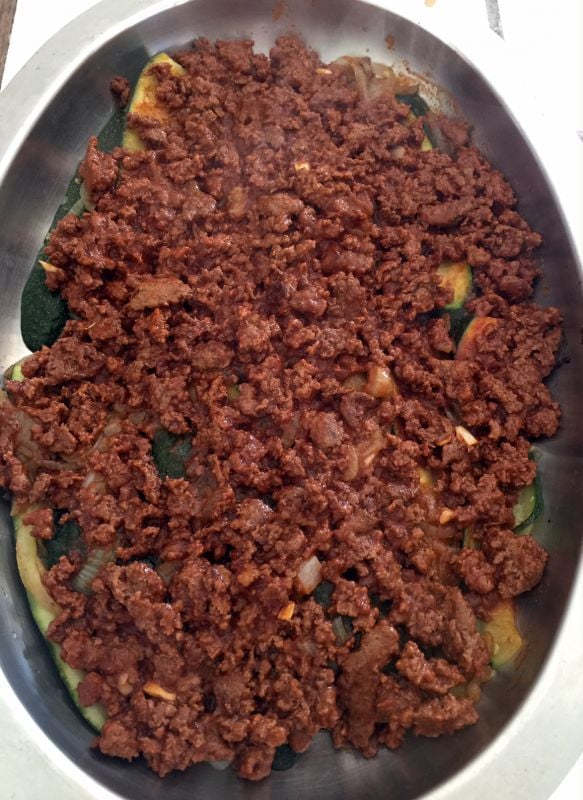
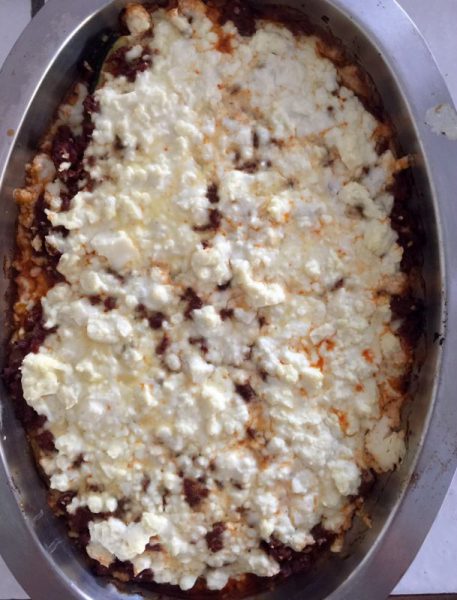
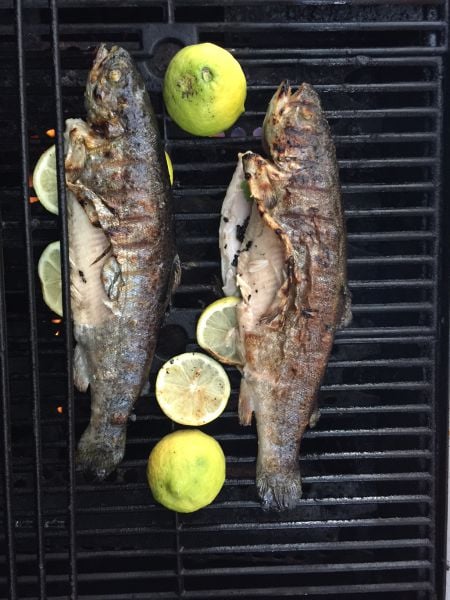
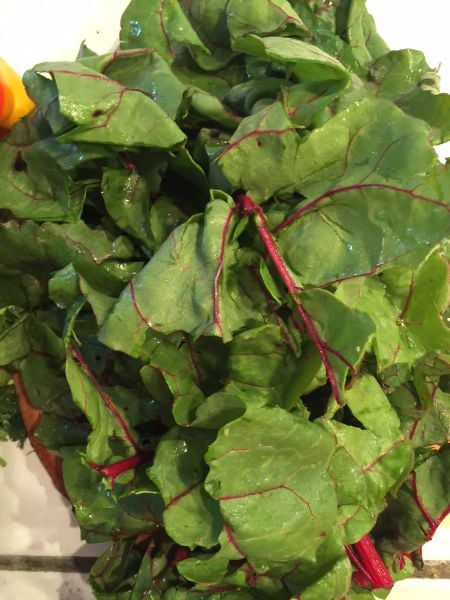
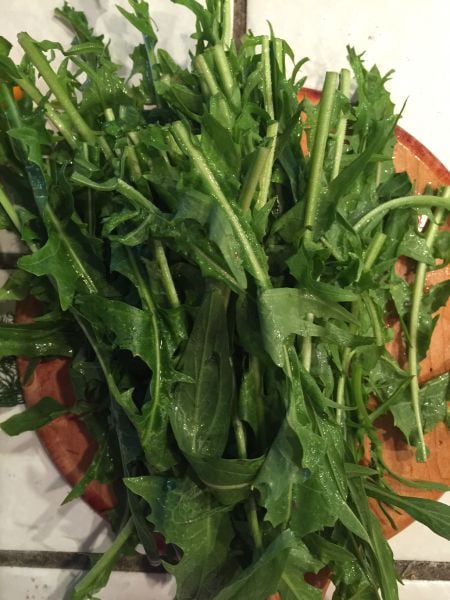
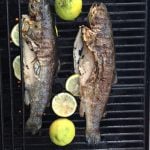
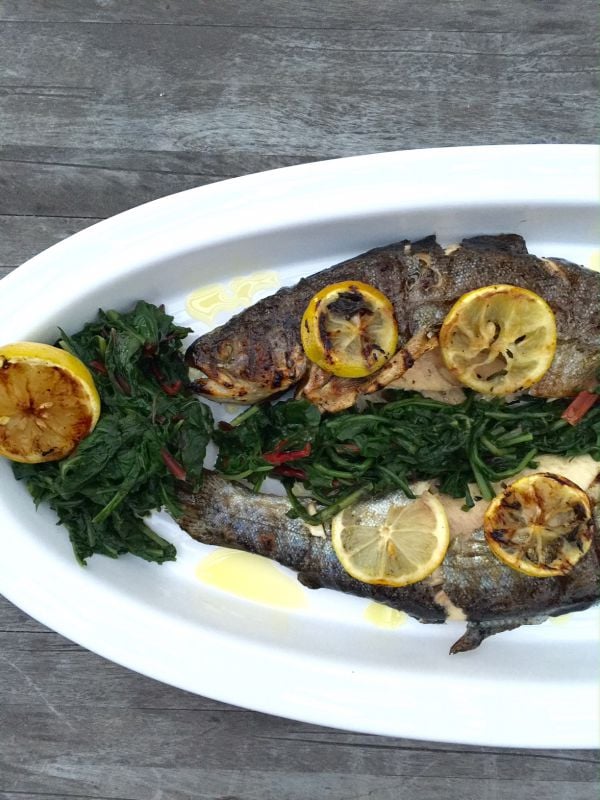
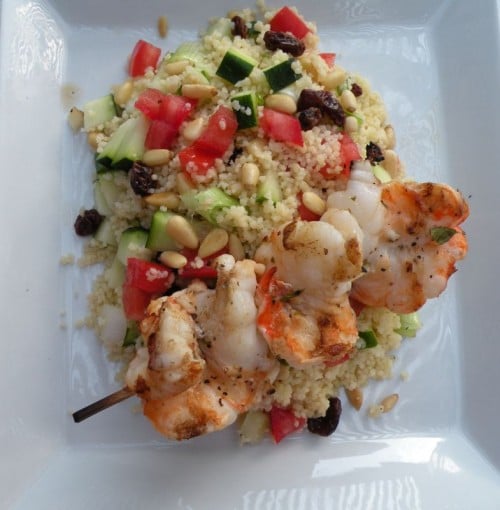
Robert Schueller from Melissa’s Produce kindly arrived with an array of fresh Fall vegetables and gifts for our guests to enjoy and had on display during our cooking demo. Shopping bags were provided to carry off all those goodies. They also provided all the vegetables for our dishes. A big thank you to Melissa’s from the chefs and our team.

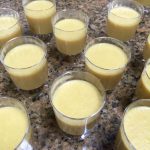
Our guests were also treated to freshly -squeezed apple juice, with the help of our sponsor Novis Vita Juicer. It worked beautifully and with ease, as it kept our guests hydrated throughout the day.
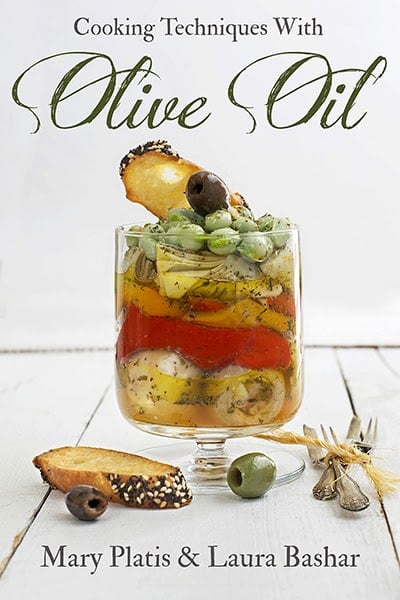
Temecula Olive Oil, a local olive oil farm here in San Diego, offered their local olive oils and vinegars for our tasting bar. They were enjoyed by our guests, and we were delighted to serve our dishes with their products. It made them even more tasty!
Chef Debbie used the Breville Skillet to complete her dish, and it provided us with this versatile cooking appliance to work with in our kitchen.
We had Katie from Barnraiser give a short talk introducing the Barnraiser concept of crowdfunding. Take a look on their website to see what you might be interested in creating or funding.
If you are interested in donating to our Barnraiser campaign , we could use your support!
We thank all of our sponsors, in creating this successful kickoff for our classes and crowd-funding campaign.
Get Creative, Cooking and Crafty!
Many Thanks,
Mary and the Team


{ 0 comments }


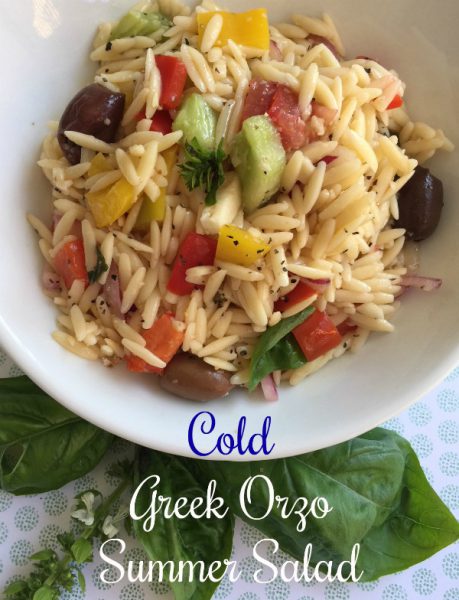
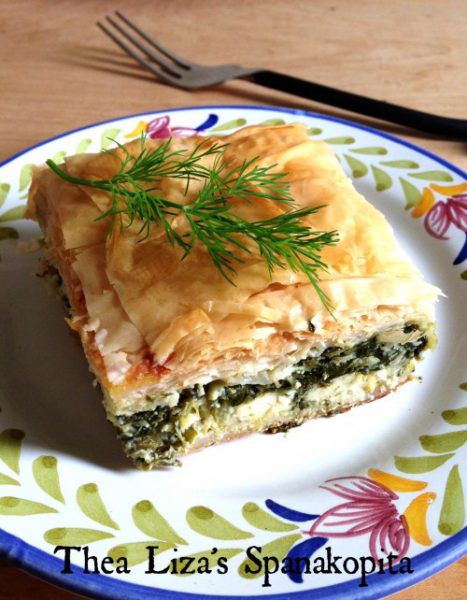
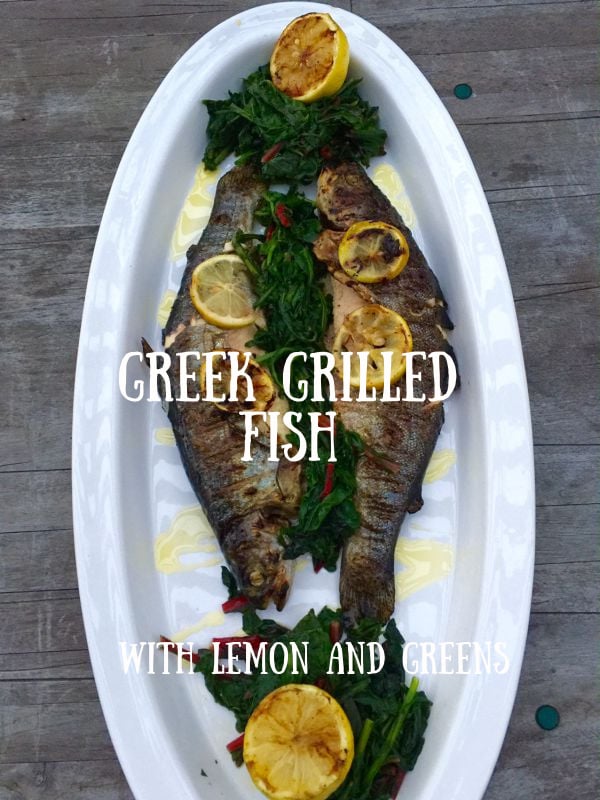
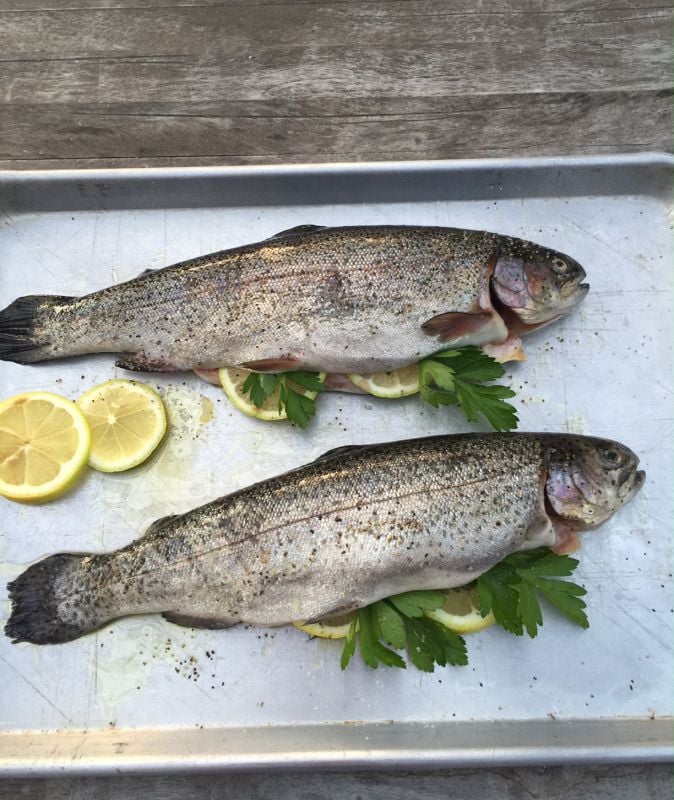


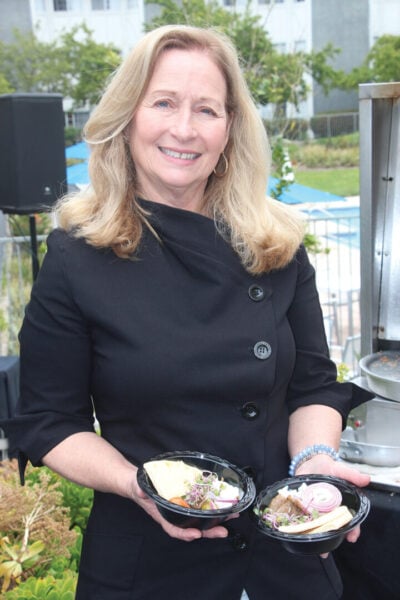 Hello from California Greek Girl. I’m the owner of Ethos Culinary located in the beautiful city of Carlsbad. Join me as we explore California’s bounty of foods, farmlands, and culinary experts. I’m looking forward to bringing you Greek, Mediterranean and Plant-Forward Cuisines. OPA!