As I was slowly chopping all the vegetables going into my Chopped Cauliflower Salad, I just realized how much I love to use my knife skills in my recipe testing. At times for me it’s so calming and meditative! I tend to lose myself in thought, during this moment. I bet you didn’t know this can even happen while chopping vegetables. But it can to those who enjoy the creative process of cooking at home. I took the time to hand chop the cauliflower, but perhaps if you’re pressed for time, you can carefully use the food processor and pulse it into small pieces.
Why the Greek inspiration in this salad? My garden is overflowing with mint, Greek basil, lemons, and peppers. I just had to purchase the cherry tomatoes because mine are still green. By the way, I love to plant cherry tomatoes in my garden for quick and easy outdoor entertaining dishes such as salads, grilled vegetable skewers or tomato salsas. In my area, cauliflower doesn’t grow well, so I head off to the nearest farmer’s market to see what they may carry. If you need locations for your markets, heat over to Edible Communities for a listing.
Everyone raves about this salad!

These tomatoes aren’t quite ripe enough for this post, but hopefully in a couple of weeks.
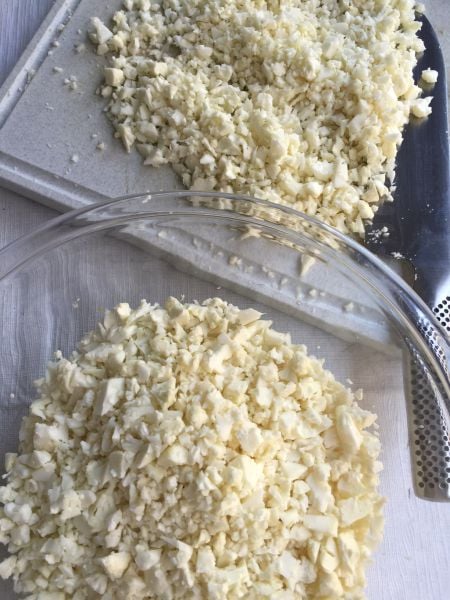
Finely chopping the cauliflower is an important step, the small pieces capture all the juices from the vegetables.
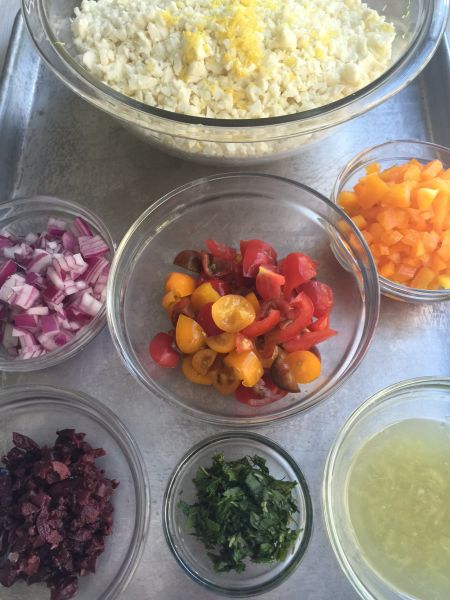
Here’s my Mise en Place, (everything in it’s place) I encourage you to make this a habit. It makes the process of putting together this salad so much easier. It also allows you to not forget an important ingredient in the end.
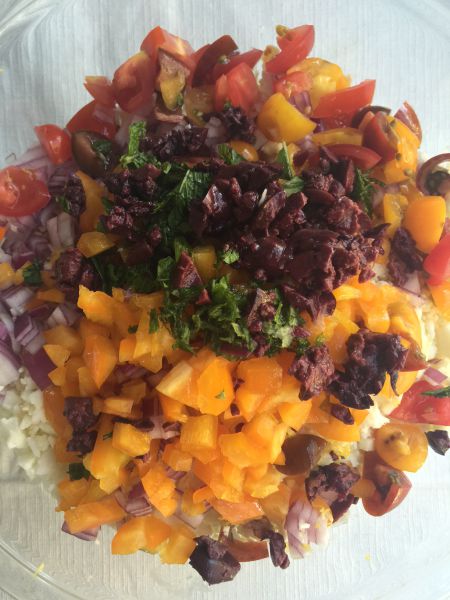
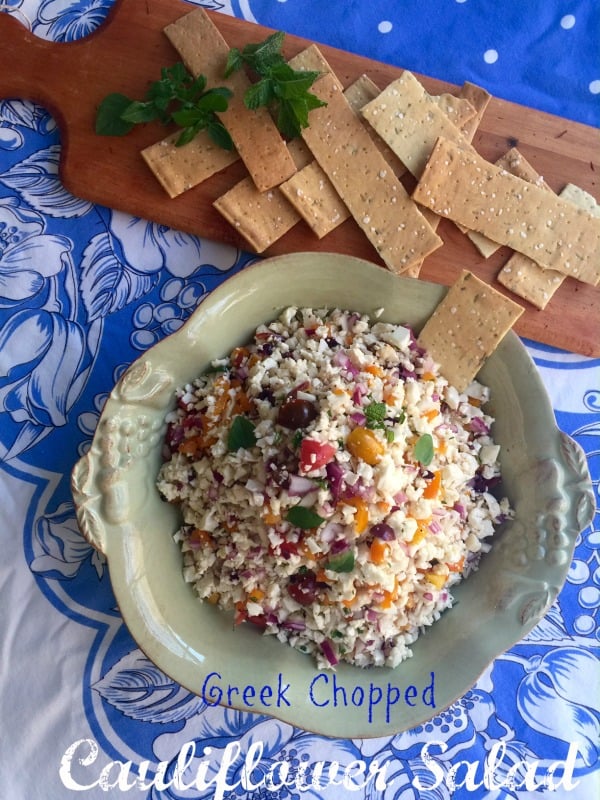
What a beautiful thing! All the colors of the rainbow in one recipe.

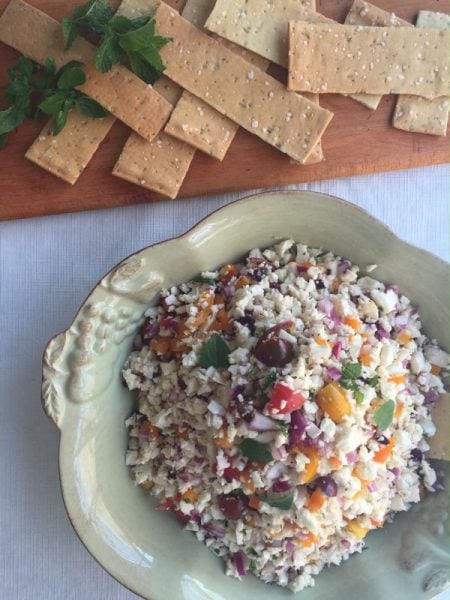
Greek Chopped Cauliflower Salad
Ingredients
- 1 head cauliflower, finely chopped
- 1 yellow bell pepper, finely chopped
- 1/2 red onion, finely chopped
- 1 cup cherry tomatoes, diced
- 1/3 cup Greek Kalamata olives, pitted and finely chopped
- 2 tablespoons fresh mint, finely chopped
- 1 tablespoon Greek or Italian basil, finely chopped
- zest and juice of 2 lemons
- salt and pepper to taste
Instructions
-
Wash and remove the leaves and core from the cauliflower.
-
Finely chop the cauliflower by hand. If in a hurry use the pulse button on your food processor and place in a large bowl.
-
Prepare all the remaining ingredients and set aside.
-
Add all the prepared ingredients in the large bowl with the cauliflower.
-
Taste for salt and pepper.
-
Mix well, and let sit in the refrigerator for at least 1/2 hour for flavor to combine.
-
Serve with crunchy crackers, pita bread, or as a side.
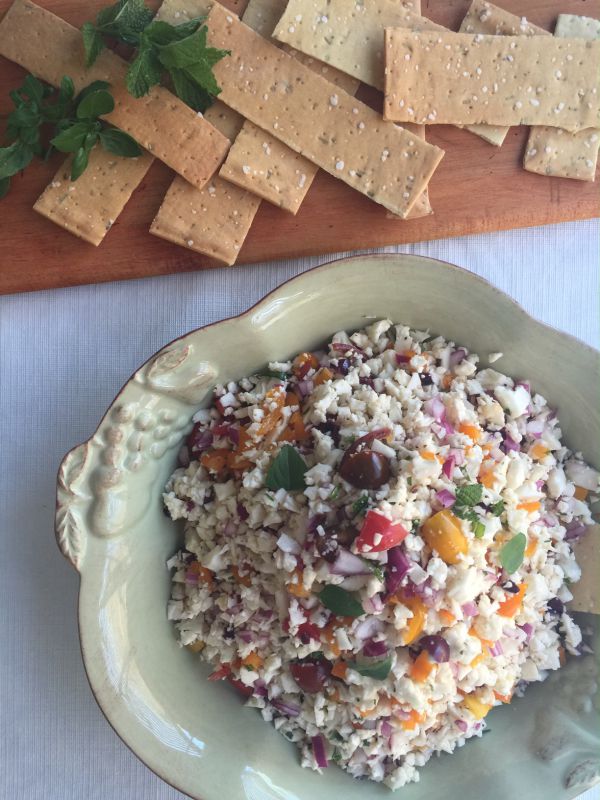
Serve the salad at room temperature or chilled with crackers, something crunchy or as a side.
Kali Orexi!
Mary
{ 4 comments }


 Hello from California Greek Girl. I’m the owner of Ethos Culinary located in the beautiful city of Carlsbad. Join me as we explore California’s bounty of foods, farmlands, and culinary experts. I’m looking forward to bringing you Greek, Mediterranean and Plant-Forward Cuisines. OPA!