A healthy and warming soup such as this rich and hearty Cabbage Soup starts with a delicious homemade stock. A stock is a strained liquid that is the result of cooking vegetables, meat or fish and other seasoning ingredients in water. Here, for this Vegetable Stock recipe I have added the typical vegetables on hand in your refrigerator. This cabbage soup can be made with homemade stock or organic purchased stock.
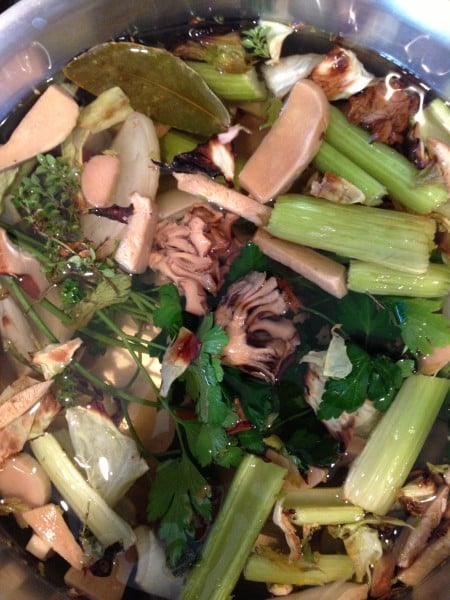
As you can see you can play around with the ingredients. The basic stock vegetables are celery, carrots and onions. Herbs can included whatever you can find in your garden or supermarket. Again choose what flavors you like and add the. I tend to like parsley, bay leaves, thyme and garlic.
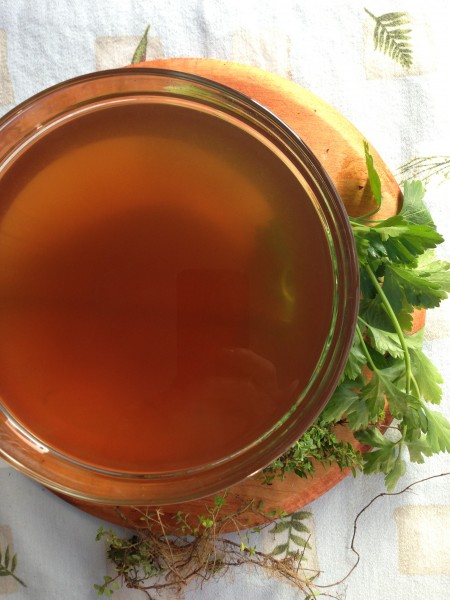
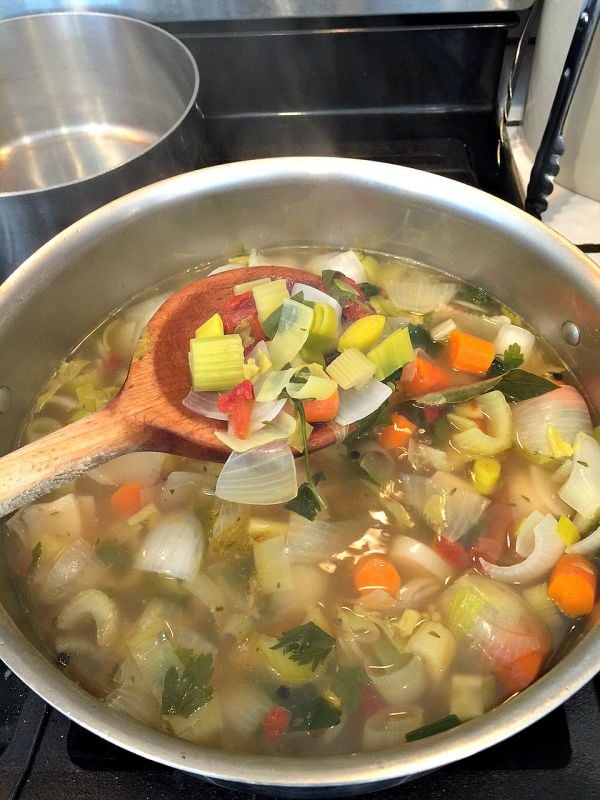
What I loved about the outcome of this stock is it’s rich vegetable flavor. Overall, I loved this stock’s dark colorful and earthy taste from the addition of mushrooms or sun-dried tomatoes. Allowing the stock to simmer for a long time will help develop the rich stock your next soup.
Look here for the vegetable stock recipe. Stock can be made ahead. Can be refrigerated for 2-3 days or placed in the freezer.
This soup is best with homemade vegetable stock.
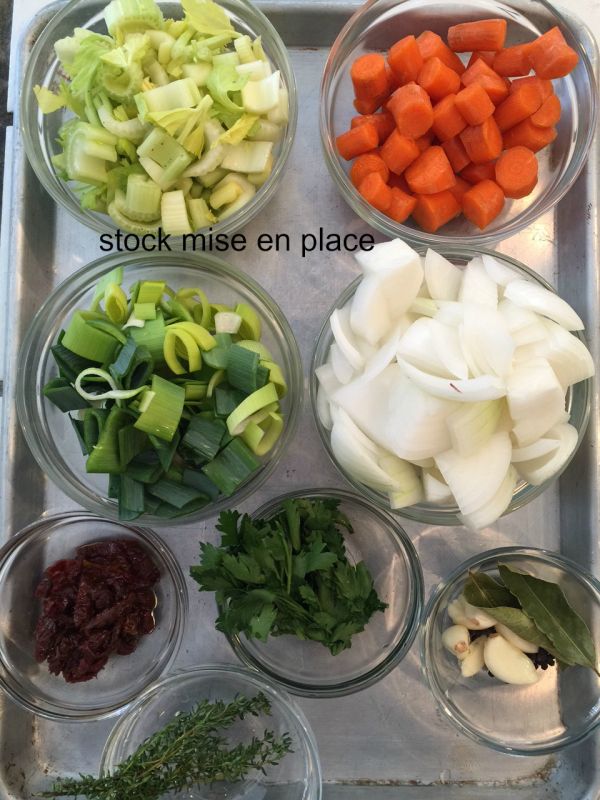
Always prepare ahead with all your ingredients before starting your recipe. You don’t want to get started and realizing you don’t have that specific ingredient.
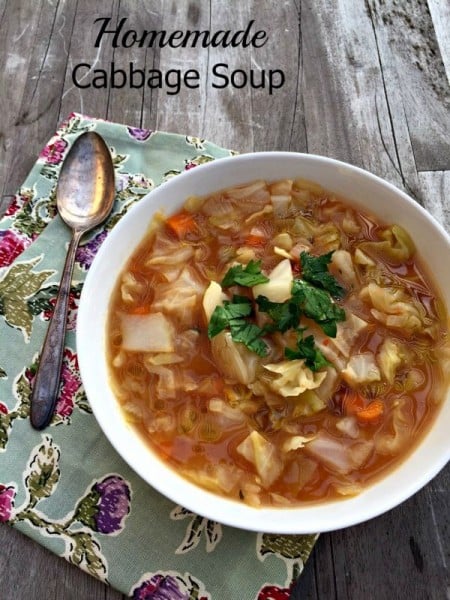
This soup was perfectly balanced! The addition of the mustard and the vinegar gave it exactly the appropriate punch it needed with the calm cabbage flavor. The soup was very easy with the addition of the fresh stock that I had made earlier in the day. What a big difference from a box of pre-made stock. You can control the addition of salt and pepper, and avoid the saltiness. The fresh herbs and red pepper flakes gave to the kick it needed to throw it over the top with goodness.
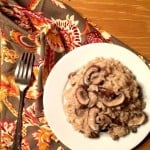
Cabbage Soup with Fresh Vegetable Stock
Ingredients
- 1/2 onion or leeks or both
- 1 to 2 garlic cloves
- 1 large carrot
- 6 cups cabbage
- 1 cup canned whole tomatoes, seeded
- 1/4 teaspoon chilli flakes or to taste
- 7 cups vegetable stock
- 1 tablespoon extra-virgin olive oil
- 2 teaspoon sea salt to taste
- 1/4 teaspoon freshly ground black pepper
- 5 sprigs fresh thyme
- 1 bay leaf
- 1 tablespoon apple cider vinegar
- 1 tablespoon Dijon mustard
- 2 tablespoon Italian parsley
- extra-virgin olive oil -optional
Instructions
-
Prepare your soup by slicing the onion into small dice and finely dice the garlic. Peel the carrot and cut into medium-dice. Remove the core from the cabbage and cut into chunks about 3/4" -inch x 1 1/2 "-inch. Remove the seeds from the whole tomatoes and roughly chop.
-
Place the stock into a large pot and warm to heat through.
-
In a heavy skillet with a heavy-bottomed pot add the add the oil, onions, carrots and a pinch of salt. Let the onions and carrot sweat until they soften but do not brown. Add the chili flakes and garlic and cook for about 1 minute, making sure the garlic doesn't brown.
-
Add the cabbage and a pinch of salt and let sweat for approximately 10 minutes, stirring from time to time until softened. Once done, add the stock, tomatoes, salt and pepper and bring to a simmer.
-
As the soup comes to a simmer, gather the herbs and seasonings. Add them to the soup and let simmer for about 15 minutes..
-
To finish the soup, check the carrots and simmer for another 10 minutes or so until cooked through and tender.
-
Roughly chop the parsley. Taste the soup for seasoning, adding more salt, pepper or apple cider vinegar as desired.
-
Ladle into bowls and serve.
You may also enjoy my other soups!
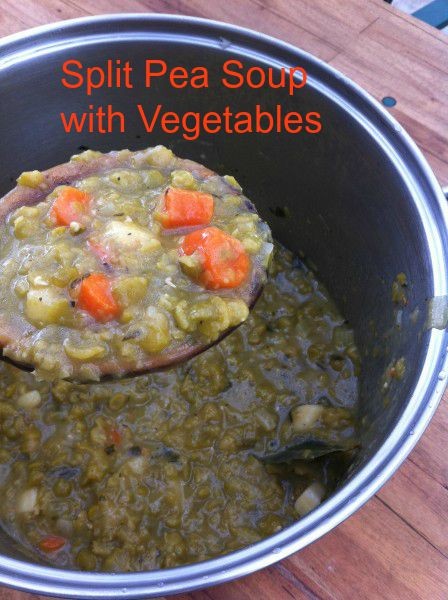
Split Pea Soup with Vegetables
Cold Tomato and Zucchini Soup with Ginger
Stay Warmth and Healthy,
Mary
{ 0 comments }


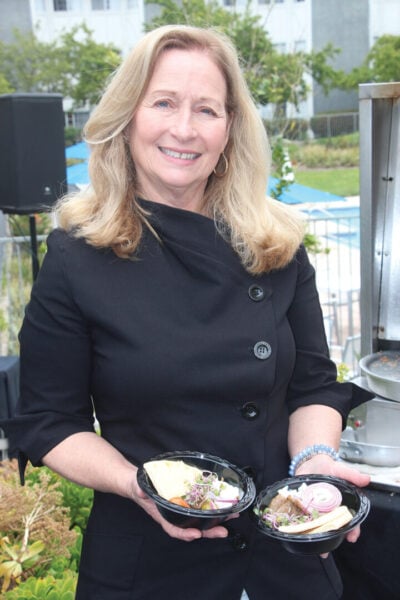 Hello from California Greek Girl. I’m the owner of Ethos Culinary located in the beautiful city of Carlsbad. Join me as we explore California’s bounty of foods, farmlands, and culinary experts. I’m looking forward to bringing you Greek, Mediterranean and Plant-Forward Cuisines. OPA!