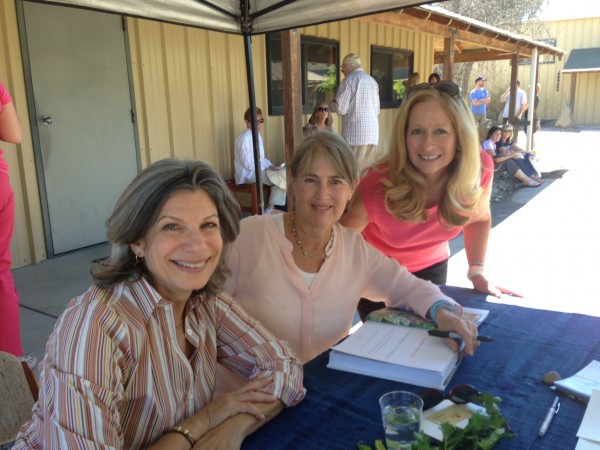
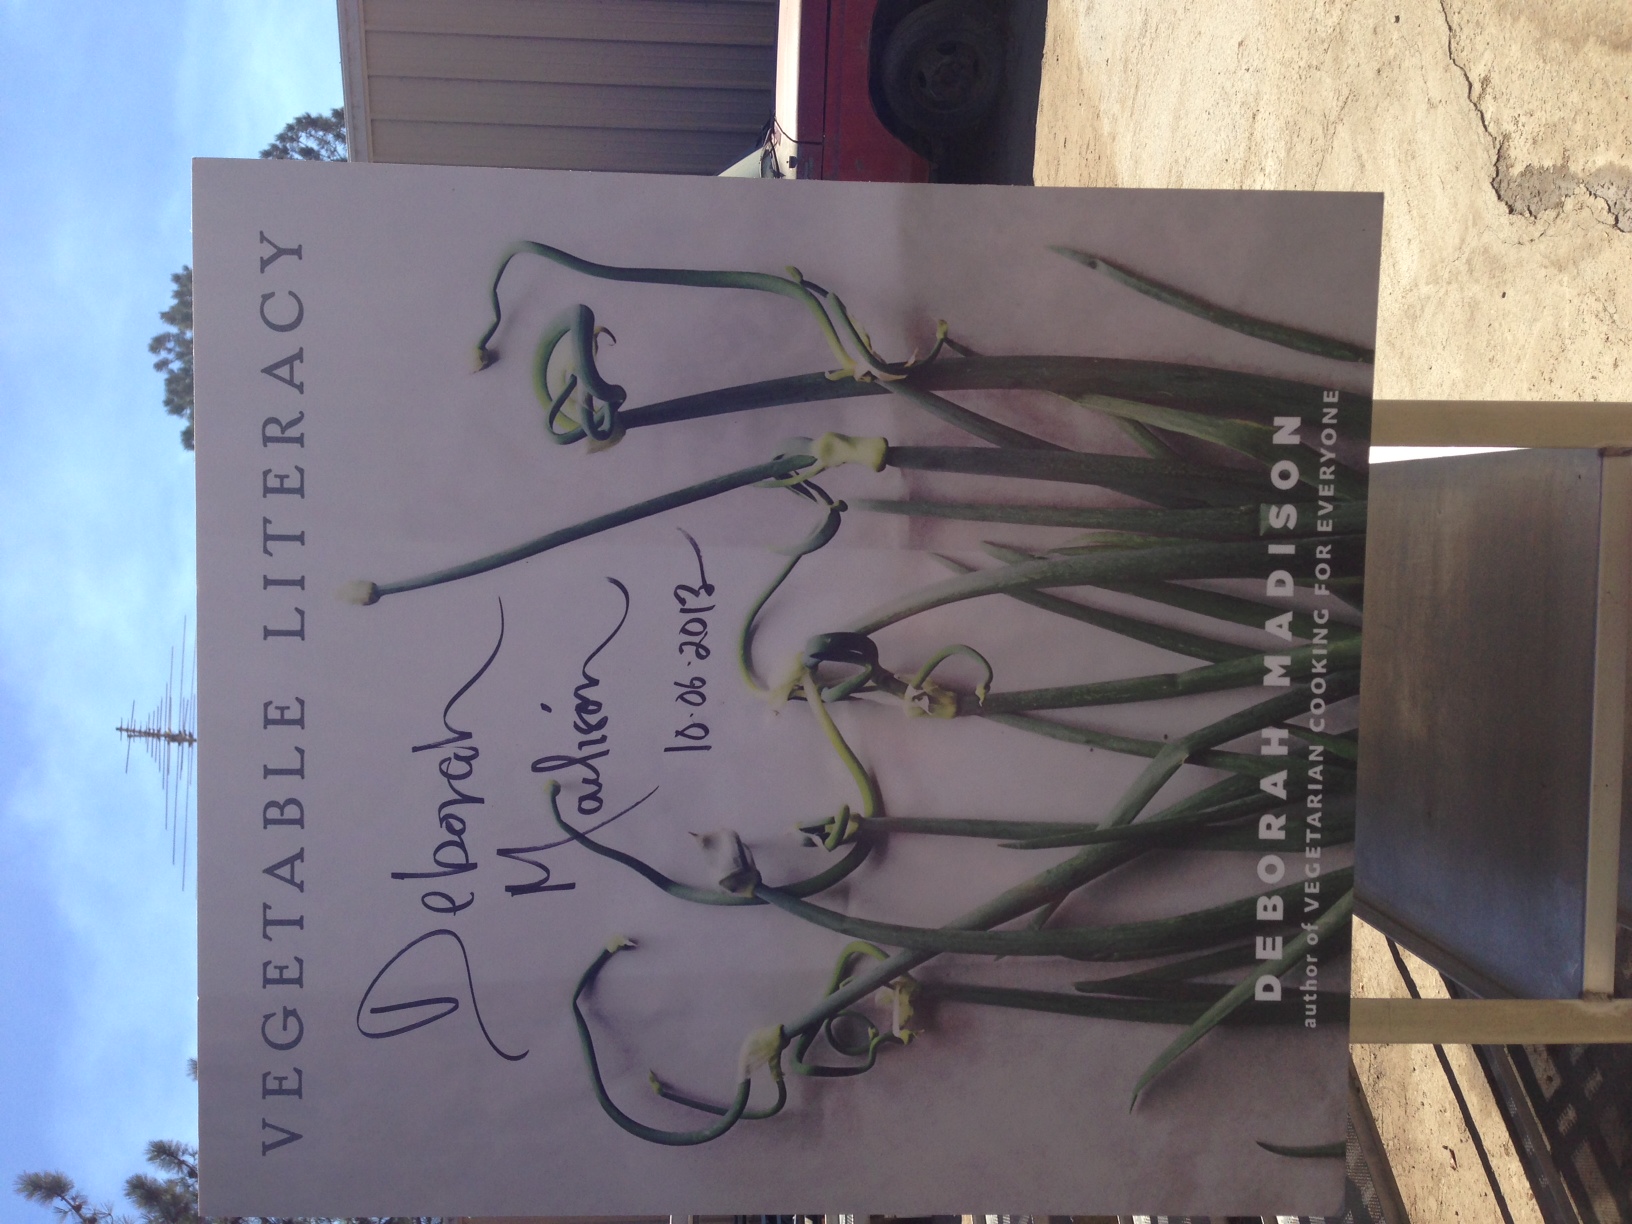
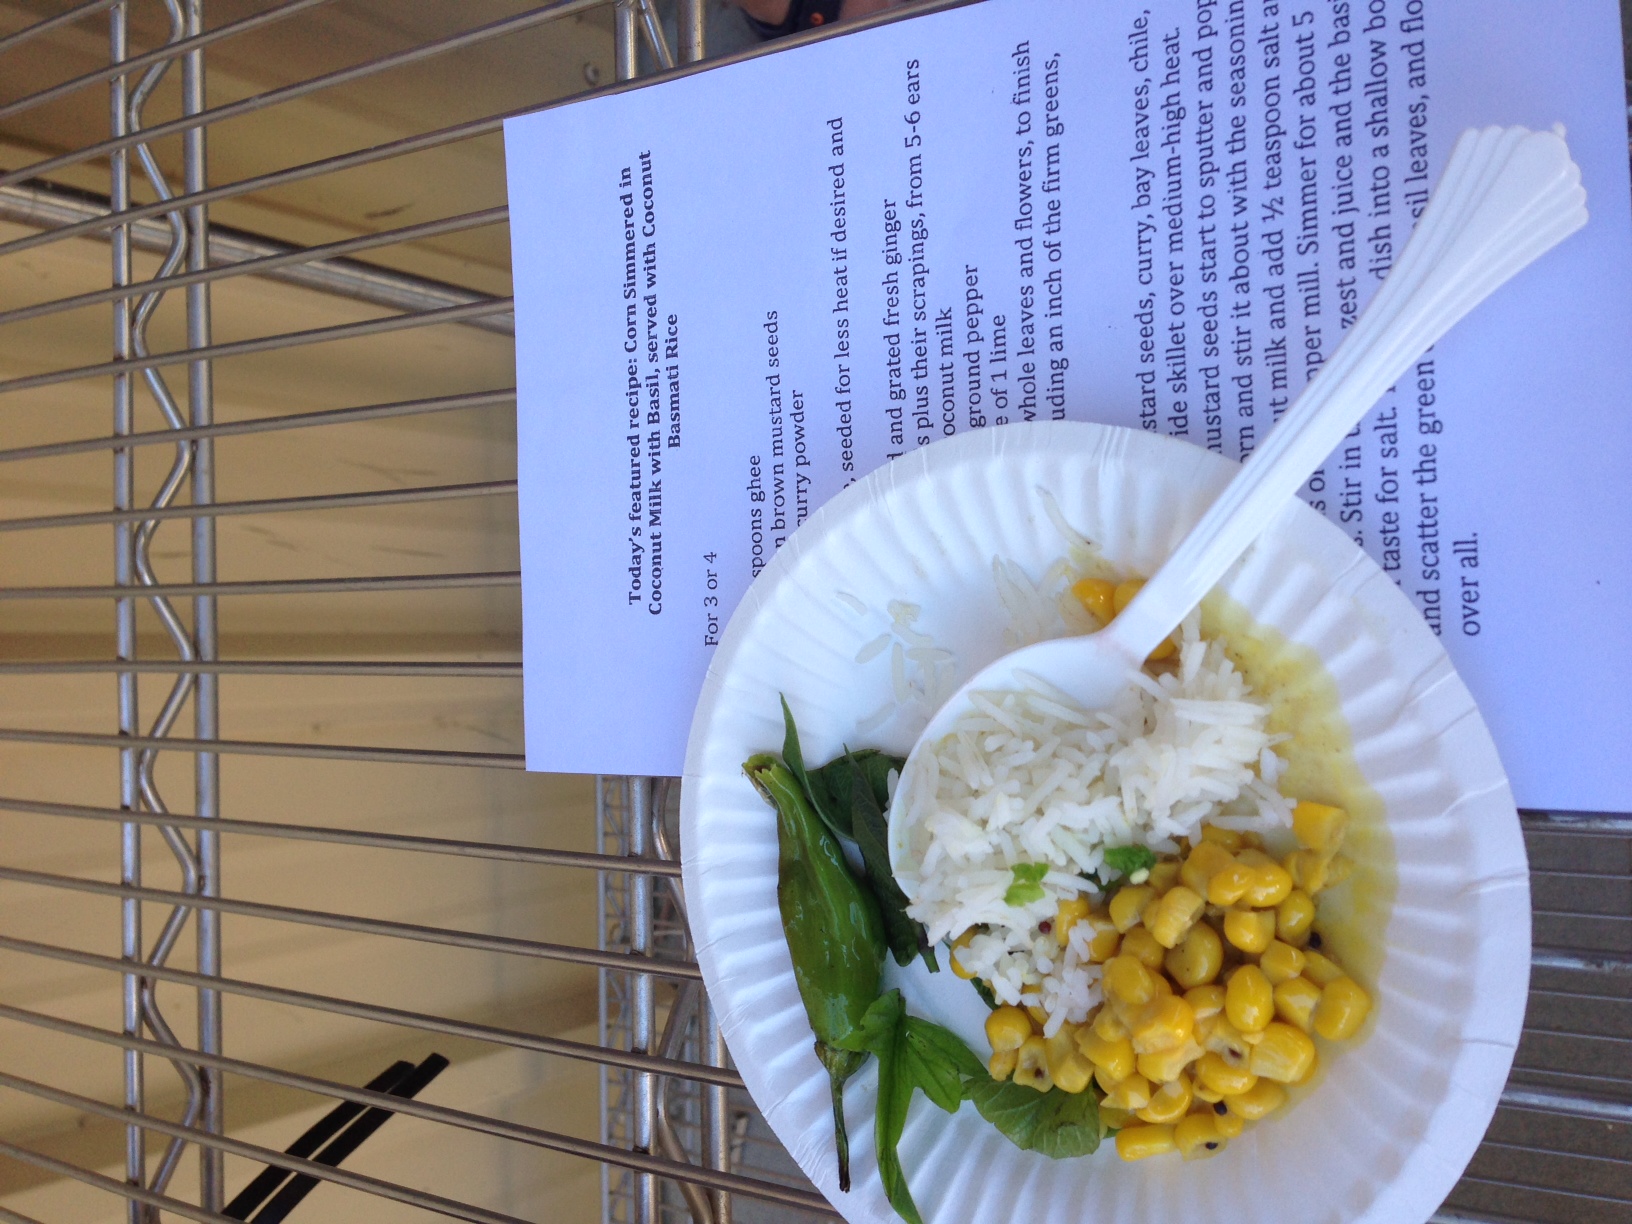
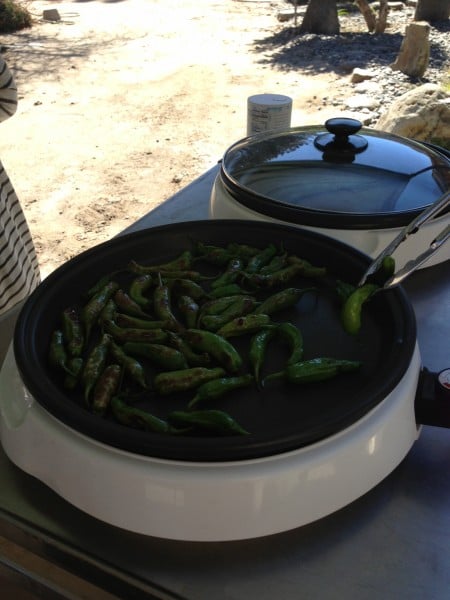
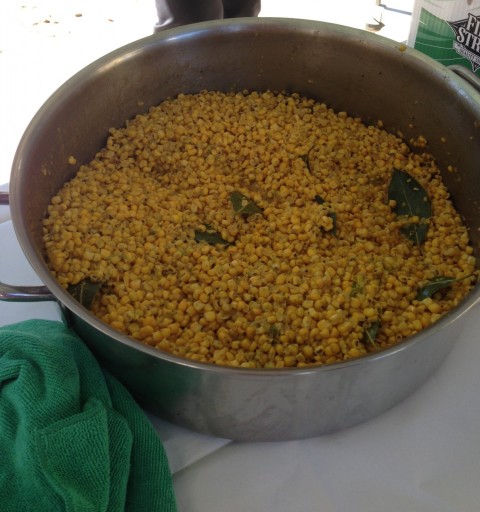
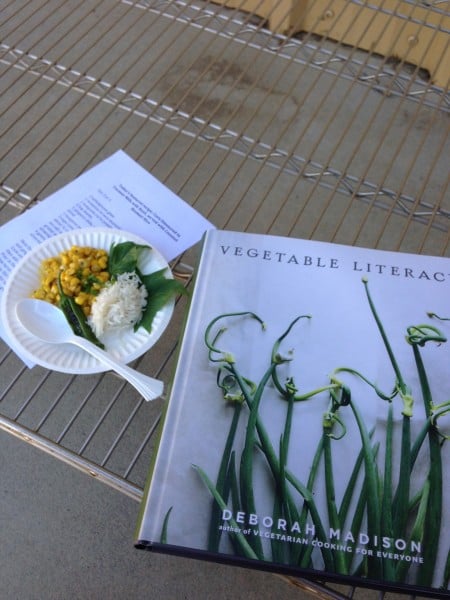
This last Sunday was the perfect morning to head over to Chino Farms in Rancho Santa Fe for Deborah Madison’s book signing and celebration of her new book Vegetable Literacy. I’ve been to these events before and there is something magical about it’s location and the wonderful people who work hard to make this happen. We were served refreshing drinks alongside this delectable serving of Deborah’s coconut corn and rice dish served with a shisito grilled peppers. By her side sat her dear friend Amelia Saltsman , author of the cookbook The Santa Monica Farmers’ Market. A wonderful double-hitter in our town!
What a fantastic and quick corn recipe from Vegetable Literacy!
Course
Vegetable
Cuisine
American
Keyword
corn, coconut, vegetables
Servings4
AuthorDeborah Madison
Ingredients
2tablespoonghee
1teaspoonbrown mustard seeds
1teaspooncurry powder
2bay leaves
1jalapeno chile, seeded, for less heat, diced
1teaspoonpeeled and grated fresh ginger
3cupscorn kernelsplus scrapings
1/2cuplight coconut milk
sea salt and ground pepper
grated zest and juice of 1 lime
slivered basil, plus whole leaves and flowers to finish
4green onions, including an inch of the firm greens, slivered diagonally
Instructions
Heat the ghee, mustard seeds, curry, bay leaves, chile and ginger in a wide skillet over medium-heat.
Cook until the mustard seeds start to sputter and pop,then add the corn and stir in the seasonings.
Pour in the coconut milk and add 1/2 teaspoon salt and a few turns of the pepper mill. Simmer for 5 minutes.
Stir in the lime juice and the basil, then taste for salt.
Turn the dish into a shallow bowl and scatter the green onions, basil leaves and flowers over all.
Serve with Coconut Basmati Rice or Tofu
Recipe Notes
To make coconut basmati rice, I substituted 1/2 the water for the remaining can of coconut milk and followed the package instructions for the cooking instructions.
Chino Farms served grilled Sisito peppers on the side after being toasted on this amazing Japanese grill. This grill is going on my Xmas list for sure.
The aroma from this corn was unbearable with the additional of fresh basil and sweet potato leaves from Chino’s.
If you enjoy vegetables as much as I do, don’t pass up this detailed reference guild to vegetables from a gardening classification. The rainy days cannot come early enough so I can cozy up to this 500 page cookbook!
Keep this book in mind as a perfect gift for your home cook, culinary student, vegetarian, or book lover! By the way, the photographs in the book were shot by my all-time favorites, Christopher Hirsheimer and Melissa Hamilton from Canal House.
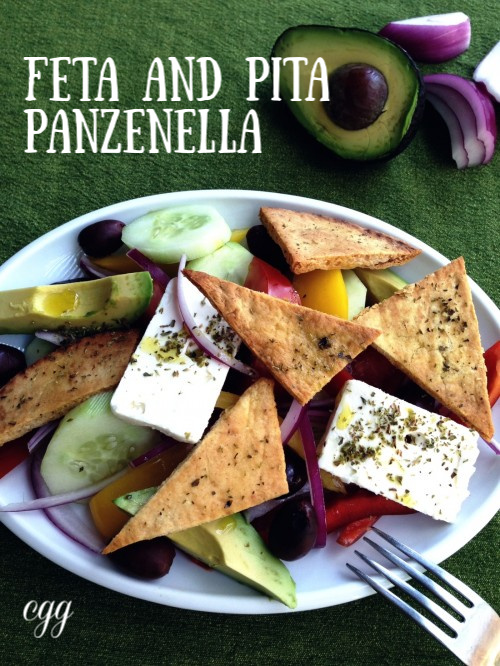
It’s fall and I turn to this Feta with Pita Panzanella salad without lettuce quite often assembles in my home for a quick salad for dinner. In Greece, you can expect to get salads without lettuce, which is the traditional salad called “Horiatiki”, meaning village salad. But, I kept this salad with a traditional-style, but added my California Twist with the addition of lots of feta! You can also make your own pita, adding spices you love and a splash of evoo. Recipe is below.
The addition of pita bead bread is similar to the traditional Italian salad, but I added toasted pita wedges and avocado for my Greek twist. I love to plate my salads (make them up ahead of time on individual plates) to get those beautiful vegetables looking their best!
This is my fall version of a Greek salad which includes toasted pita bread- don't skip this step because it brings the salad together by gathering all the juices in the bowl.
Course
Salad
Cuisine
California Greek
Keyword
california greek, feta, pita, salad
Servings6
AuthorMary Papoulias-Platis
Ingredients
Pita
3-4rounds of pita bread
2-3tablespoonsextra virgin olive oil
1teaspoondried Greek oregano
Salad
4large tomatoes, cut into wedges
2cucumbers, peeled and sliced in rounds
2each of red and yellow bell peppers, seeded and sliced
1red onion, peeled and thinly sliced
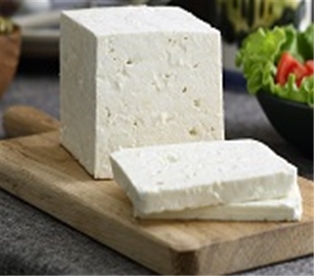
1/2poundfeta cheese, thinly sliced
1cuppitted Kalamata olives
2avocados, peeled and sliced
Red Wine Vinegar Dressing
1cupextra virgin olive oil
1/2cupred wine vinegar
2garlic cloves, minced
1teaspoonDijon dressing
1teaspoondried Greek oregano
1teaspoonsalt
1/4teaspoonblack pepper
Instructions
Pita
Preheat the oven to 375 degrees.
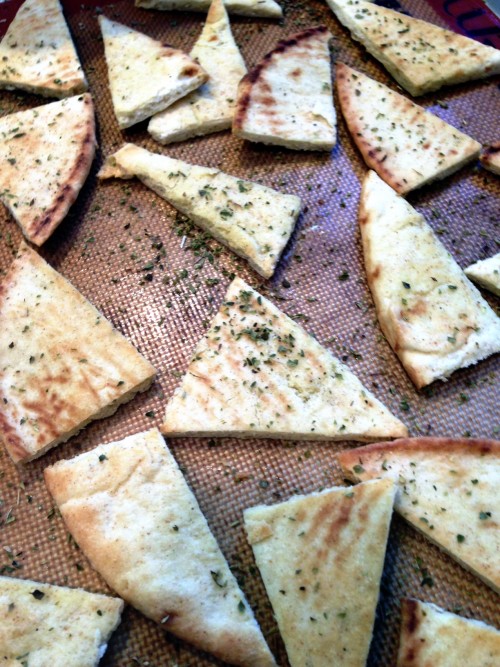
Cut the pita bread in 6 wedges per piece. Cut once more in half. Brush both sides with olive oil.
Sprinkle with dried Greek oregano.
Place on a sheet tray and bake in the oven for 6-8 minutes, turn and continue baking until golden brown. Set aside.
Dressing
In a small bowl add vinegar, garlic, mustard, oregano, salt and pepper and whisk together.
Slowly add olive oil and continue whisking until blended.
Salad
In a large serving bowl gently combine the tomatoes, peppers, onion, cucumbers, and olives and pita wedges.
Add the avocados on top with the feta slices.
Toss gently with the dressing or serve on the side.
Don’t skip this step – if you need to save time you can :
Make these chips 2 days ahead of time and store them in a plastic bag.
Purchase pita chips at your grocery store.
Important to know: I just added extra-virgin olive oil and oregano to these chips to reduce salt intake.
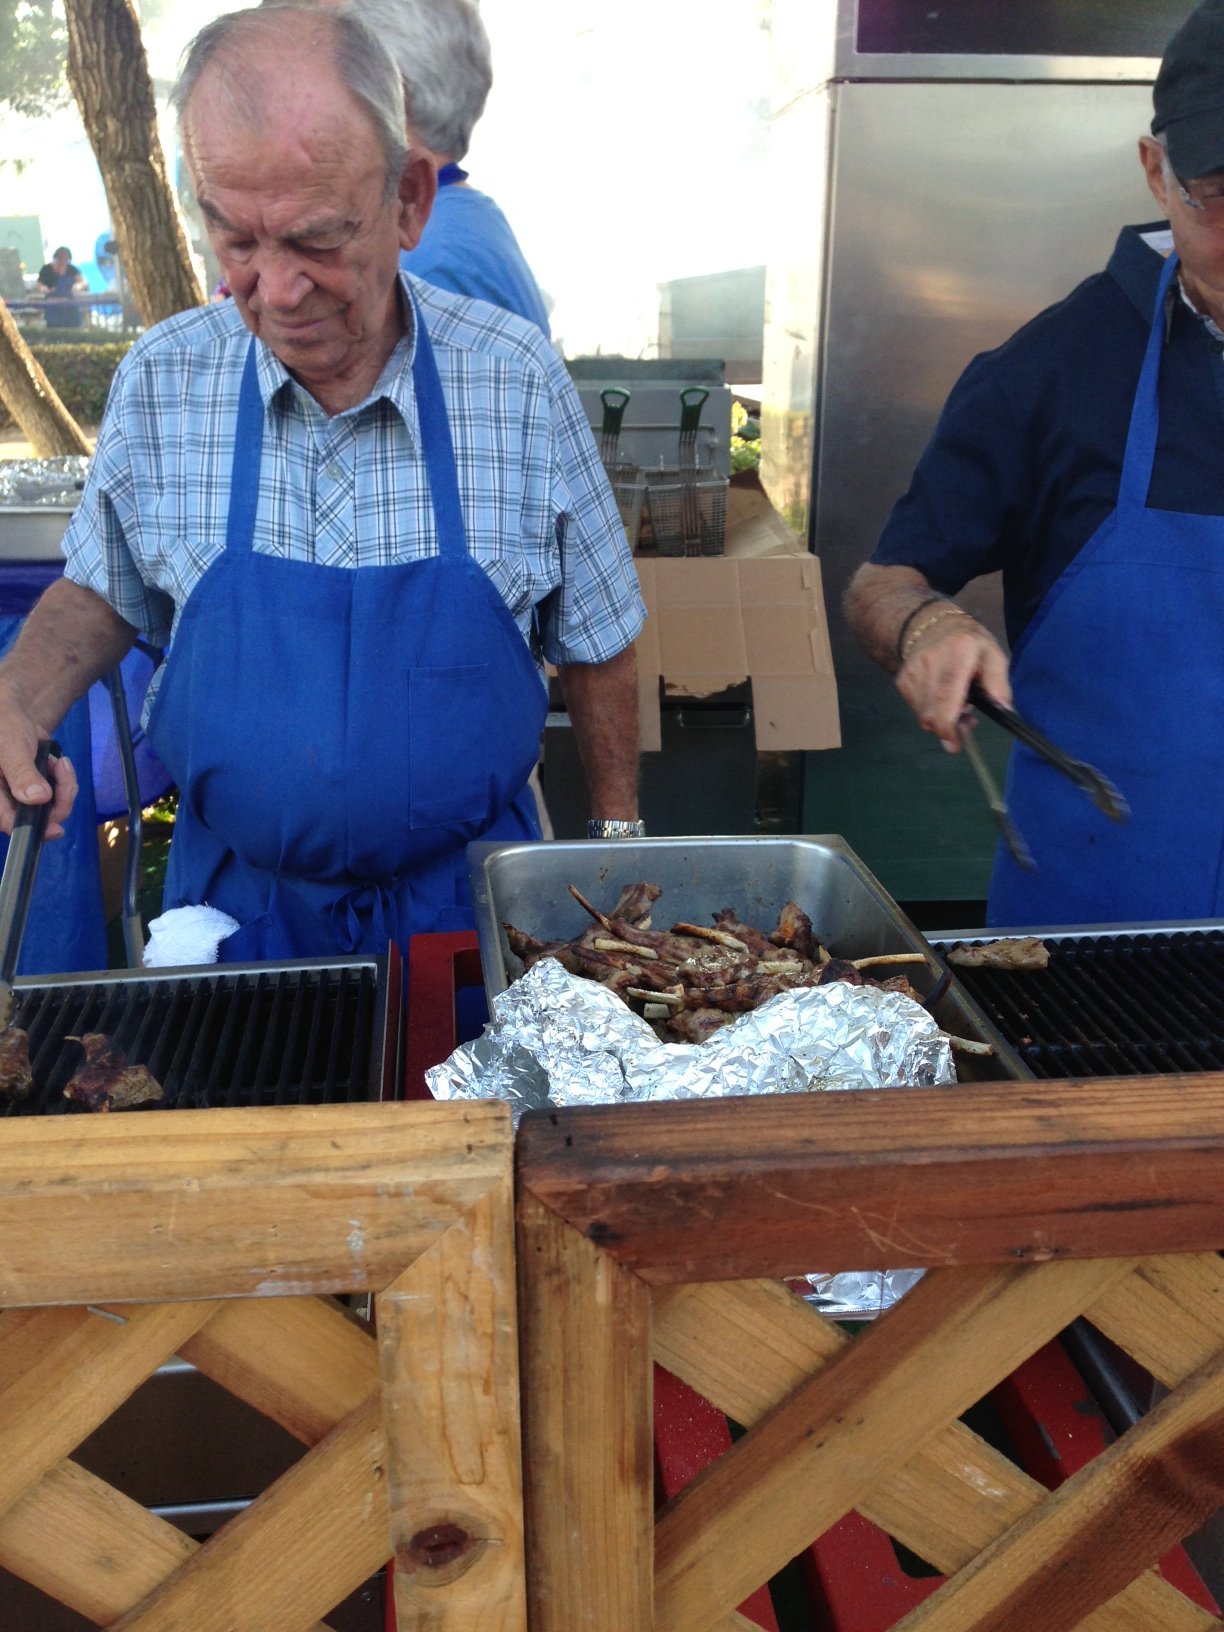
There is only one Greek Festival in California for October in Temecula, California. If you’re in Southern California, take a leisurely drive with the family to this historic town and enjoy many great bites from the Greek cuisine. In the fall season, Temecula offers spectacular weather and the harvest season is celebrated throughout the town. Saint Nicholas Greek Orthodox Church will be sponsoring this event at the City Hall Grounds in Old Town Temecula. Bring the kids and enjoy children’s games, while you listen and dance to live music. Don’t pass up their mouth-watering Greek pastries with a cup of traditional Greek coffee for the road! See you there!
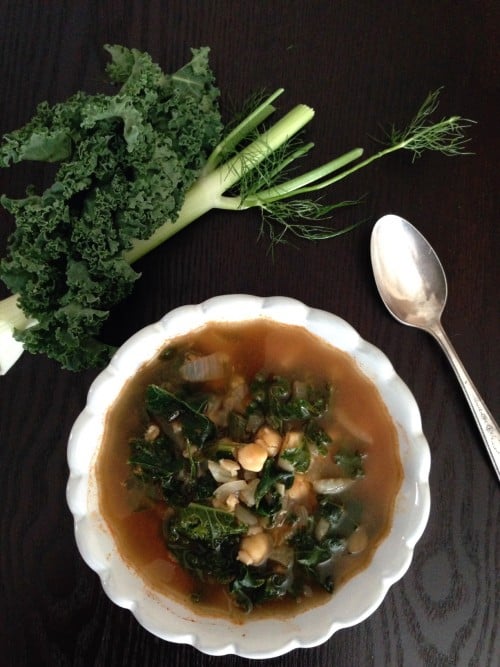
As the weather cools I begin to search for my seasonal fall vegetable recipes in my crowded over-stuffed shoe-box. Believe me it almost takes the entire afternoon to do this. Someday, I promised my kids I’ll try and scan them into an organized file. Soups are my favorite to make, the fill the house with wonderful smells and frost up the windows. My go to is my Chickpea Soup with kale and barley, for a hearty meal.
This Chickpea Soup with Kale and Barley is quick and full of goodness.When it turns cold outside I begin to use up all my summer pantry ingredients and shop for more seasonal and more hearty vegetables. As your plan out your weekly meals, I have compiled a short list for you in preparation for a colder season ahead. If you decide to cook fresh chickpeas, check out my cooking techniques for chickpeas. I cook up a pound or two on the weekends and freeze the remaining beans for hummus and soups. You can find my homemade vegetable stock as well on my blog, for those of you who are interested in developing your own freshly made stock. For a last touch to your soup try and add a splash of lemon!
Fall pantry ingredients to stock up on:
Broths – boxed or canned (homemade is best!)
Hearty grains such as barley, farro, bulgur, wheat berries
Try adding this soup to your recipe box for a nice fall dish for your family. Replace what you have in your cupboard for the grains with pasta or rice.
Course
Soup
Cuisine
California Greek
Keyword
barley, chickpeas, kale, soup
Servings4
AuthorMary Papoulias-Platis
Ingredients
2tablespoonsextra virgin olive oil
1cupdiced onion
4garlic cloves, minced
3cupscooked chickpeas
1 14.5oz.can diced tomatoes
5cupsvegetable broth
1teaspoonfennel seeds
1/4teaspoonred pepper flakes
1tablespoonchopped fresh parsley
1tablespoonchopped rosemary
salt and pepper as needed
1/2cupof cooked barley
2cupsof chopped kale
Juice of one lemon
Instructions
Vegetable Stock
Make your vegetable stock and set aside. Or purchase boxed or canned stock .
Barley
Place 2 cups of of water on to boil and add the barley. Cook until tender. Drain.
In a large pot, heat the oil over medium heat. Add the onion, garlic and cook until vegetables are tender, 5-6 minutes.
Add the chickpeas, tomatoes, broth, fennel seeds, pepper flakes, parsley and rosemary.
Bring the soup to a boil, reduce the heat and simmer around 30 minutes.
Add the cooked barley and kale and cook until tender.
Add the lemon juice before serving.
Makes 2 quarts
Recipe Notes
Save the cooking water from the barley, pasta, or rice you are pre-cooking, for extra liquid you may need for the soup.
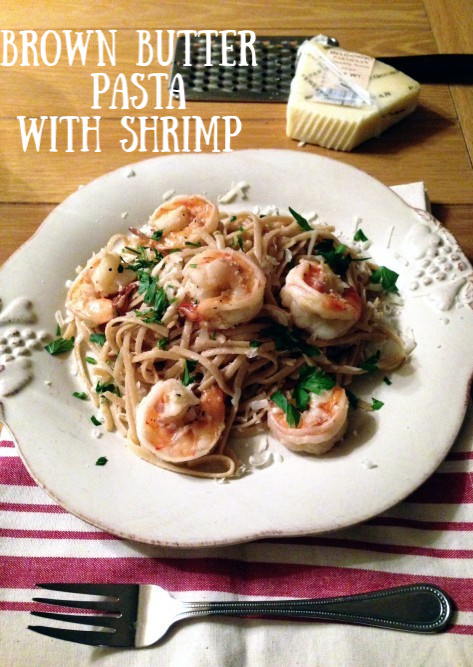
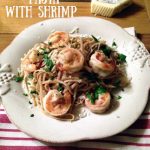
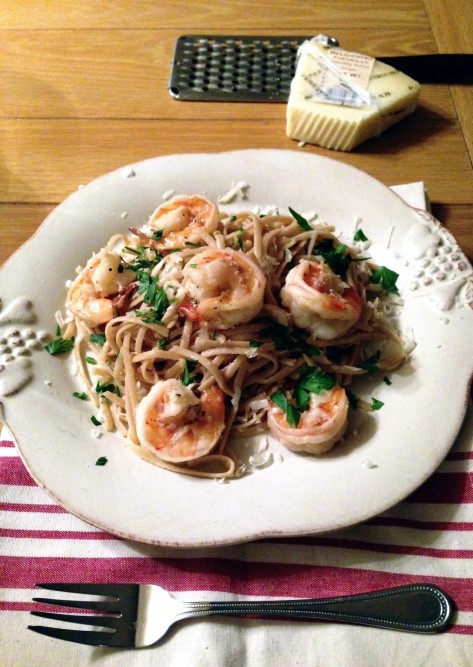
I’m so happy to share with you a weekly recipe my mother taught us growing up, Brown Butter Pasta. This method is often used often in many Greek dishes. Once you have mastered the 10 minute brown butter recipe below, you can easily move on to this delicious Brown Butter Pasta Dish with Shrimp. The nutty flavor of the butter adds a new dimension to the pasta, which can be eaten alone if you wish with a dash of salty cheese. This dish was made from shrimp flavored with wine and lemon juice. I store pasta and frozen shrimp at all times, so I may whip up dinner in a hurry. Change this recipe up using chicken or pork if you wish. However fresh vegetables slightly blanched can be a wonderful substitute for a meatless meal. The sprinkling of parsley adds the freshness you need to brighten this plate.
This brown butter pasta with shrimp will coat your taste buds with the nutty addition of browned butter. With a quick blanch of your favorite vegetables you can turn this meal into a quick meatless dish.
Course
Main Dish
Cuisine
California Greek
Keyword
brown butter, pasta, shrimp
Servings4
AuthorMary Papoulias-Platis
Ingredients
Brown Butter
See recipe on blog.
Pasta
1poundwhole wheat pasta
1poundlarge shrimp, cleaned and deveined
2tablespoonsof butter
2-3clovesgarlic
1/4- 1/2cupwhite wine
Salt and pepper
Parmesan cheese, grated for topping
fresh parsley, chopped finely
Instructions
Pasta
Place a large pot of water on high and bring to a boil.
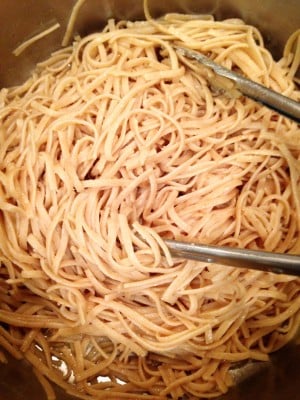
Add the pasta and cook according to package instructions.
While the pasta is cooking add 2 tablespoons of butter to a skillet.
Add the minced garlic and saute for 2 minutes.
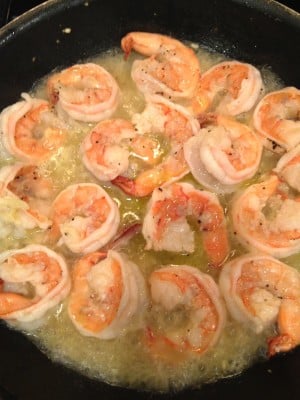
Add the wine, shrimp and salt and pepper. Cook shrimp until pink in color. Set aside.
Drain the pasta in a colander.
Make the brown butter in the pot from the pasta. Recipe above.
Add pasta to the brown butter and stir gently.
Divide the pasta onto the plates and top with shrimp.
Sprinkle with fresh parsley and cheese.
Saute the shrimp in a skillet. They are ready once they for a “C” shape.
Ready for the Shrimp and Cheese!
Plate up your pasta and dinner is ready!
Make this your weekly meal,
Mary
You may also enjoy other pasta dishes from my blog:
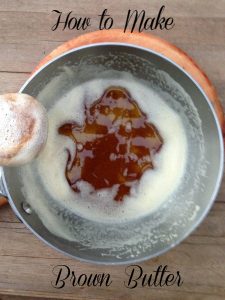
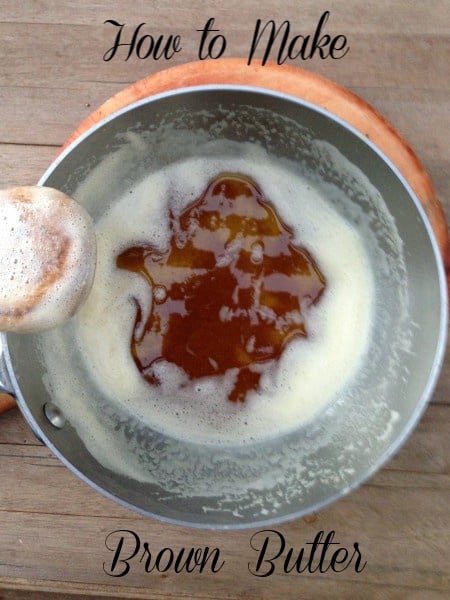
I grew up with a mother who used brown butter for many of her egg dishes and quick family dinners. Today, it’s second-nature for me to pull out butter and make a quick brown butter dish for my family. In this post, I’m going to explain the cooking technique only. You may want to practice once or twice with a small amount ( 1/4 cup) before using this in your recipe. Watch for my upcoming brown butter recipes in the near future on my blog. This is a quick butter sauce, so you must give it your full 10 minutes of attention. Let’s get started.
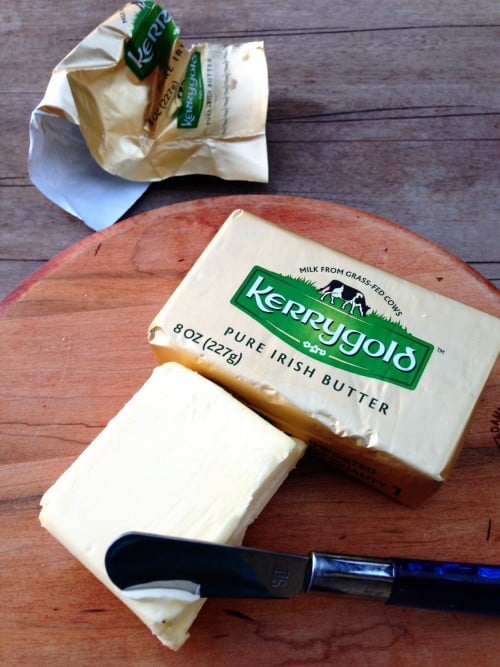
Use a good quality butter, I used Kerrygold in this post. It’s the real thing!
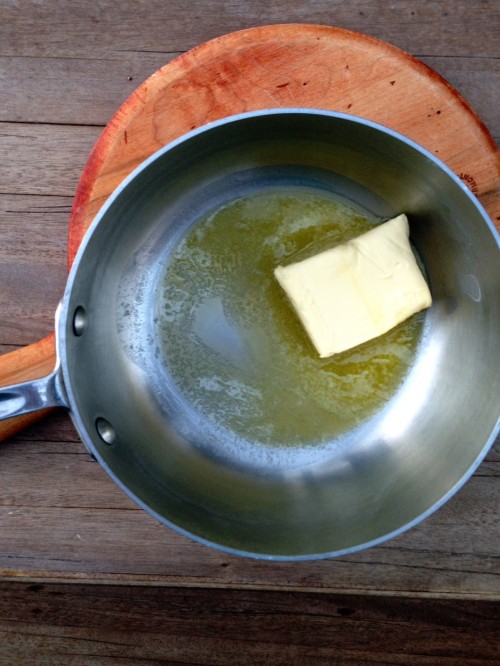
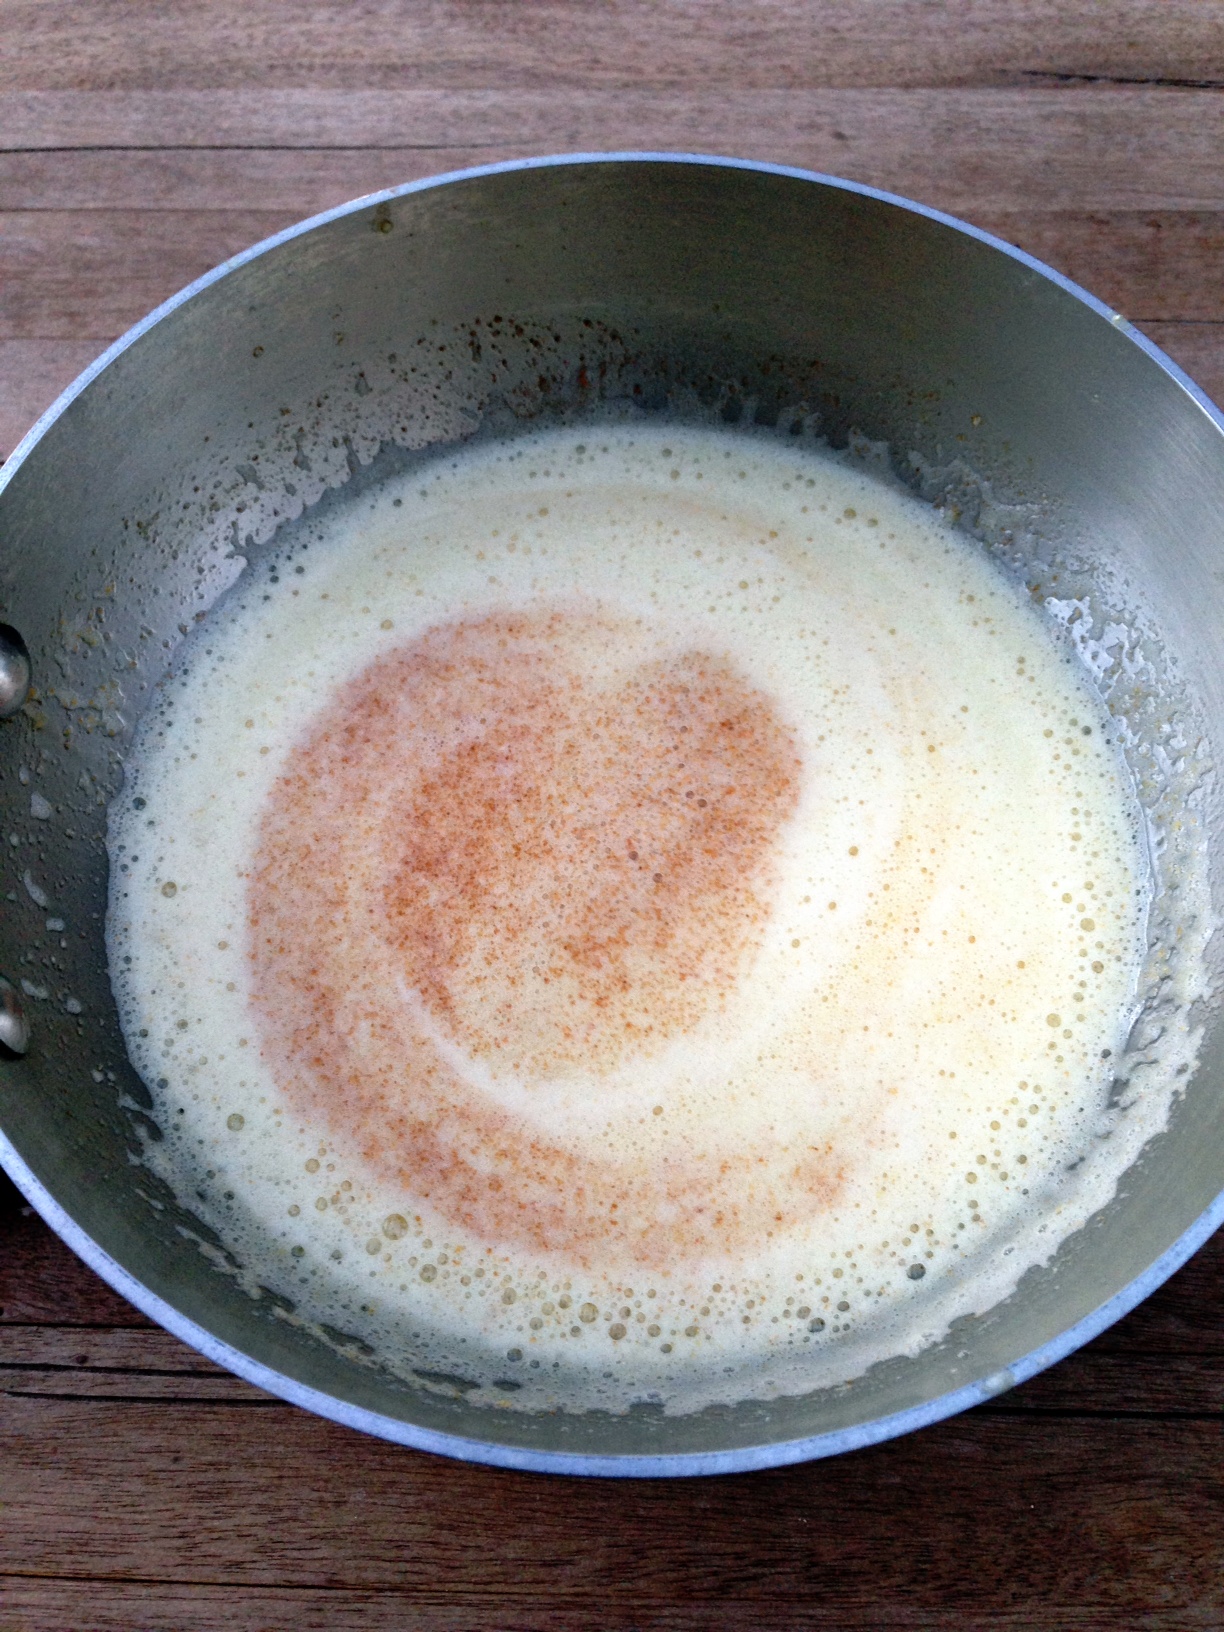
Melt the necessary butter in a heavy saucepan, and cook gently on medium low.
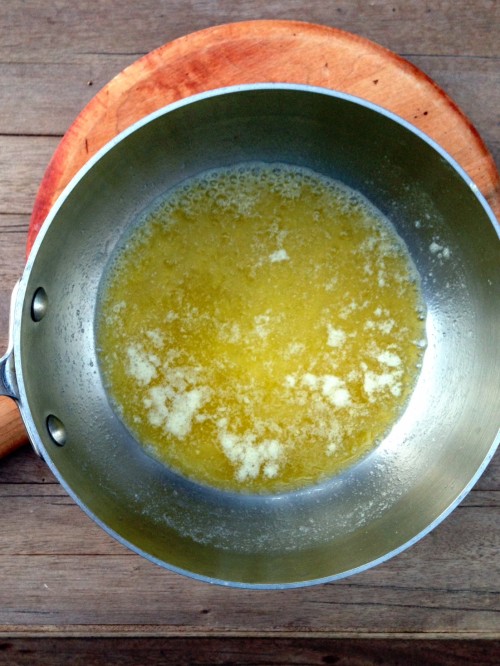
After 2-3 minutes it will slowly begin to melt and continue to swirl the pan. Keep a watchful eye over the butter. Lower the heat to low.
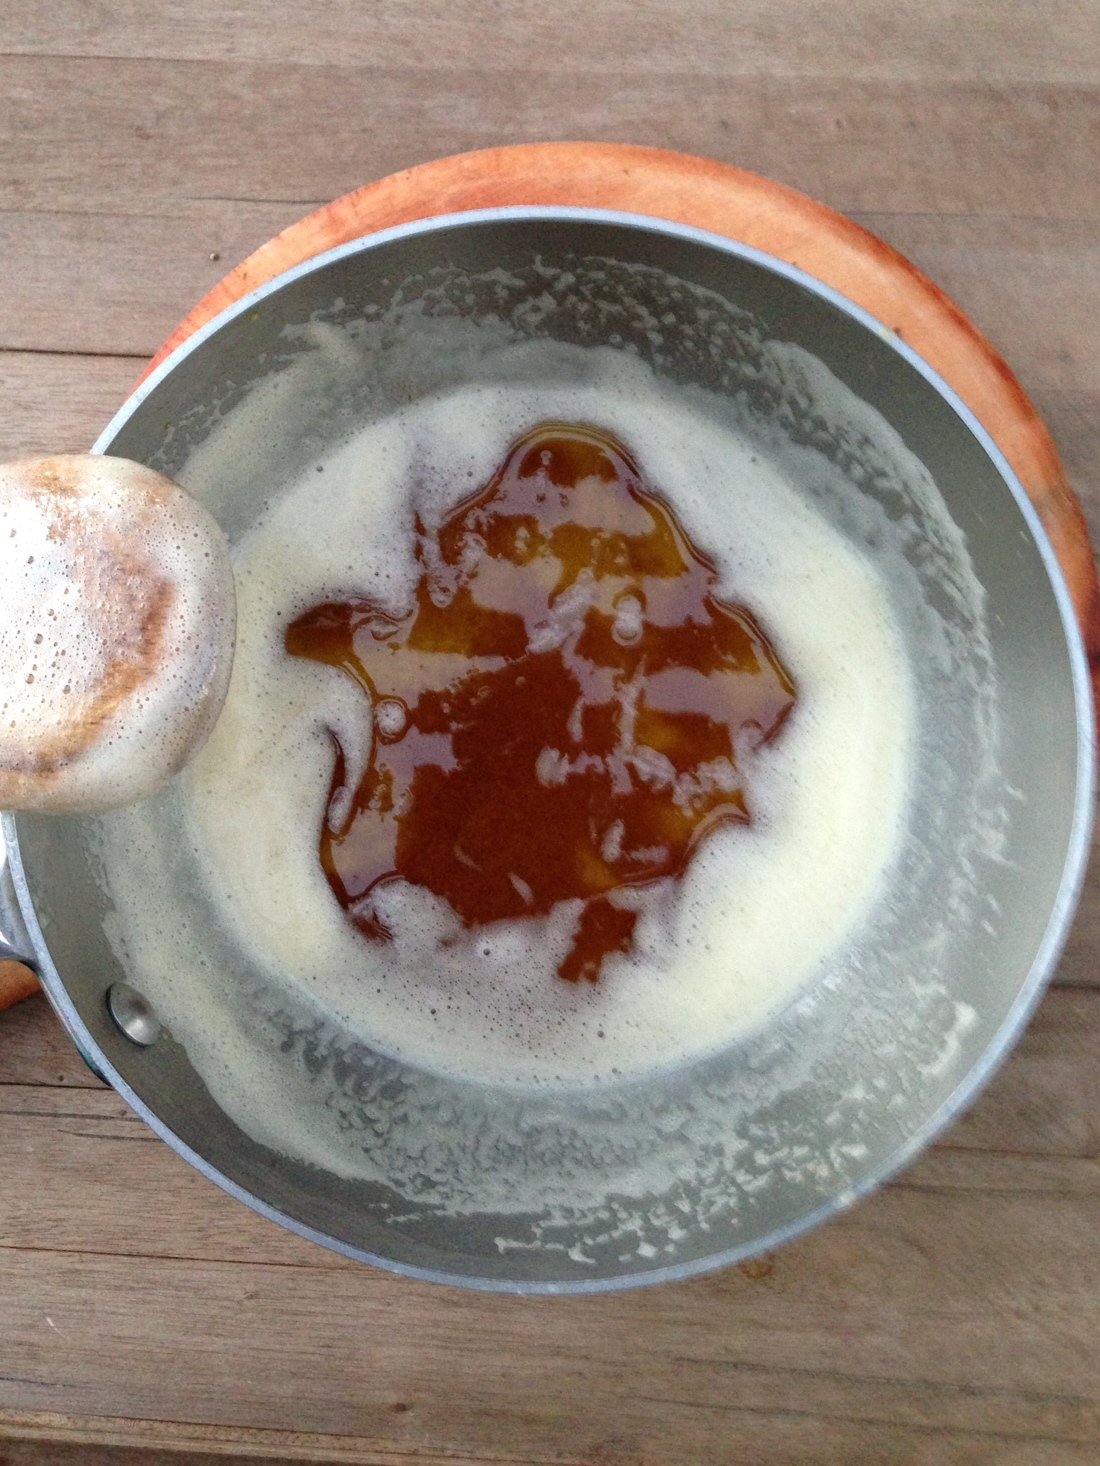
At this point the butter is foaming and starting to sizzle, as the water boils off around 250 degrees. Watch it carefully as it begins to turn light brown as the molecules in the white residue, milk, sugar and proteins form brown pigments.
Continue stirring with a wooden spoon so you can observe the progress of the butter. You will start smelling a nutty – burnt odor coming from the butter.
Once you get this caramel look remove from the butter from the heat. You can set it aside while you make the rest of your meal and slowly reheat , or use it immediately.
Uses for brown butter:
Once the butter has cooled, add an acid to the butter; usually a vinegar or lemon juice.
Use in your baked goods.
Add to your cooked vegetables.
Use in your egg dishes.
Use in your pasta dishes.
Thank you for visiting!
Mary
I was not paid to write this article for Kerrygold. They did provide us with this amazing butter. My posts and opinions are my own.
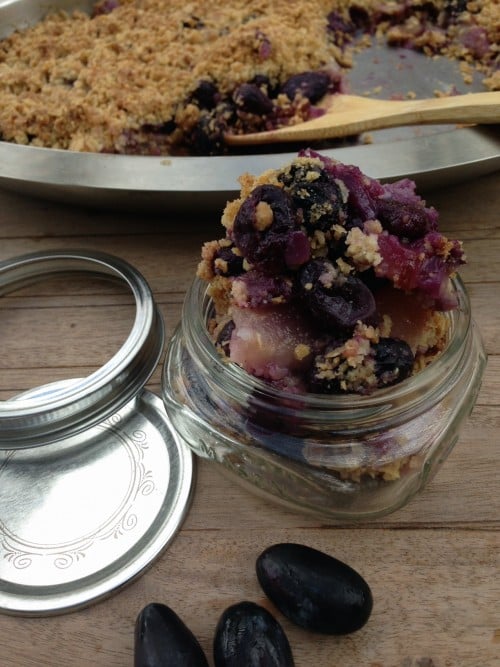
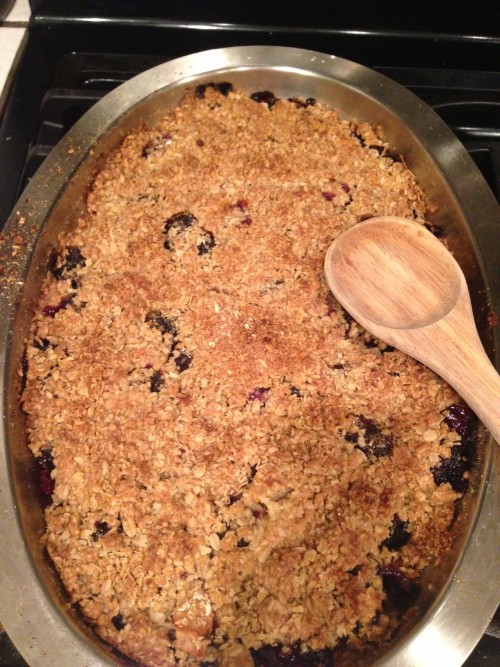
Sunday was the first day of fall and a pear dessert crisp was the first thing that came to my mind. I love all pear desserts whether they are poached with wine or in a yummy pie. Being known as the “crisp” queen, among my kid’s friends I began making them many years ago for every season. They’re fast and delicious and they serve a large crowd. Recently, Melissa’s Produce sent me a box of Muscato grapes. I poached them in olive oil for the fig fest and they had the flavor of a rich glass of wine. I wanted to use them up so I added them to my pear crisp and oh my! What a treat. A tip: you can’t go wrong when you blend seasonal fall fruits together. I hope you enjoy my first fall crisp of the season.
Pears means fall and so are dessert crisps. I combined two fall ingredients, pears and muscato grapes, and they make perfect companions. Use any beautiful dark grape for a contrast and a deeper flavor to your dish.
Course
Fall
Cuisine
California Greek
Keyword
crisp, dessert, muscato grapes, pear
Servings8
AuthorMary Papoulias-Platis
Ingredients
Topping
1cupold fashion oats
1/2cupall-purpose flour
1/2cuppacked brown sugar
1/2teaspooncinnamon
1/4teaspoonsalt
1stick unsalted butter, chilled and cut into small cubes
Filling
6large ripe pears, peeled, cored, and cut into 1-inch pieces. (cups)
1tablespooncornstarch
1/4teaspoonnutmeg
2bunches of Muscato grapes - 4 cups
Instructions
Preheat the oven to 350 degrees.
Butter a 12 x 8 baking pan.
Topping
Mix the oats, flour, brown sugar, cinnamon and salt in a food processor.
Pulse for 30 seconds to blend. Add the butter, and pulse until blended.
Crisp
Place the pears, grapes, sugar, cornstarch and nutmeg in a large bowl and gently stir to combine.
Spread in the buttered dish.
Add the topping.
Bake in the center of the oven until golden brown, about 35 minutes.
Let rest for 10 minutes.
Serve warm.
Muscato grapes are from California, and in season from July-September. They have a very complex flavor which is why I must use up every single grape that I was shipped. To learn more about them please visit Melissa’s page on Muscato Grapes.
I do love a warm gooey fruit dessert!
Here are a few more fruit favorites in my collection:
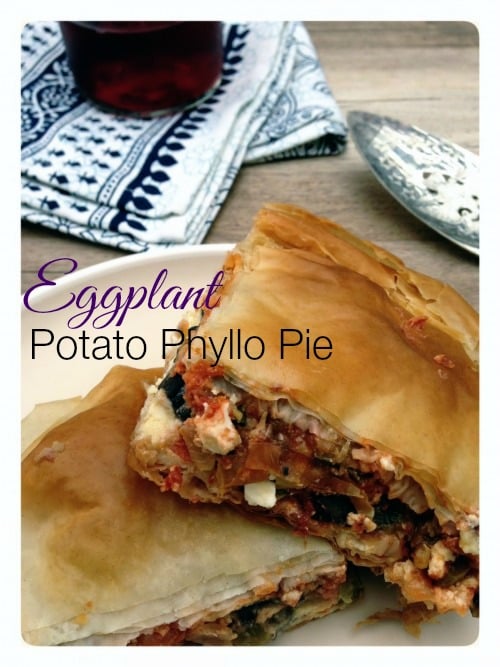
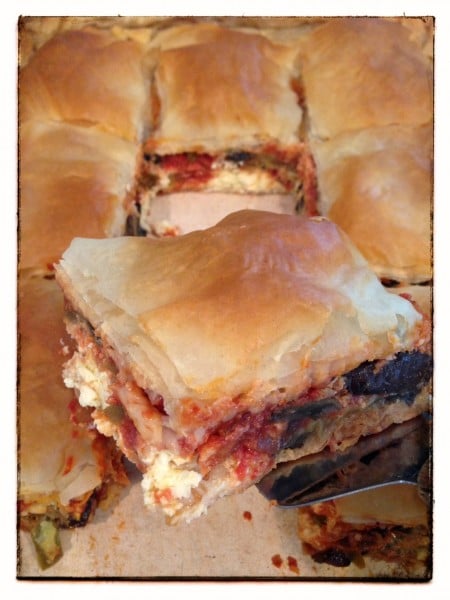
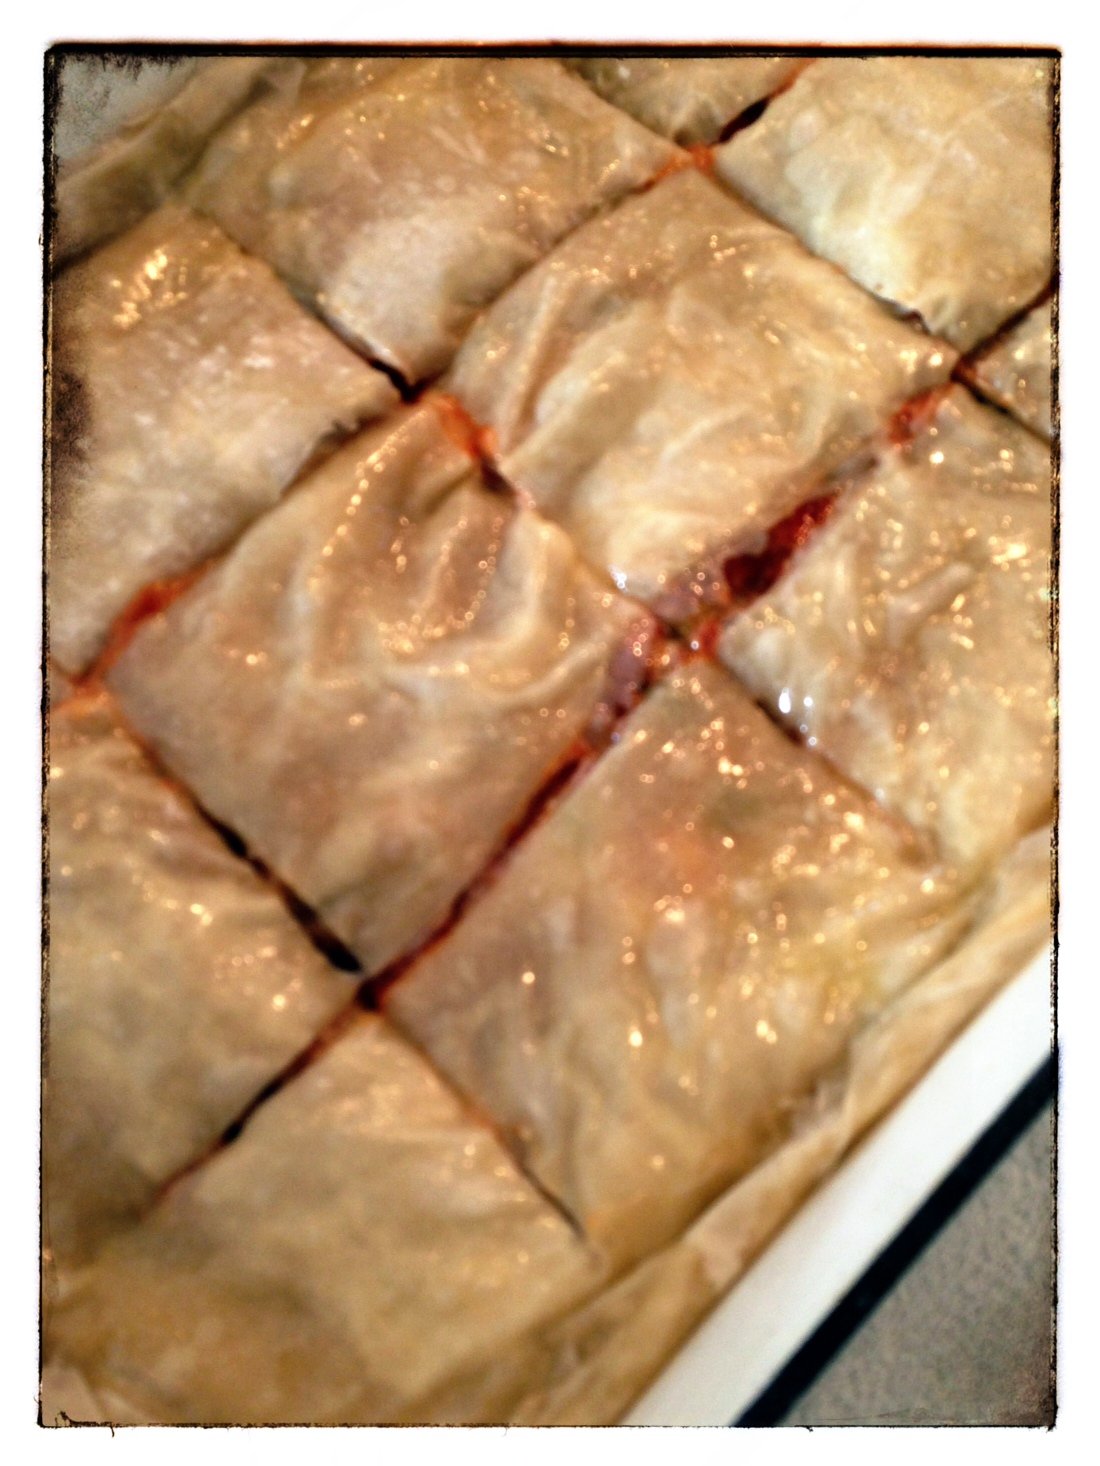
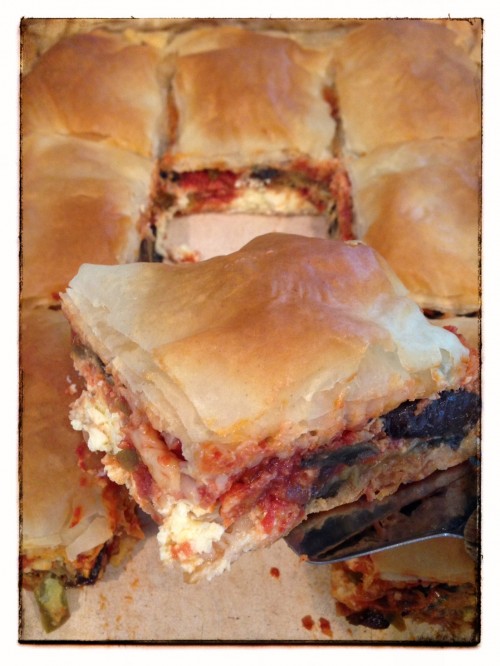
Phyllo pies can be fairly easy to make, but also a nice way to use up all your garden vegetables. My eggplants are overflowing this time of year, so I wanted to feature my eggplant potato phyllo pie this week. This recipe feeds many, and with my busy schedule it’s perfect for any drop-by guest or for snacking. Adding cooked potato slices makes this meal a little more hearty for your big eaters. Plan an afternoon to assemble this pie, because it has many parts that need to be assembled – but it’s worth all your effort. I suggest you make the tomato sauce the night before if you can. The white sauce called Bechamel can be made in advance but must be reheated very slowly in a double boiler. For a large crowd, I suggest you make this eggplant phyllo pie, the day before and reheat it in the oven just before guests arrive. Don’t forget to buy your phyllo dough several days in advance and defrost it in the refrigerator overnight.
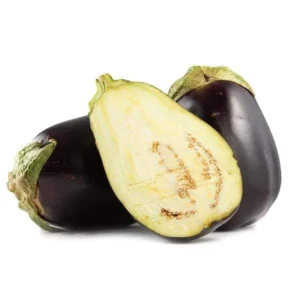
Eggplants come in many sizes and varieties. I like to use the globe eggplant, due to it’s meatiness and size. You can find many varieties at Melissa’s Produce. Also, look for them at your local farmer’s market. They should be firm with a nice glossy color.
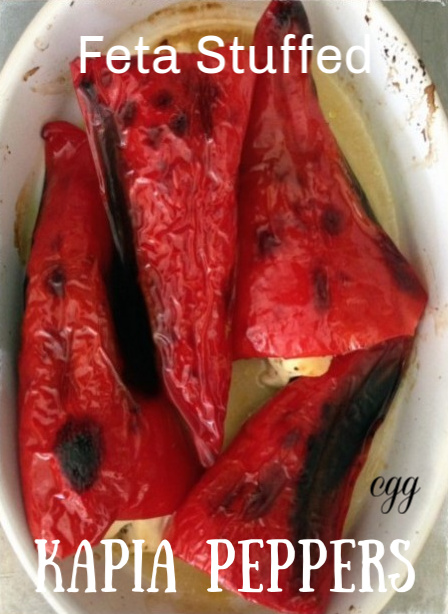
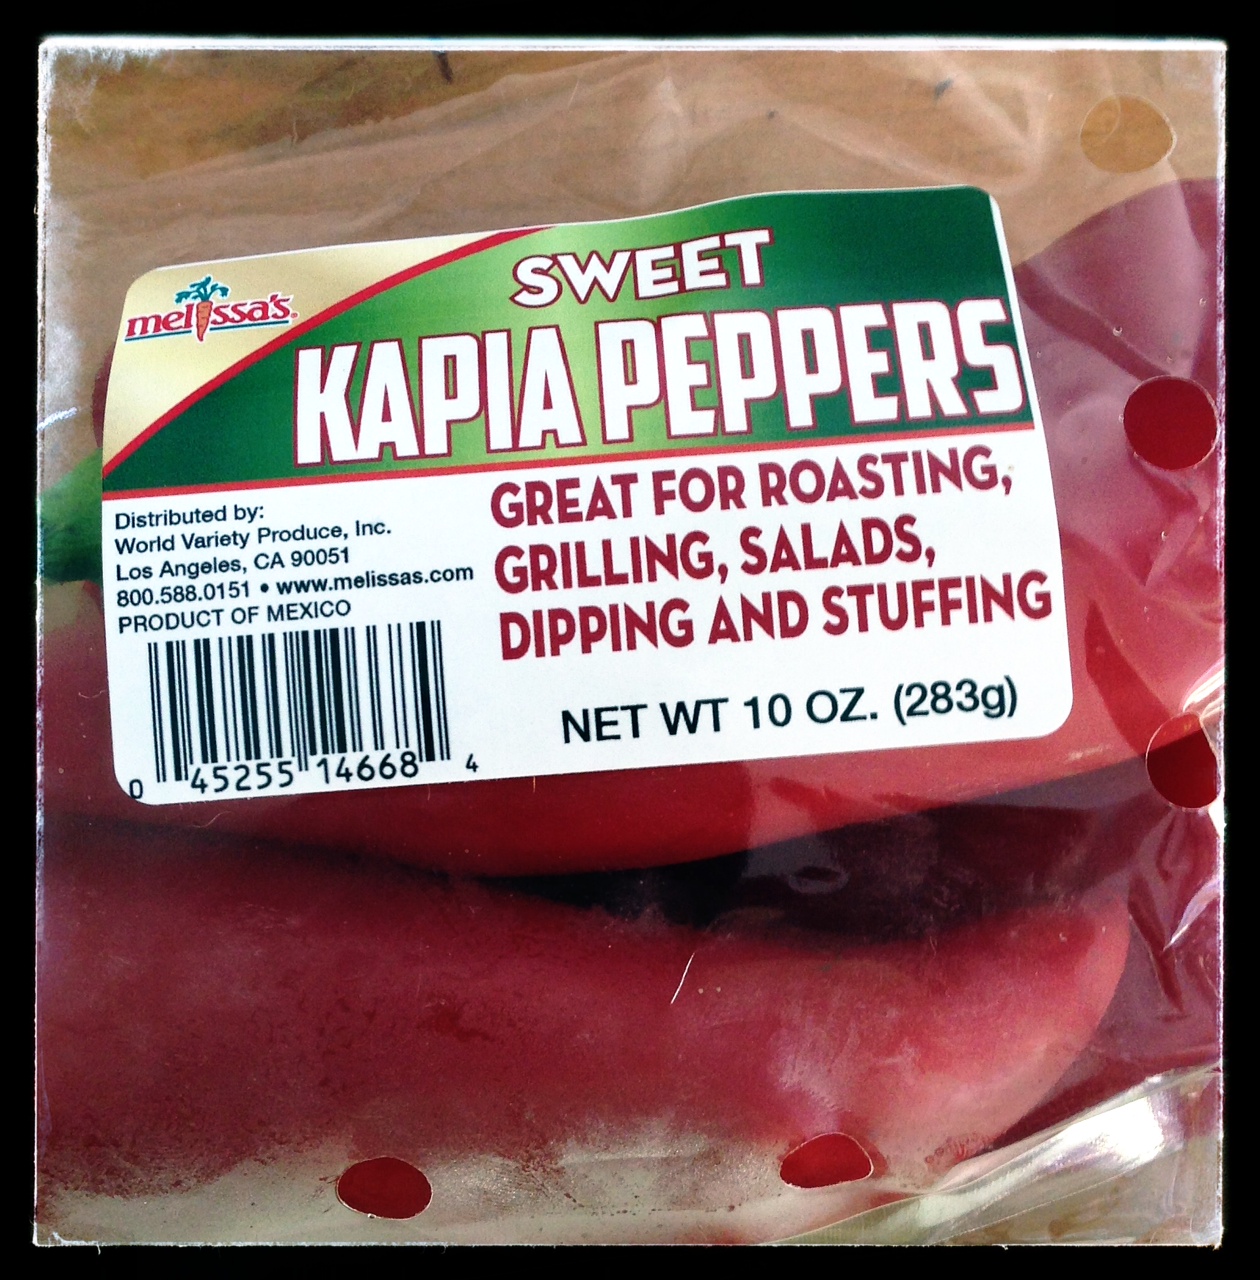
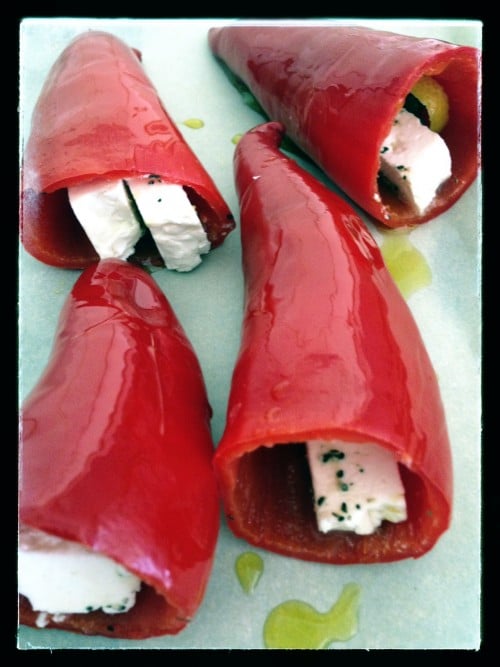
Greeks have a way of stuffing everything! Feta Friday rolls around every week and I’m always in need of a new idea – well this week Melissa’s Produce surprised me with a box of goodies. I chose to use the Kapia Red Peepers for my dish. I took out my bucket of cheese and started to use everyday ingredients for a quick appetizer. And believe it or not they were so sweet and delicious combined with the briny taste of the feta cheese. Use as an appetizer, or add them to your fresh salads for a punch of flavor.
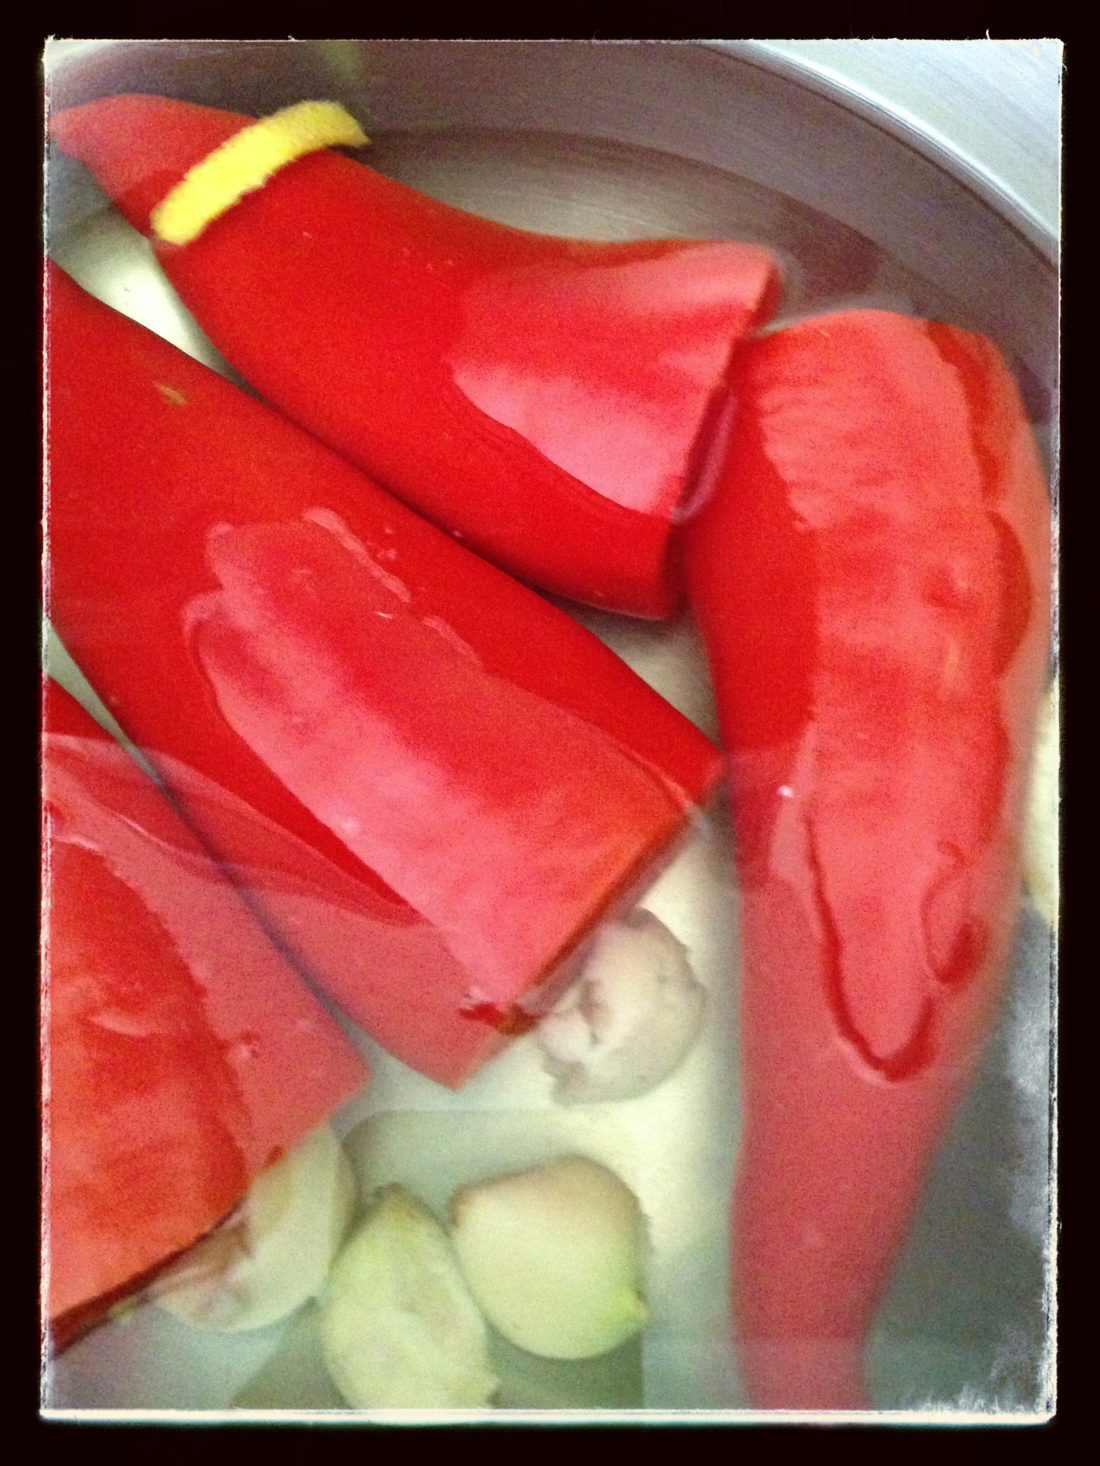
Start with cutting off the tops and carefully removing the seeds in the inside. Blanch the peppers, garlic cloves, and lemon strips in boiling water for 15 minutes.
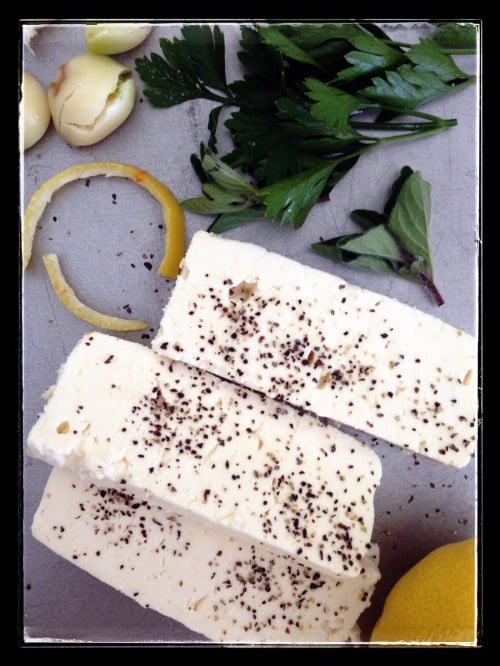
Remove everything and place on paper towels until cool to the touch. Stuff the peppers with one feta strip, one garlic clove, one sprig each of parsley and oregano, one lemon peel and a dash of pepper.
Cut the feta into 1/2 inch x2-inch pieces. Snap off the feta strip if too long and stuff the extra back in the pepper. Place the remaining ingredients into the pepper. Brush with olive oil and broil on low for 15 minutes, turning until charred on all sides.
Remove from oven and let sit, for further cooking and cheese melts completely. Sprinkle with olive oil and fresh lemon!
Enjoy!
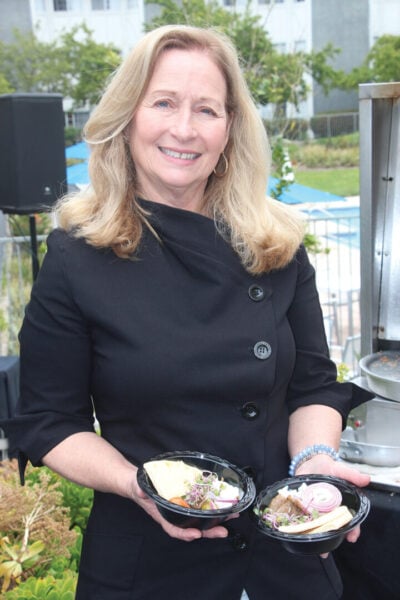
Hello from California Greek Girl. I’m the owner of Ethos Culinary located in the beautiful city of Carlsbad. Join me as we explore California’s bounty of foods, farmlands, and culinary experts. I’m looking forward to bringing you Greek, Mediterranean and Plant-Forward Cuisines. OPA!


 Hello from California Greek Girl. I’m the owner of Ethos Culinary located in the beautiful city of Carlsbad. Join me as we explore California’s bounty of foods, farmlands, and culinary experts. I’m looking forward to bringing you Greek, Mediterranean and Plant-Forward Cuisines. OPA!